
Superheros. . . everyone wants to be one. Especially little kids and big kids that are still little at heart. This week we were scheduled to attend an awesome superhero duel birthday party for our friends Dominck and Brooklynn. So I went to the fabric store, picked out my colors, and got to work. I had to make two superheros (my kids because it was a dress up party) and fast. Now I know what "E" was going through in the Incredibles (one of my favorite Disney characters btw) when she was "designing for GODS." Okay, I didn't take it that far but I did go against E's advise and decided to throw together a few superhero capes. I had an idea of what I wanted to do and I began to work on the capes but as most of my projects end up I changed my idea half way through. I have to admit I was pleasantly surprised with how they turned out.


Unfortunately we never made it to the party. Jackson got sick on Friday and I didn't think it would be good to expose any of the kids to the flu. . .even if they are Superheros. But Jack and Liz still had fun wearing them around the house and Jackson even opened his sleepy eyes long enough to look at Elizabeth and say, "Lizzy YOU ARE A SUPERHERO!"
So how do you make a Superhero cape? They are actually very easy. All you need is some costume satin in coordinating colors, felt, and a little heat and bond.
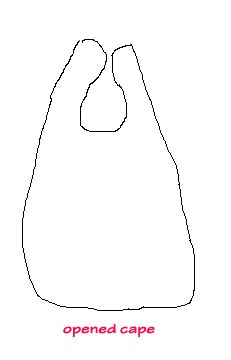
1. Fold fabric in half and cut a pear shape out with a hole near the top for the neck.

2. Repeat with the other fabric color (this is the underneath part)
3. Cut out your symbol for the back out of felt. I went with a basic Superman symbol with the child's initial.
4. Use the heat and bond to attach the symbol to the piece you want on the outside of the cape.
5. Stitch the symbol down just to secure it to the fabric.
6. Pin the top and the bottom fabrics of the cape together with right sides together. Your symbol should now be on the inside.
7. Stitch the bottom and top together leaving a small section to flip
8. Flip the fabric inside out so your right side is on the outside.
9. Hand stitch the open section closed.
10. Top stitch around the entire cape to keep the fabric from moving around too much.
**Hint, when using silky fabrics use a lot of pins to hold the fabric in place.
No comments:
Post a Comment