Showing posts with label 4th of July. Show all posts

Saturday, July 2, 2011

Fourth of July Necklace Shirt Refashion

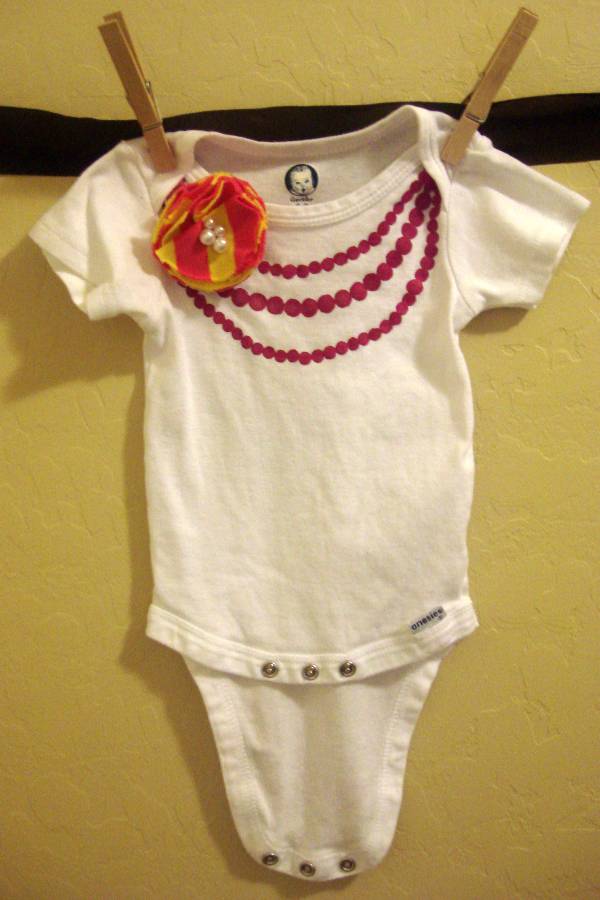
I recently showed you the 4th of July necklace shirt I made for my daughter last year.  I mentioned that the shirt likely still fit her but would need a little length added with a ruffle.  Go here to see last year's shirt and a quick tutorial on necklace shirts.

I added a ruffle and made a matching headband for my daughter to wear to celebrate the holiday.
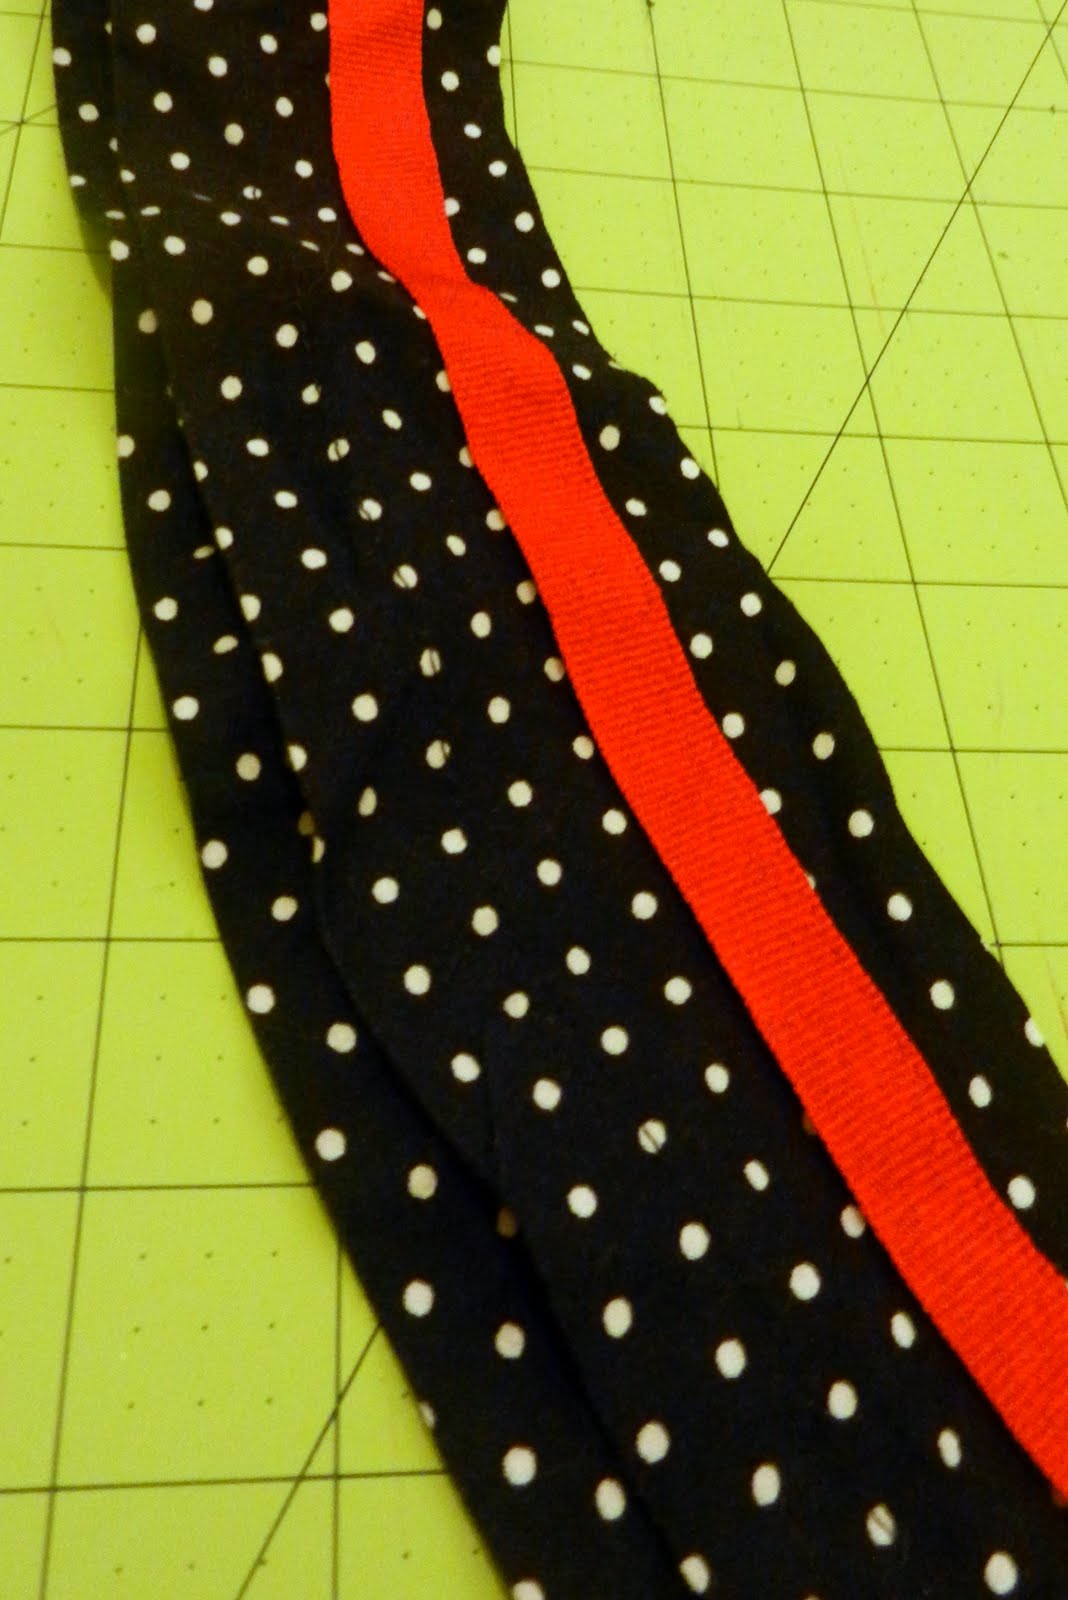
I planned to use red scrap fabric to make ruffles until I came across a dress my daughter had never worn and is now too short.  The fabric matched the necklace shirt perfectly!
I didn't want to worry about hemming the bottom of the ruffle so I cut just above the ribbon and left the original hem on the dress.
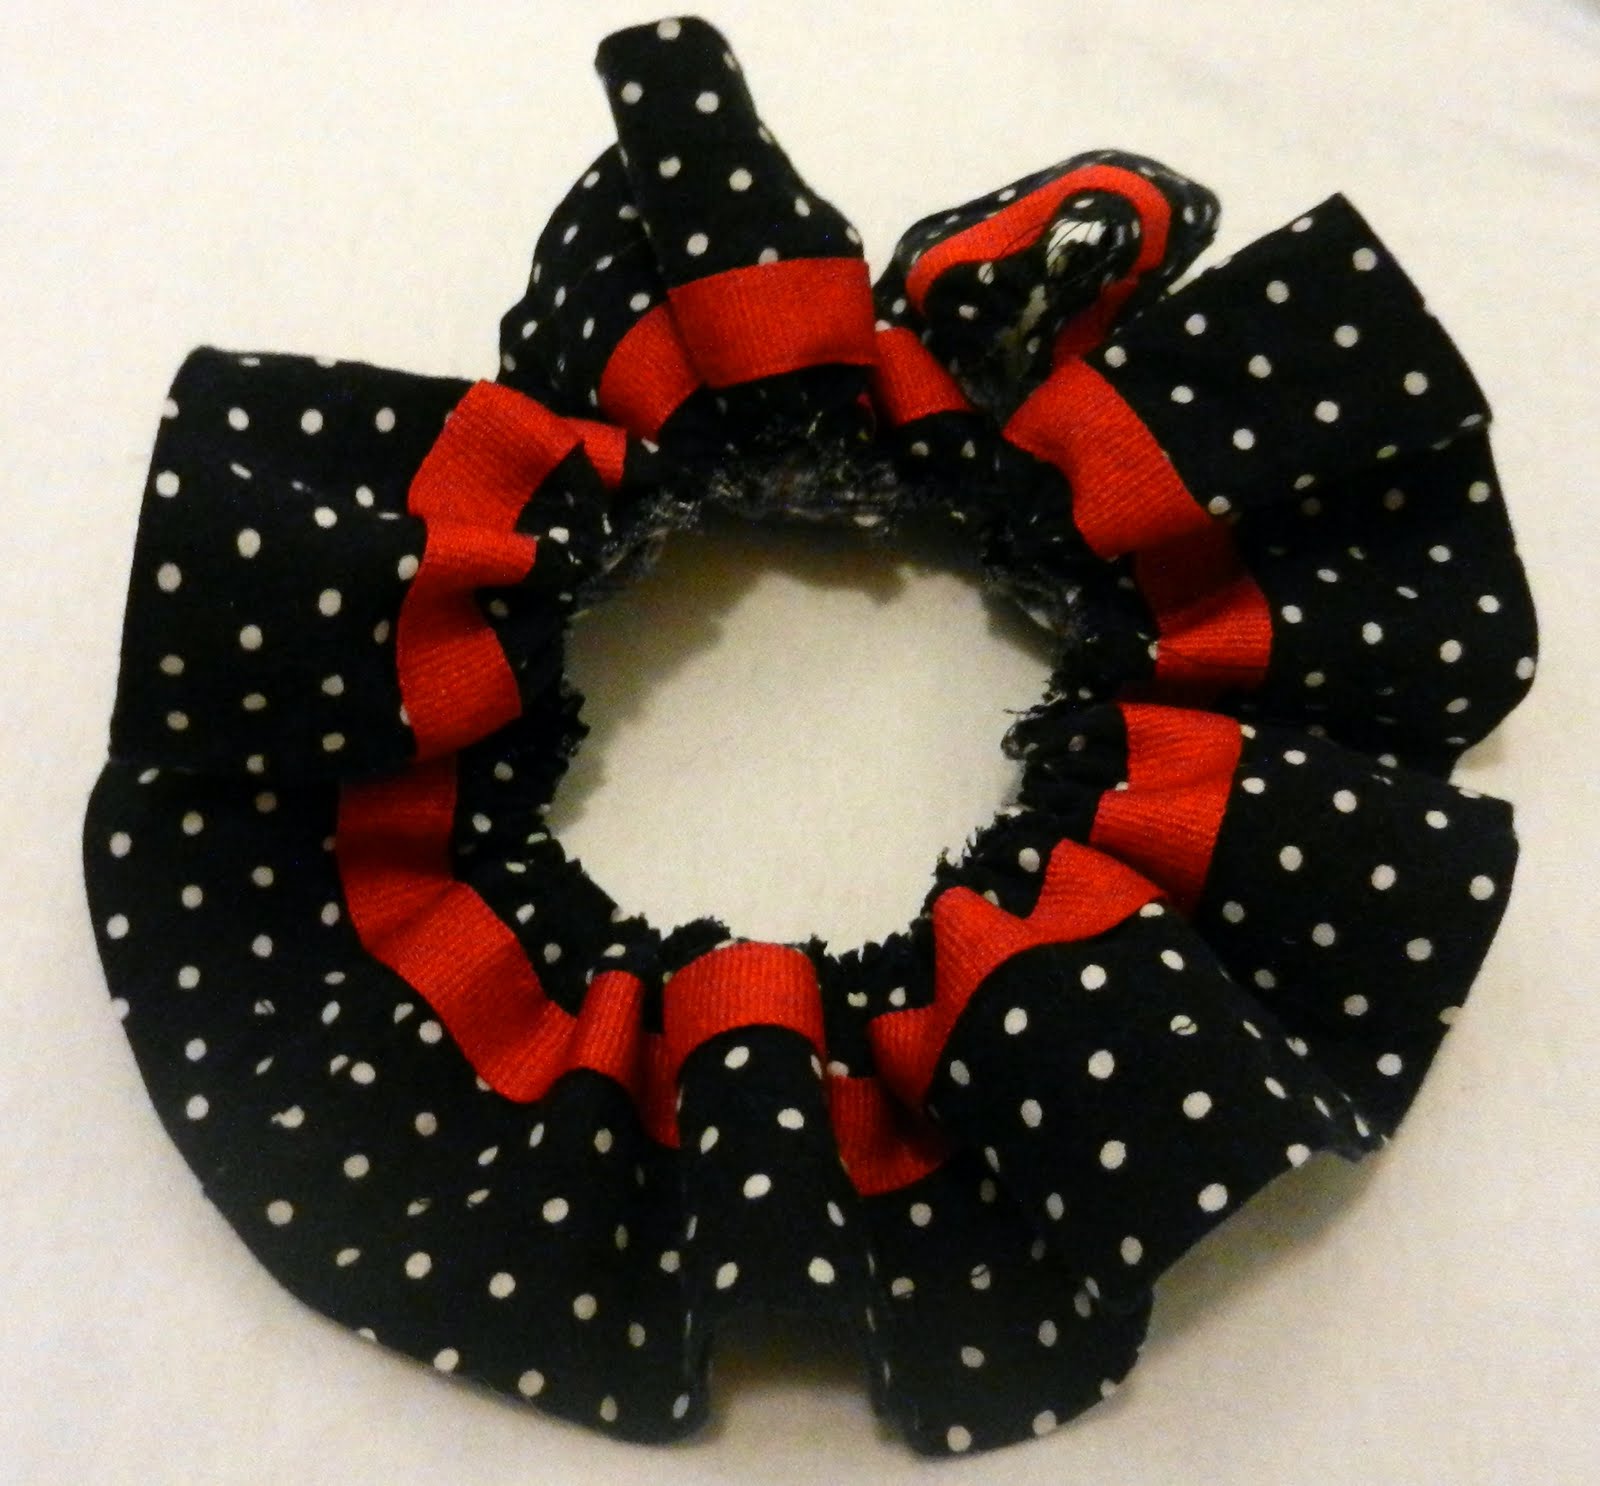
I changed the tension on my sewing machine and turned the strip of fabric from the dress into a frilly ruffle.
I lined the ruffle up to the shirt and pinned it in place (right sides together).
I used my sewing machine to sew the ruffle to the shirt. 

This shirt is so much cuter with the ruffle!
I haven't sewn too much lately was excited to be using my sewing machine so I decided to make a matching headband.  I used more fabric from the dress to make a ruffle embellishment.  I started by stitching together a rectangle piece of fabric.
I turned it right side out and used my sewing machine to gather the fabric into a ruffle (you can stitch this by hand if you don't have a sewing machine).
I folded each end and sewed it so there wouldn't be any raw edges.
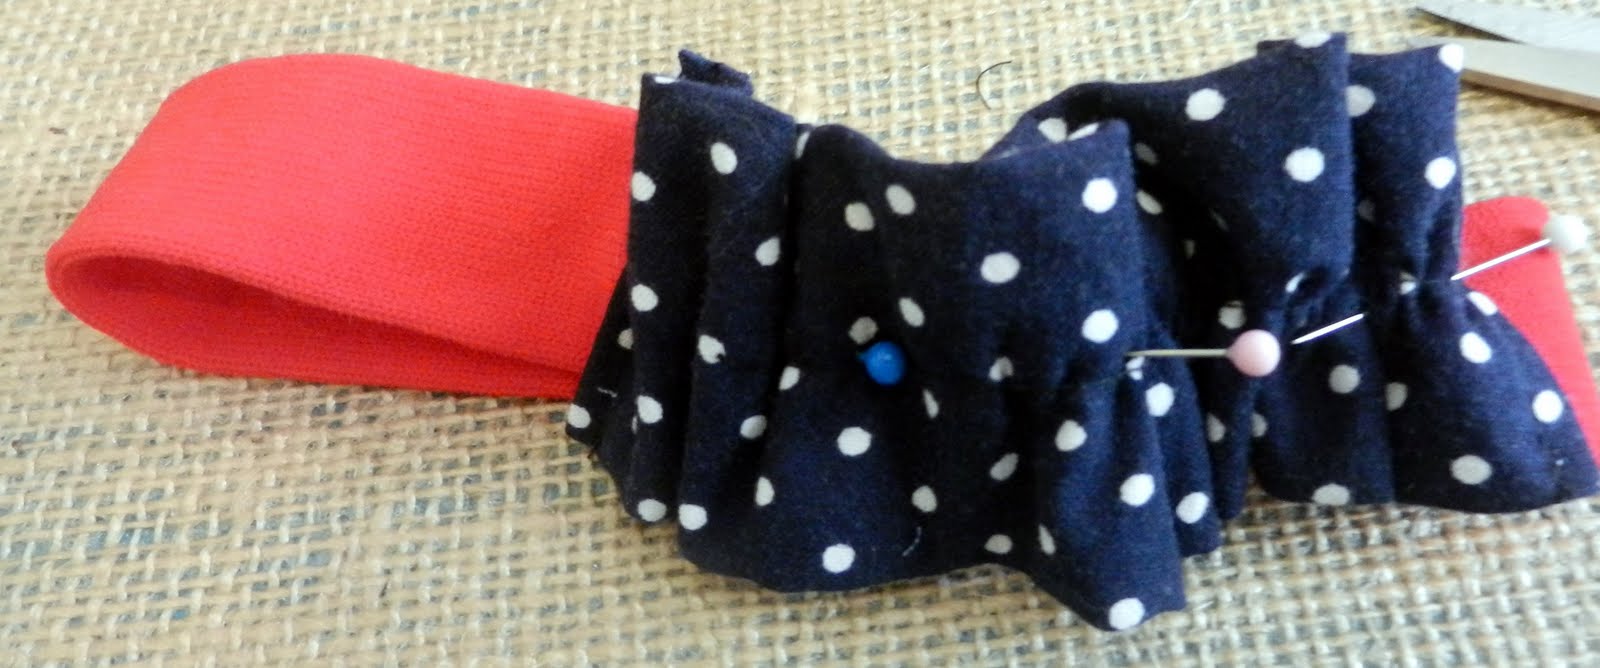
I pinned my ruffle to a red stretch headband and used my sewing machine to stitch it in place.
Next I tried to get my daughter to pose in her new holiday shirt and headband. for a couple of pictures.  Do you know how difficult it is to get a stubborn toddler to wear something at your request?  Very difficult!  She finally agreed to wear the top and headband with turquoise shorts and her Sea World Shamu slippers.


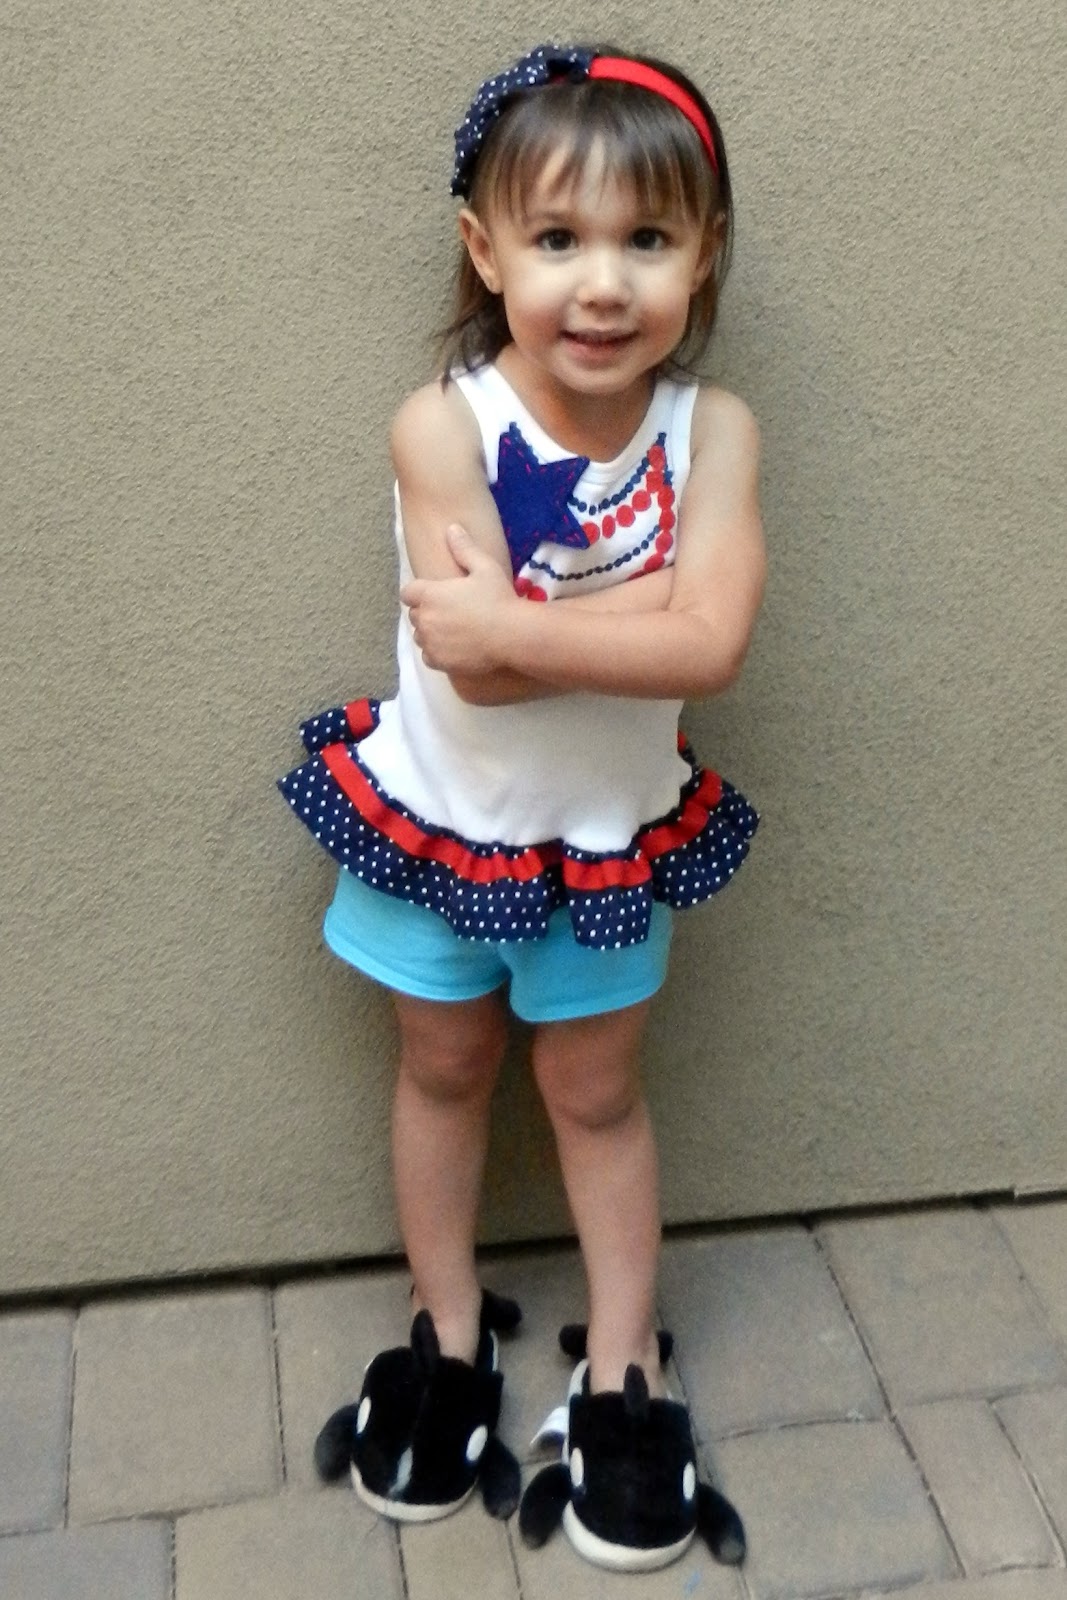
I'm looking forward to a fun fourth of July and all the cute pictures I'll have of my daughter wearing this shirt while we watch fireworks.

We are currently on our way to California for a family vacation.  We will be spending most of our time at Disneyland and are really looking forward to getting out of the Arizona heat!  Did you know it will be almost 120 degrees this week in Arizona? 

If I'm not too busy on vacation, I will be linking this post here.
 

Saturday, June 25, 2011

4th of July Necklace Shirt

Painting a necklace on a shirt is certainly not a new idea.  I've seen these cute shirts everywhere.  I remembered that I made this type of tank for my daughter to wear on 4th of July last year.  The red and blue painted necklaces were perfect for the holiday.  I used red fabric paint to outline a felt star with dots and then hand stitched it to the shirt. 
We were in San Diego last year on the 4th.  Unfortunately the only picture I have of my daughter wearing the shirt is of her using the handrail at the zoo to swing like a monkey. 
I'm sure the top still fits her but it probably could use a little length.  I plan on adding a few ruffles to the bottom for a festive tunic she can wear this year with leggings.

A couple of years ago I started making my daughter shirts and tanks with painted necklaces.  I found an easy tutorial online somewhere but can't remember the source.  I apologize if it was from you!  You can use a variety of fabric paints to create the necklaces.  Initially I was using Tulip's dimensional fabric paint but later started using Tulip's soft fabric paint.  I started by ironing a crease down the middle of my shirt as a guide.  I slid a piece of cardboard inside the shirt to make sure the paint did not bleed to the back.  I used the back of a pen to create the beads on the smaller necklace by simply dipping the pen in the paint and gently stamping it on the shirt.  I started in the middle and worked my way to the neckline for half of the necklace strand. I repeated on the other side to complete the first strand.  I used the back of a large marker to paint the larger beads.  The necklace can be left plain or embellished. 

I pulled out some old pictures of necklace onesies I've made in the past. 


Last year Jessica planned to dye a onesie from white to black.  She ended up with a steel grey instead of black.  You can read about her experience with fabric dye in her Wednesday Wowzer post here.  She asked if I could turn her onesie into something cute so I added a white necklace and pretty flower embellishment.  I love the white beads on the darker fabric! 

Remember that these can be done on long sleeve shirts too.  Last year my daughter wore her pink necklace shirt a lot.  I hand stitched a red and pink striped bow to the corner.  It was incredibly easy and dressed up an otherwise plain pink shirt!
I'm sure older girls would have a blast making these at a birthday party!