
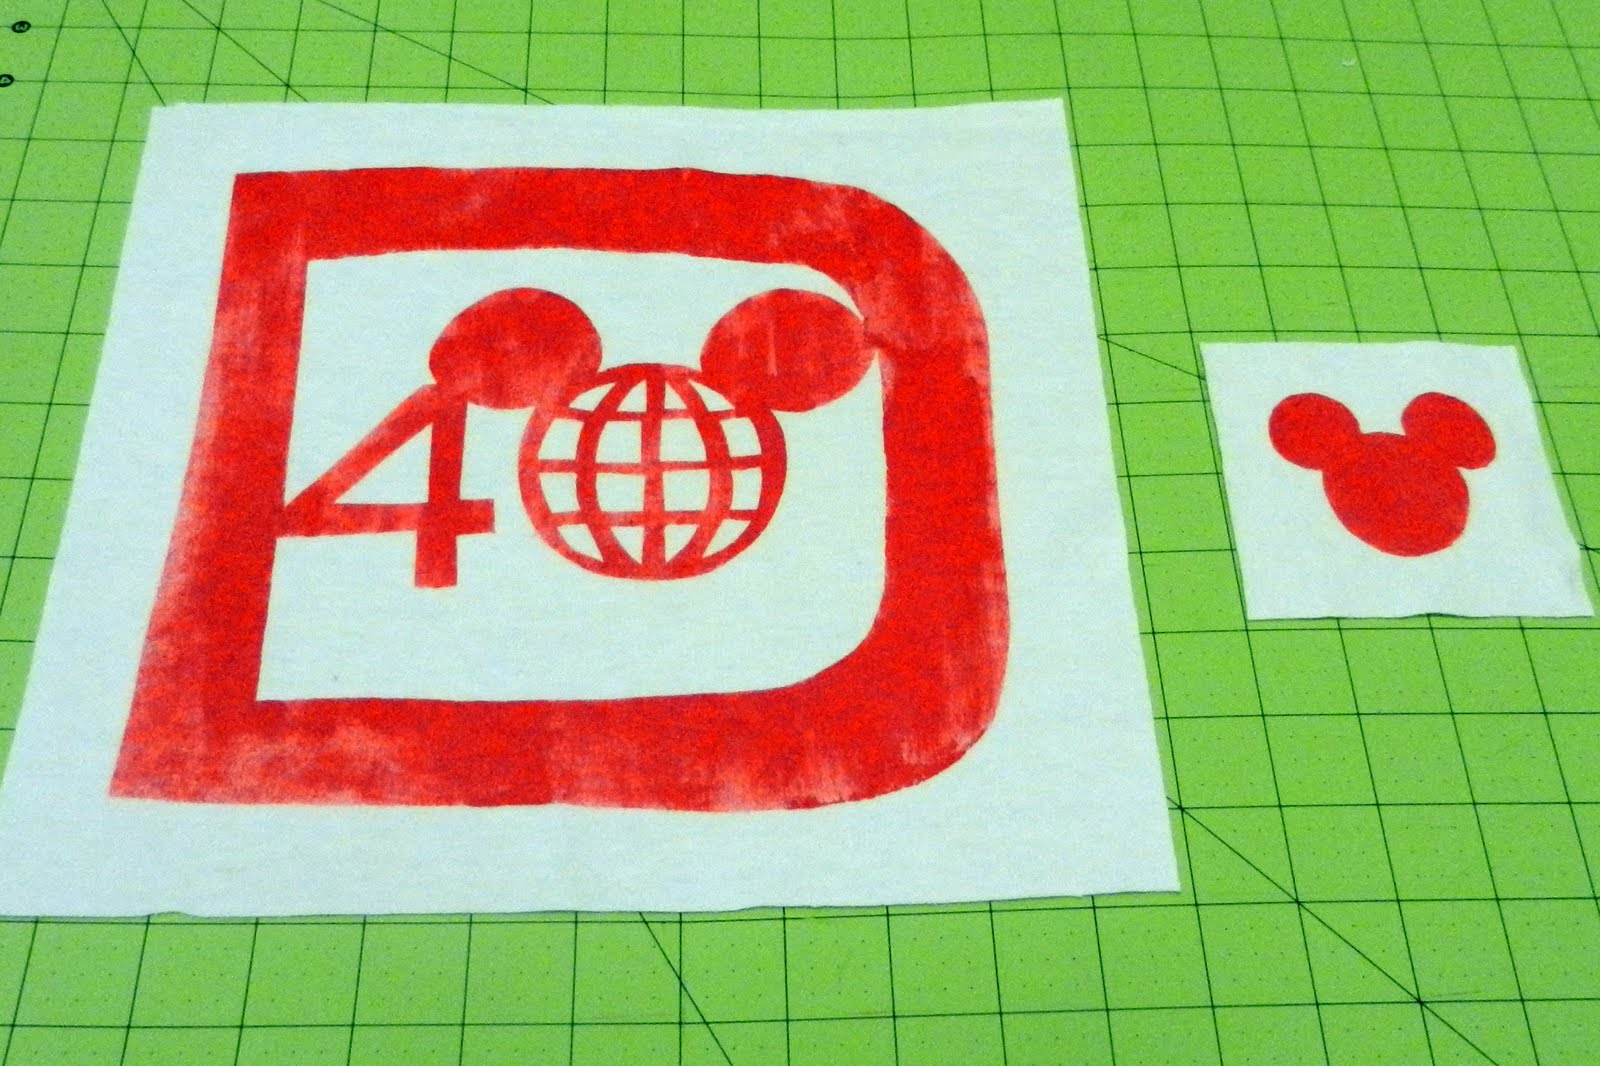
I rarely make any clothing items for my husband. I've mentioned before that we are big fans of Disney. I grew up going to Disneyland every summer and my husband went to Disney World frequently as a child. He recently pointed out a shirt online that he liked with Disney World's 40th anniversary logo. I figured I would try to make something similar and if the project failed, I would simply surprise him by buying the shirt online. I'm so happy with how my version turned out! The front has a small patch with Mickey Mouse. The back has a larger patch with the anniversary logo.

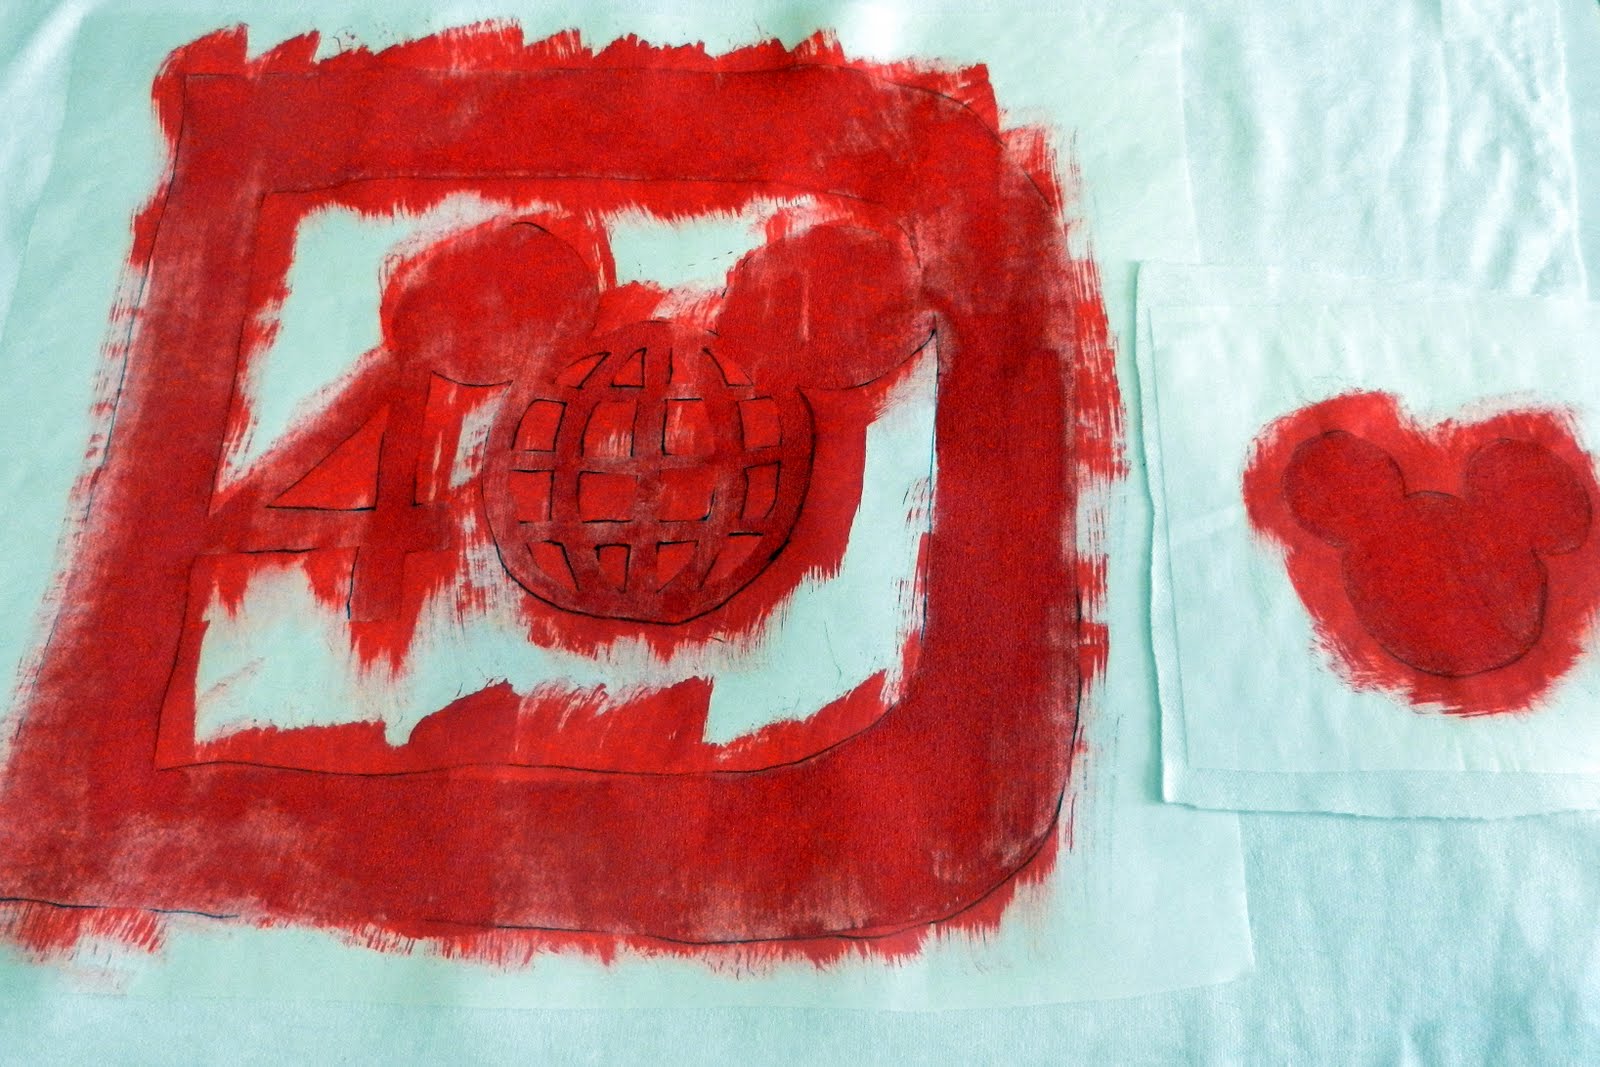
I found the logo online and enlarged it on my desktop.


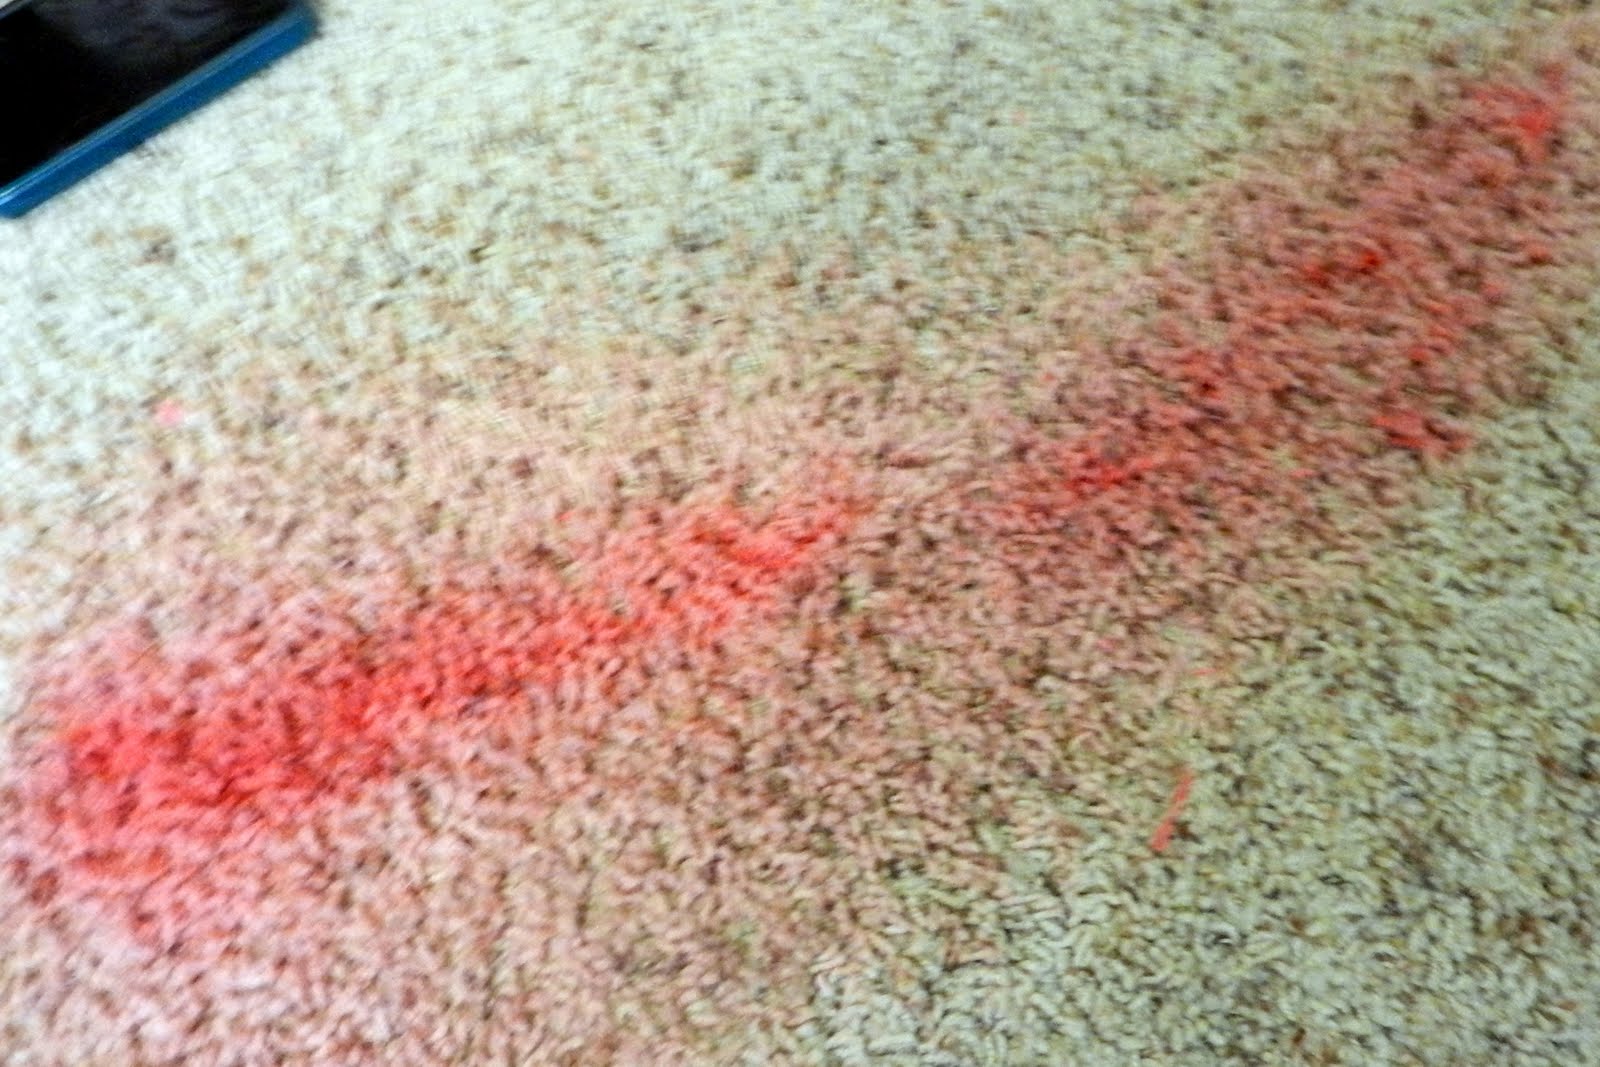
Before you start painting your design with fabric paint you want to make sure to spill it all over your beige carpet. Oops, never mind, that step is not mandatory. Yes, I did do that. But in my defense, it was because our psychotic cat attacked my arm causing my small container with paint to fly everywhere. Would you believe me if I told you the paint came completely out of the carpet with Resolve? It did! Here's a nice shot of the painted carpet:
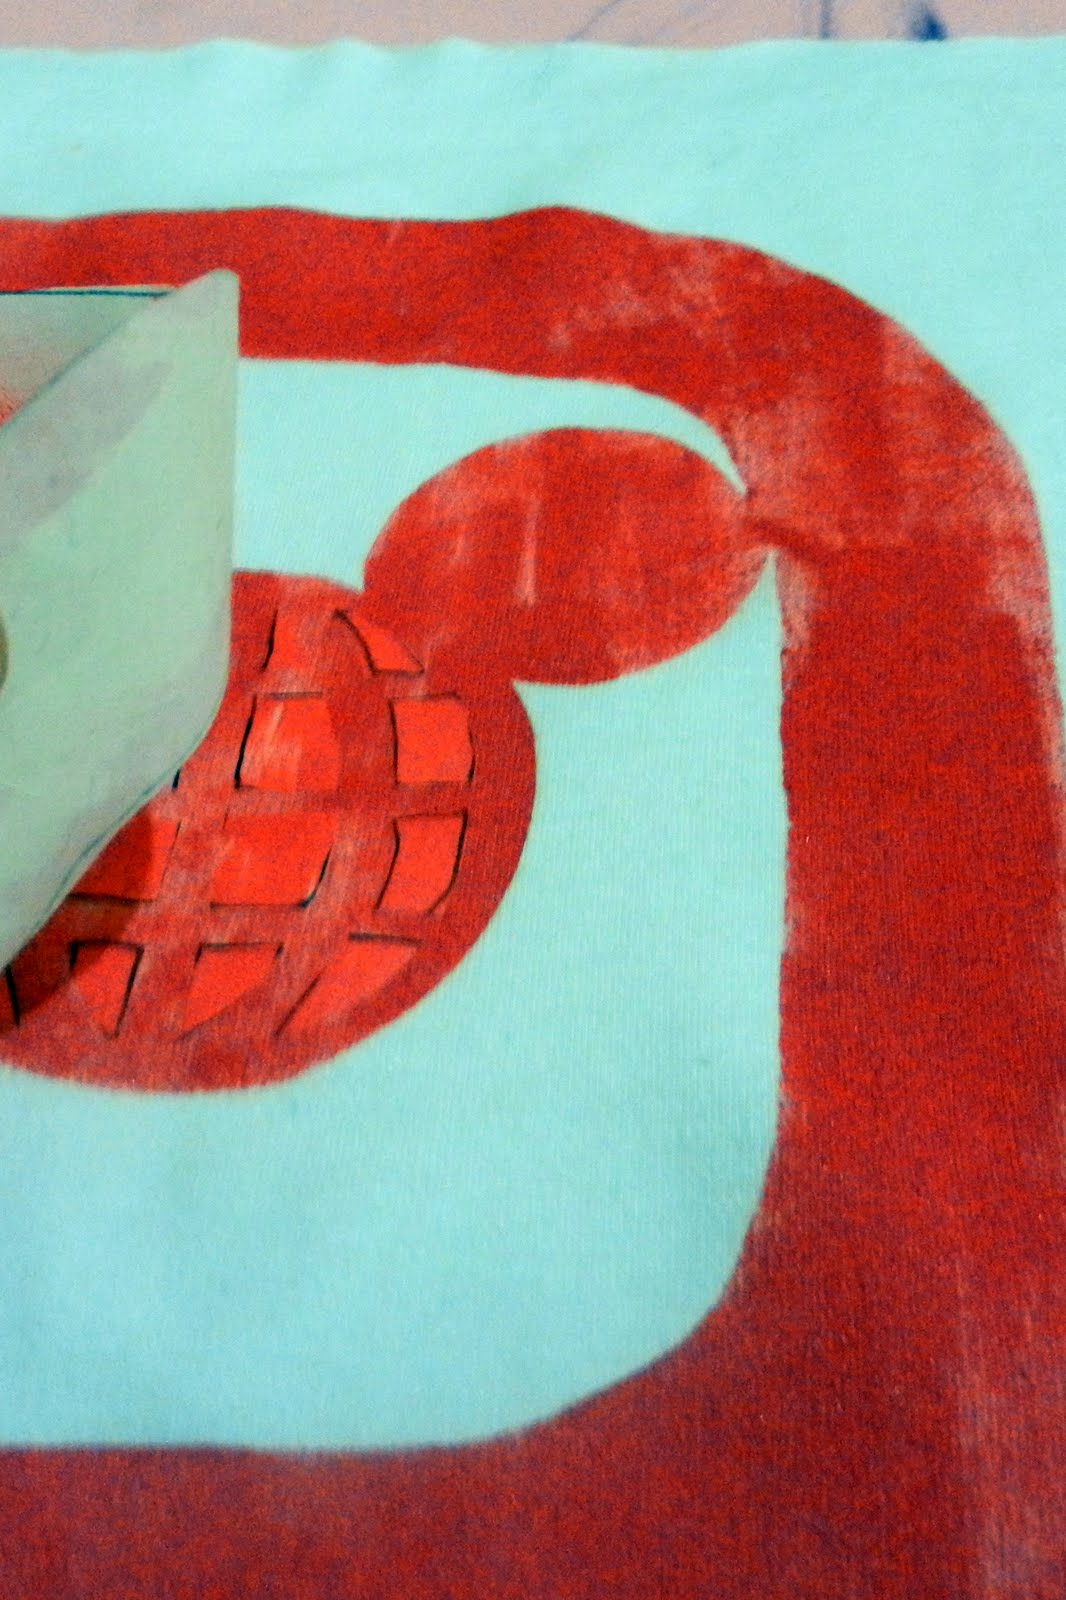
A few hours later I peeled off the freezer paper...
...and was thrilled with the outcome! It look exactly like I hoped it would.
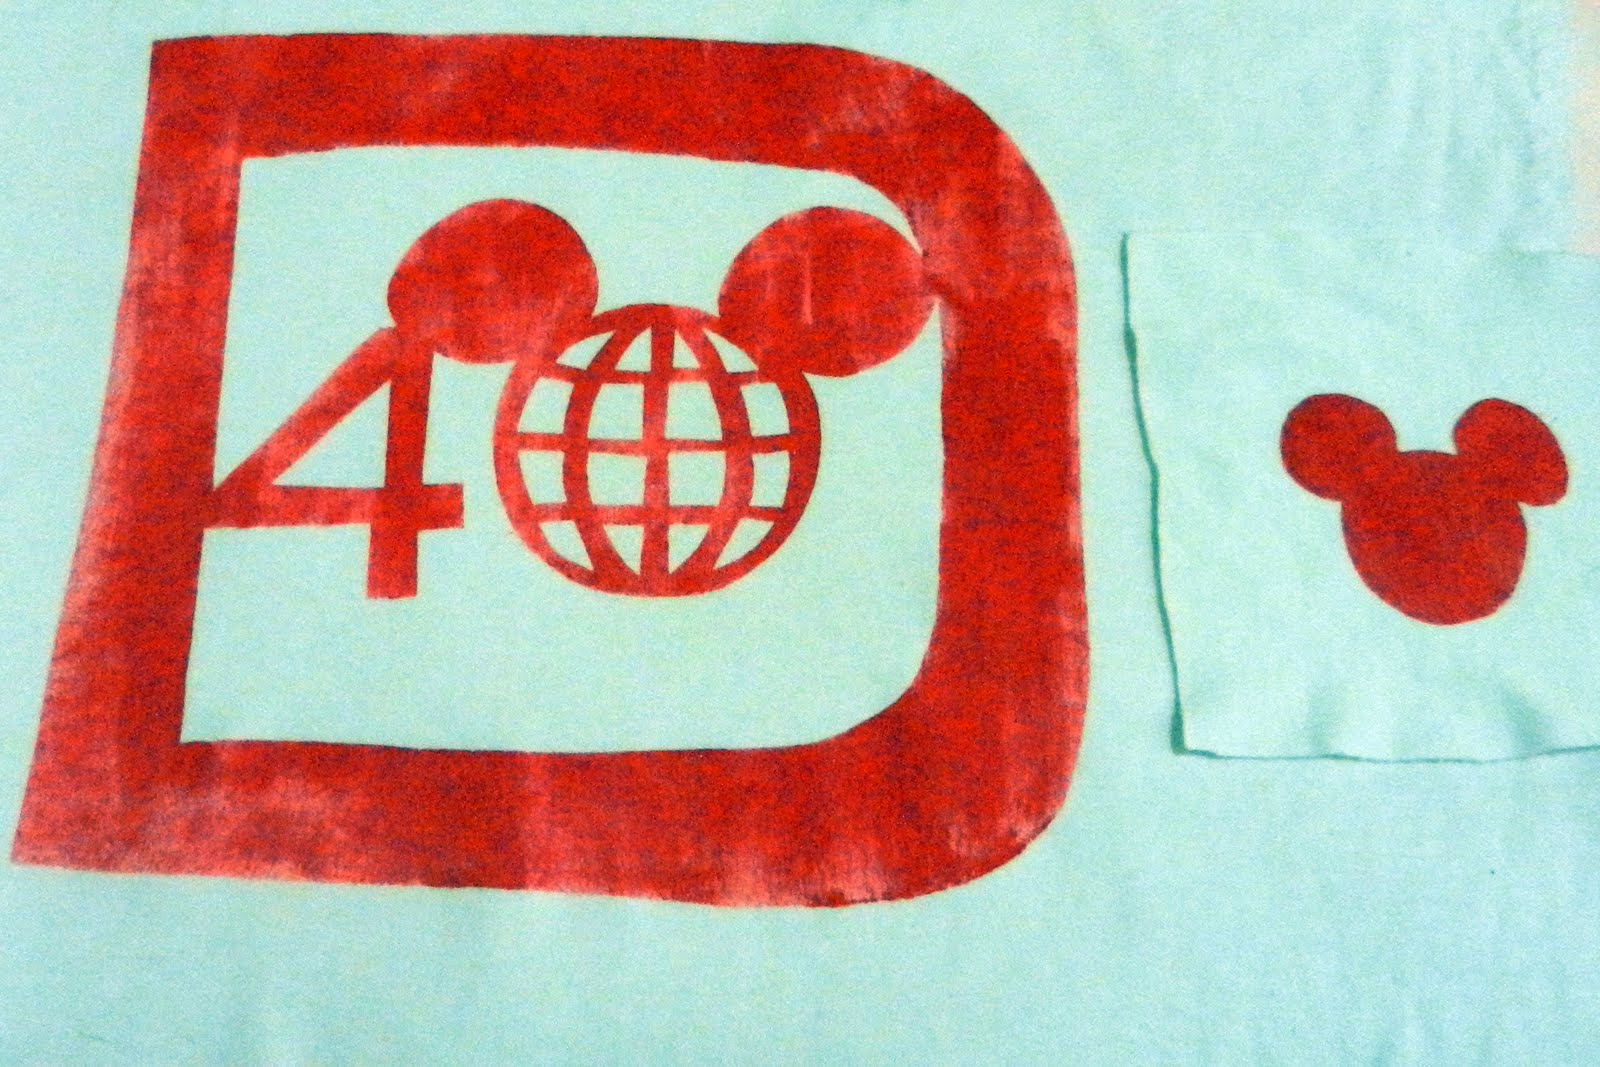
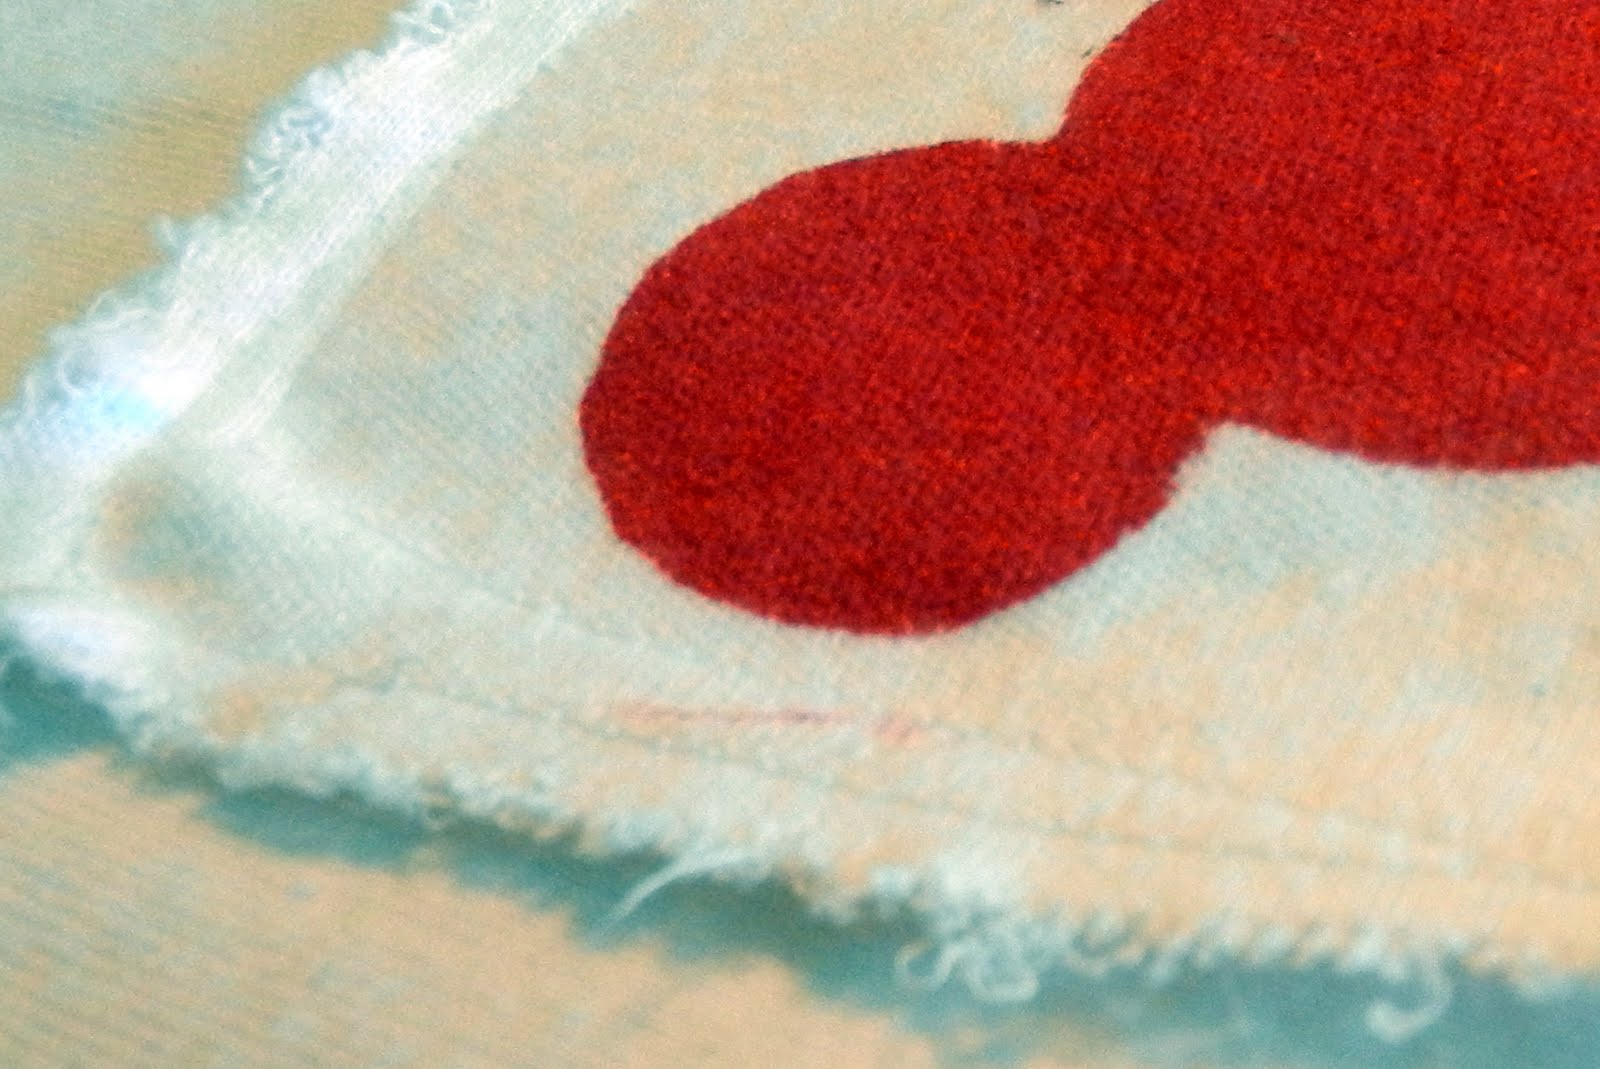
I trimmed the knit pieces to make patches.
Then I pinned the patches onto the shirt and used my sewing machine to sew them in place. I wanted the pieces to look like rough patches so I didn't sew in straight lines. I outlined each patch twice in crooked white stitches.

I washed the shirt, let it hang dry, and then roughed up the edges on the patches using a pair of tweezers. I just pulled at the fabric until it looked rough enough. I'm sure after a few more washes it will look more distressed.
I'm really happy with how the shirt turned out and I'm looking forward to seeing my husband wear it in Disneyland this week!


If I'm not too busy on vacation, I will be linking this post here.


6 comments:
CUTE! I love the design--maybe I can get my hubs to wear it! =D
Wow, great job. So sorry about the carpet...glad it came clean!
Great project, loved the simple tutorial even I can follow!
Great tutorial! Thanks for linking up to Share the Love Wednesday--hope you'll be back this week!
Mary
Great tutorial, thanks for sharing!!!
Whirlpool washer troubleshooting
Post a Comment