
Now I'll share how I made this:
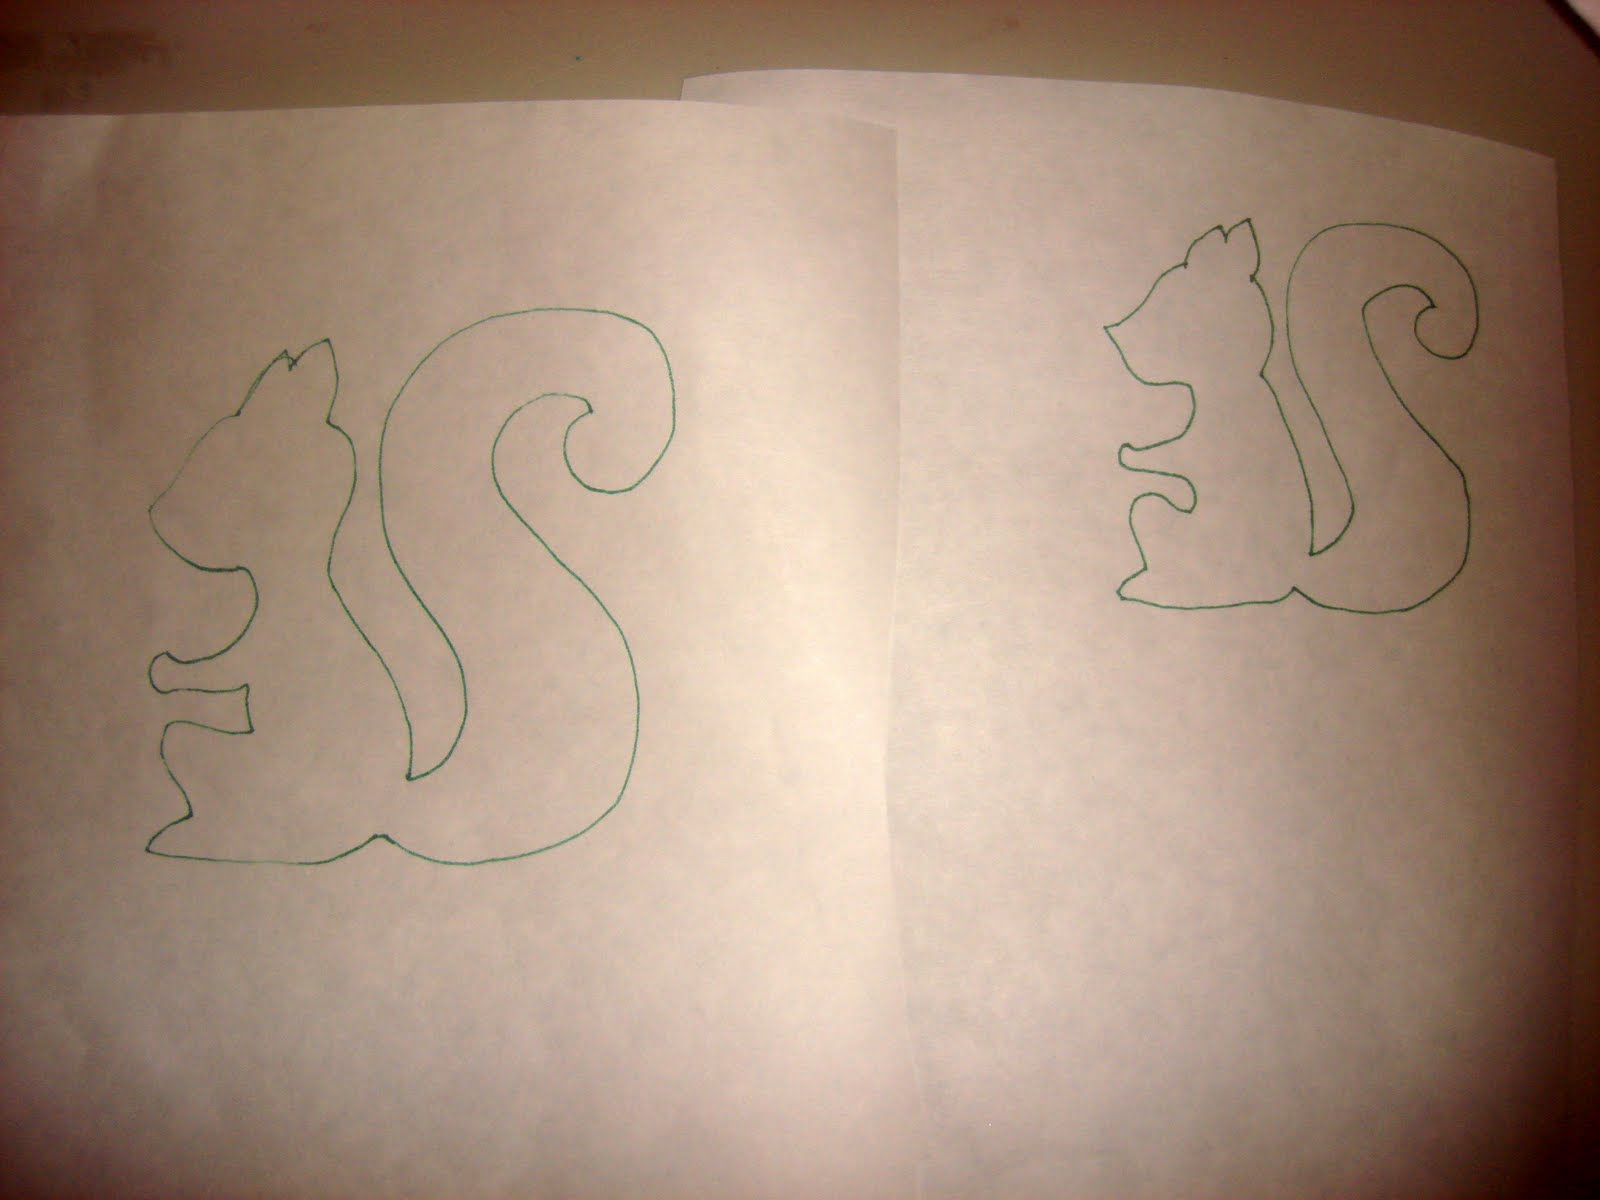
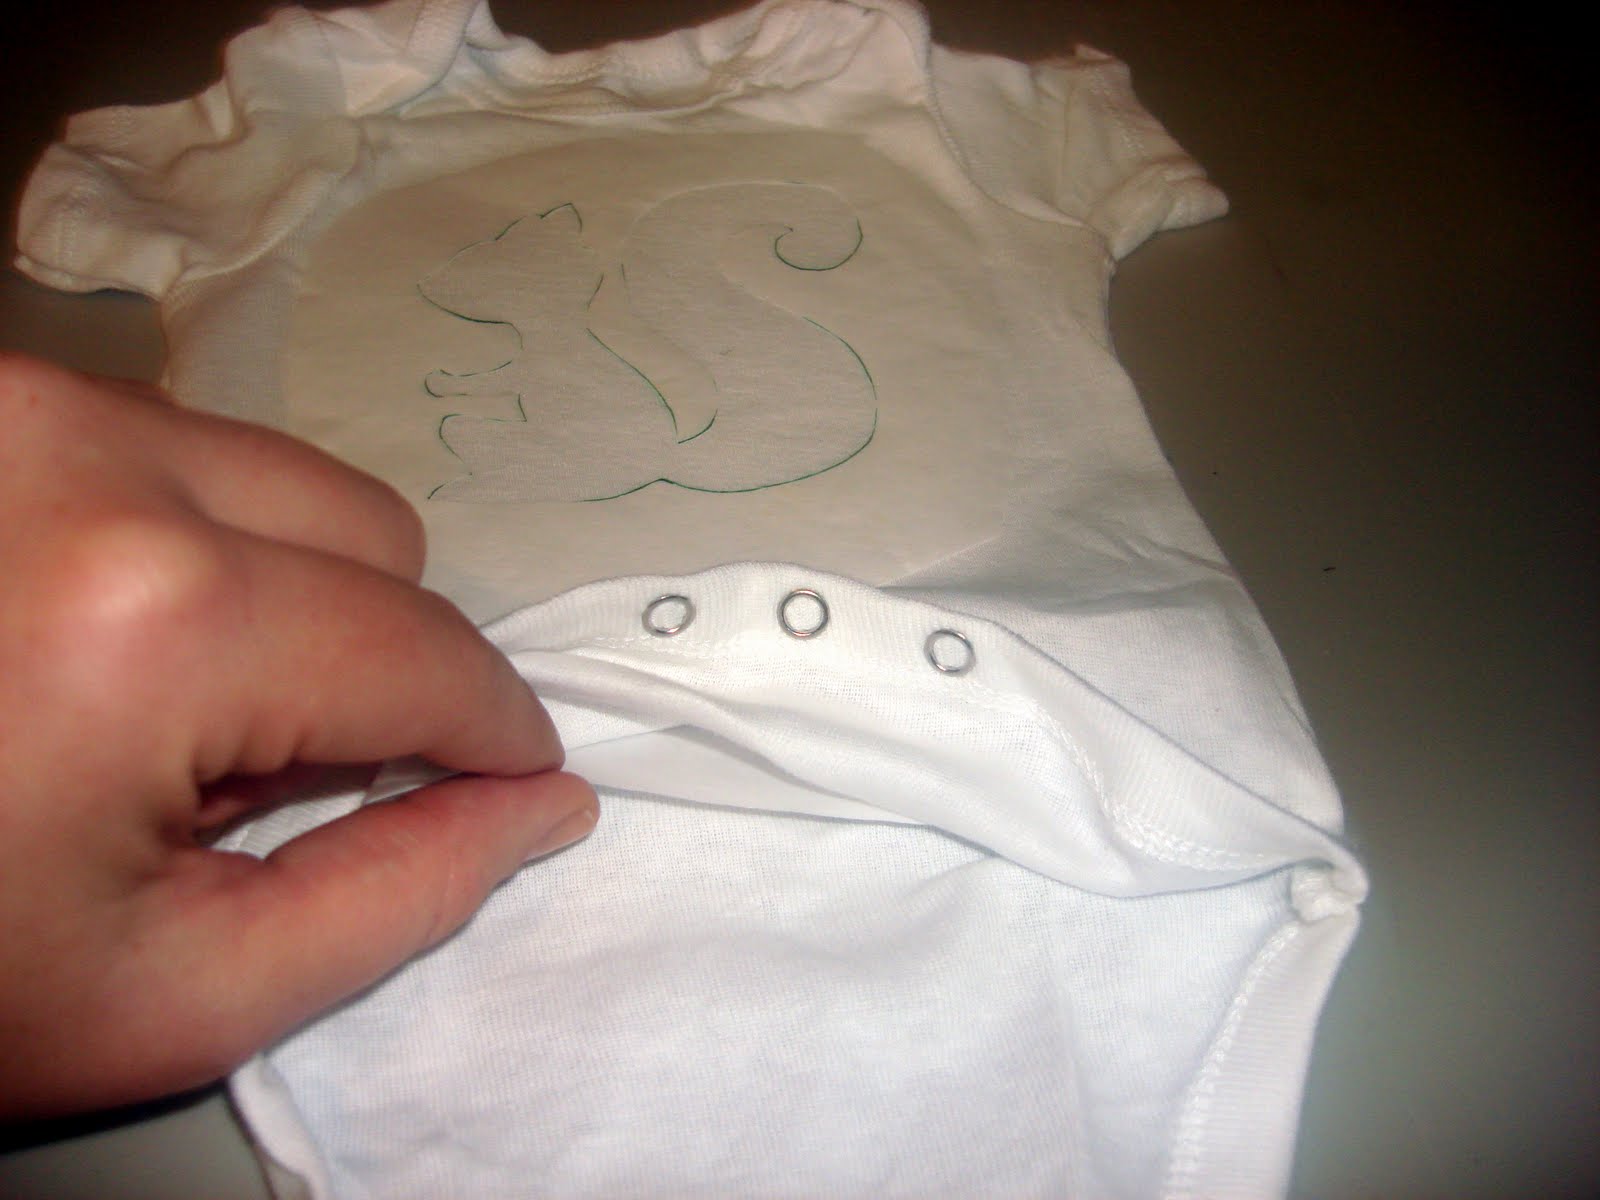
I started by tracing a squirrel silhouette onto freezer paper.
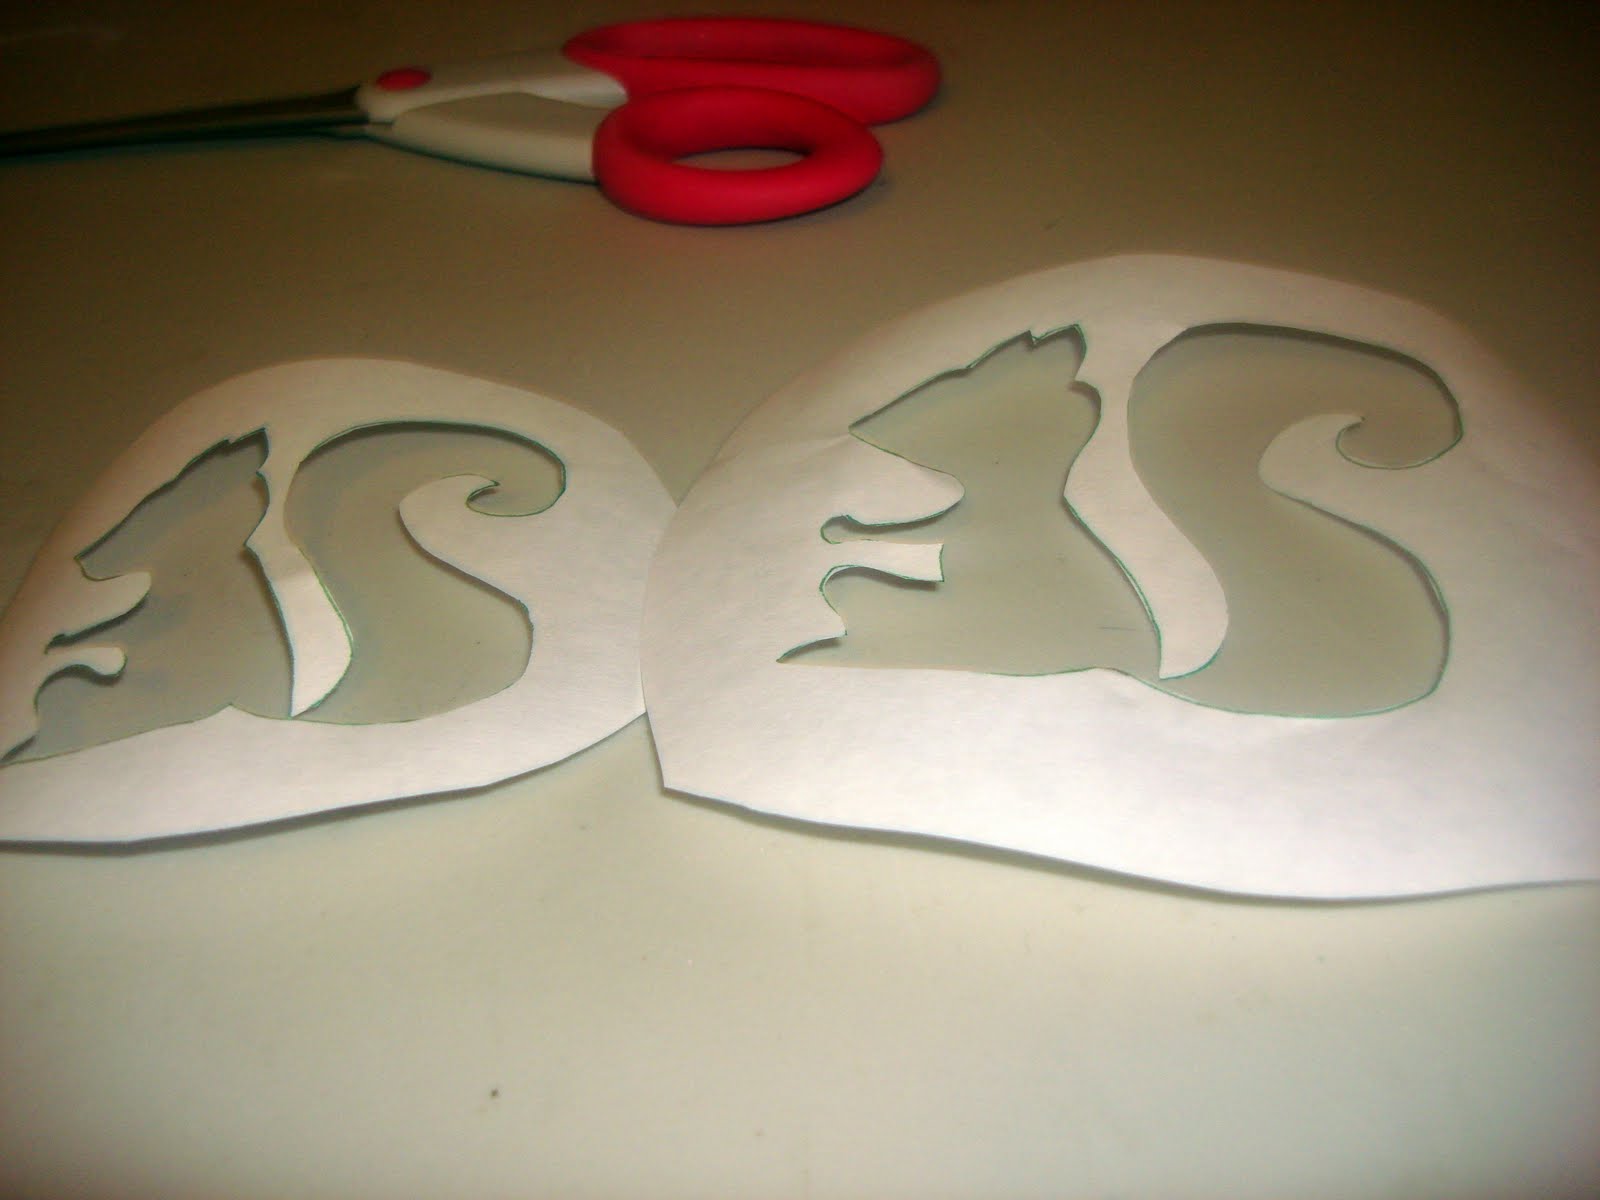
I cut out the images.
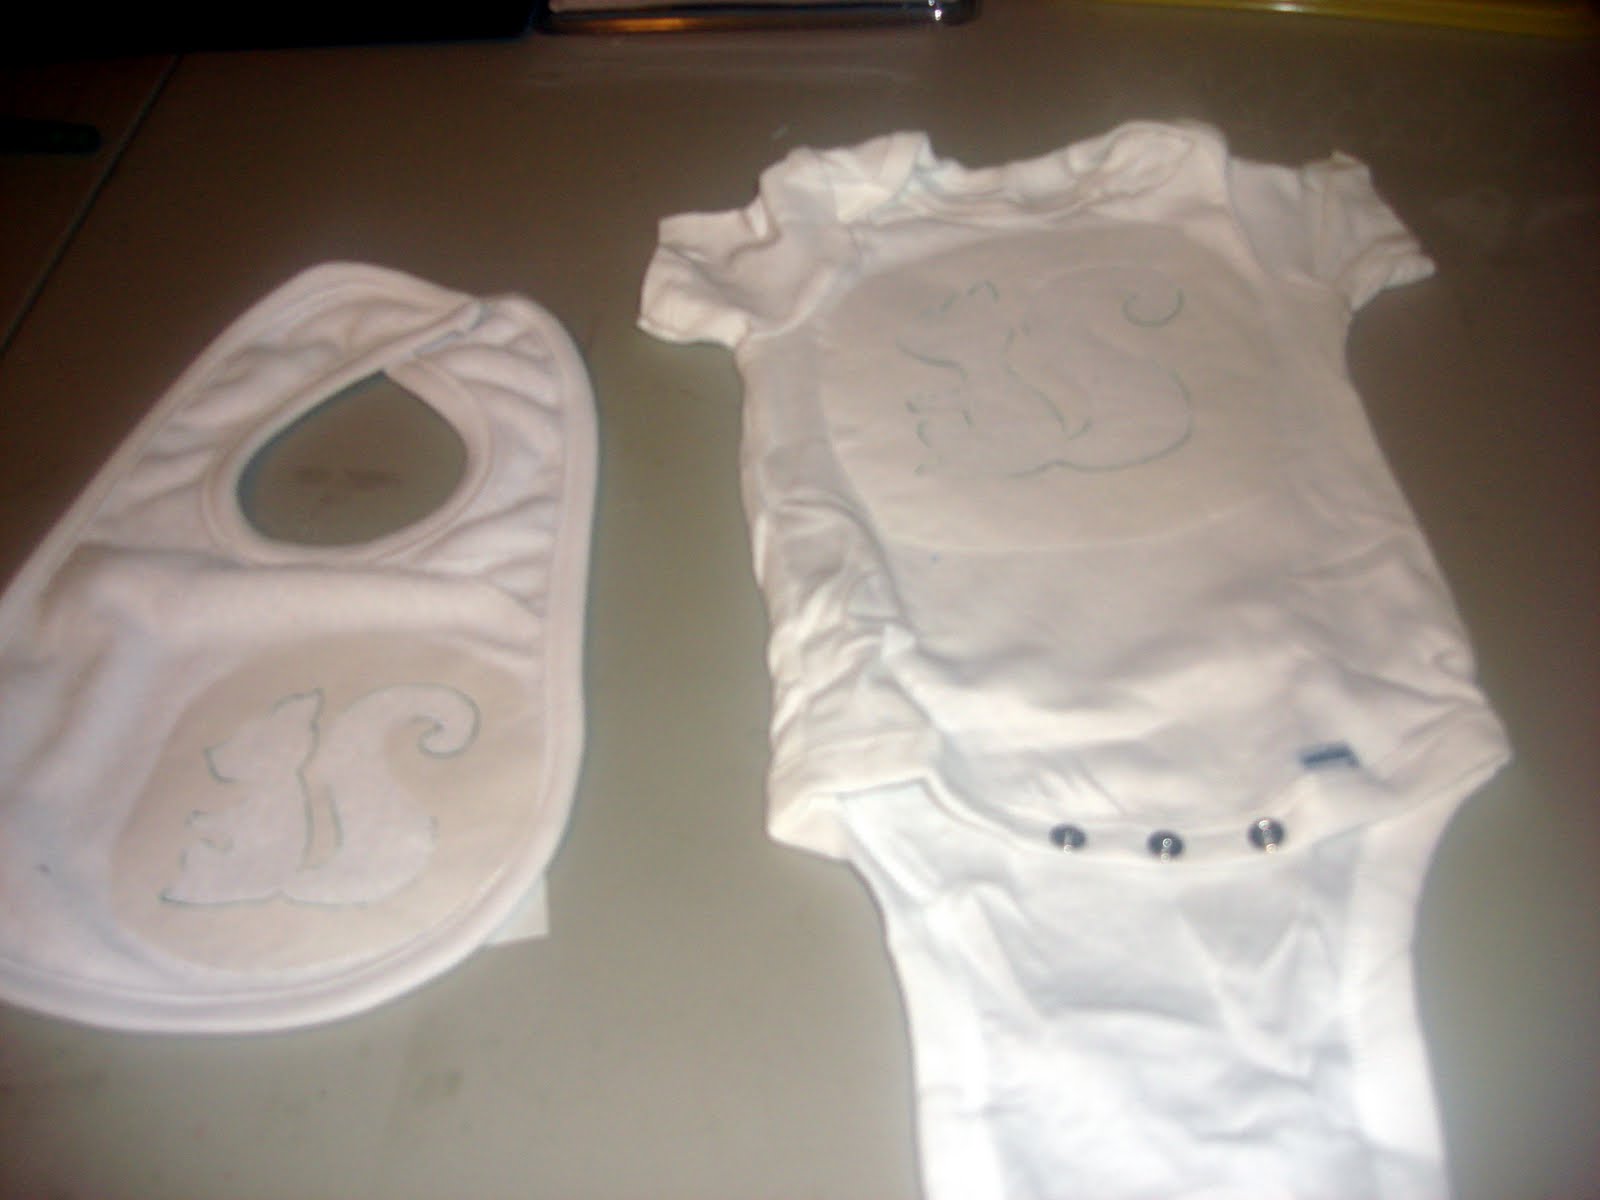
I ironed them onto a bib and onesie.
Very important step - place something (I always use a scrap of freezer paper) between your shirt layers so the paint doesn't bleed through.
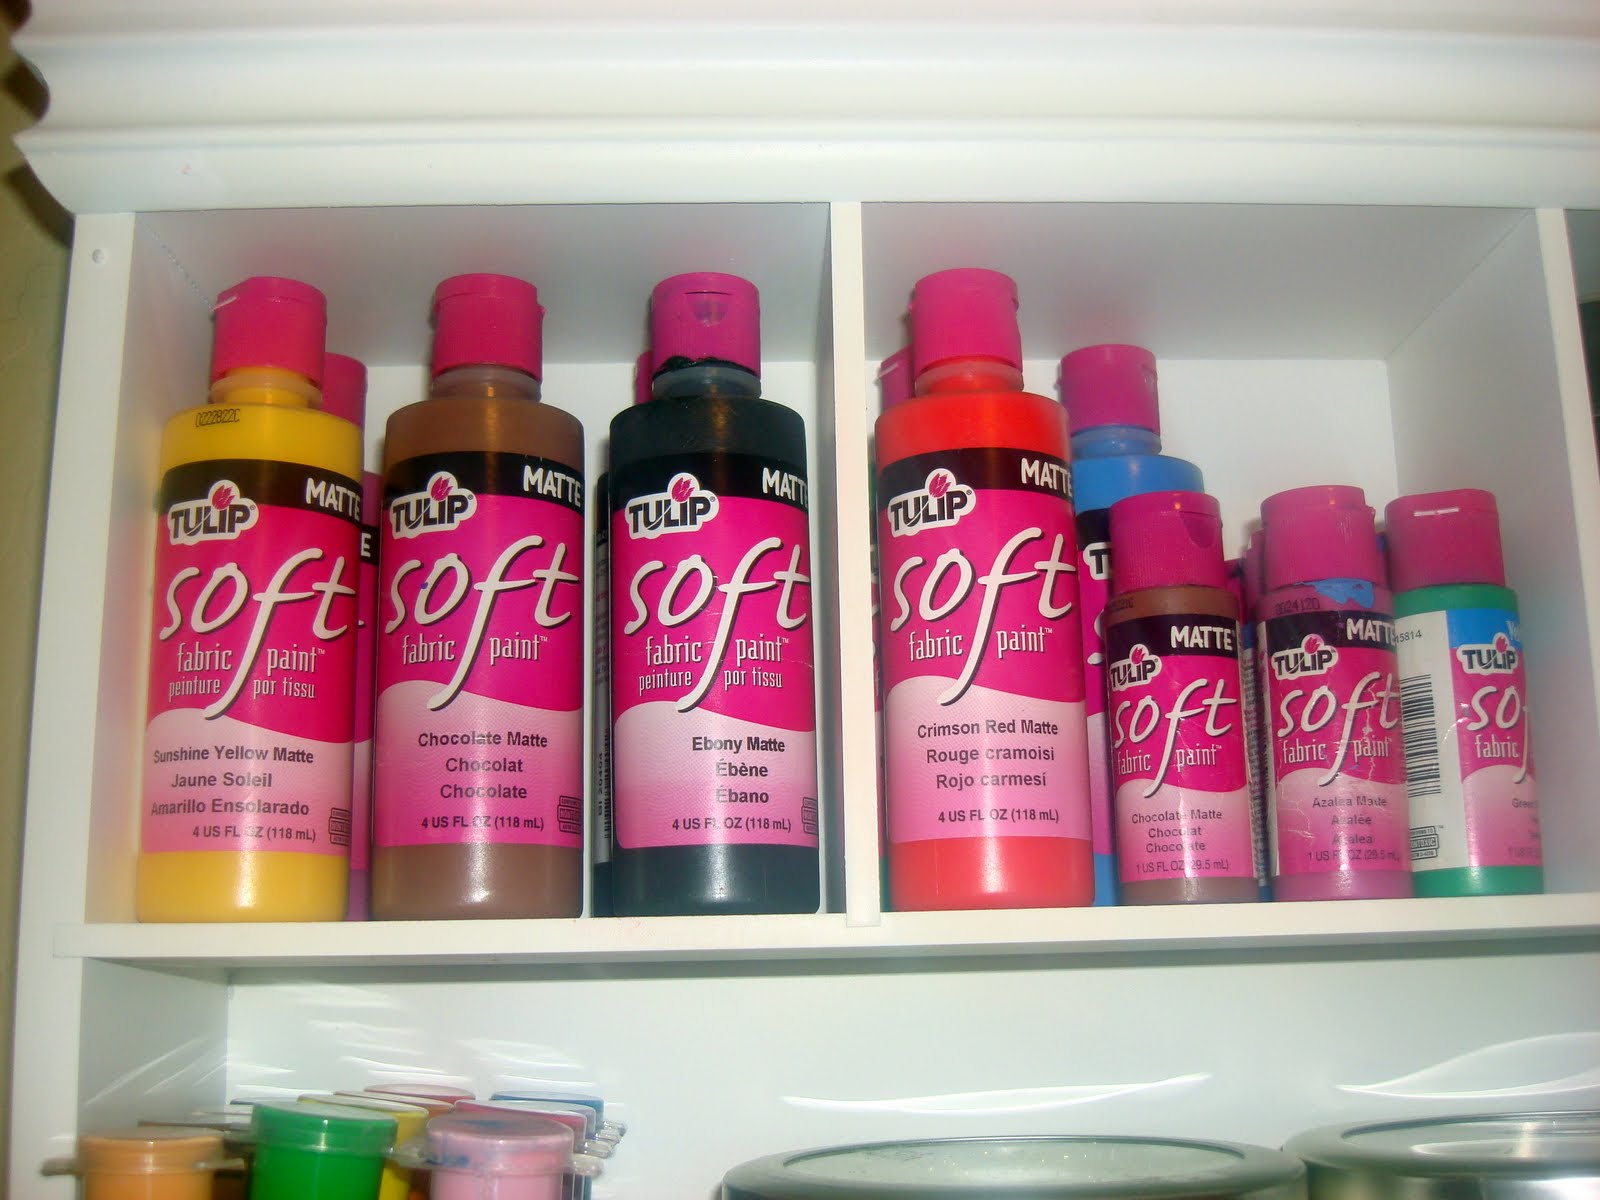
I picked out some paint from my nicely organized paint shelf (can you hear my genuine enthusiasm about my new shelf??).
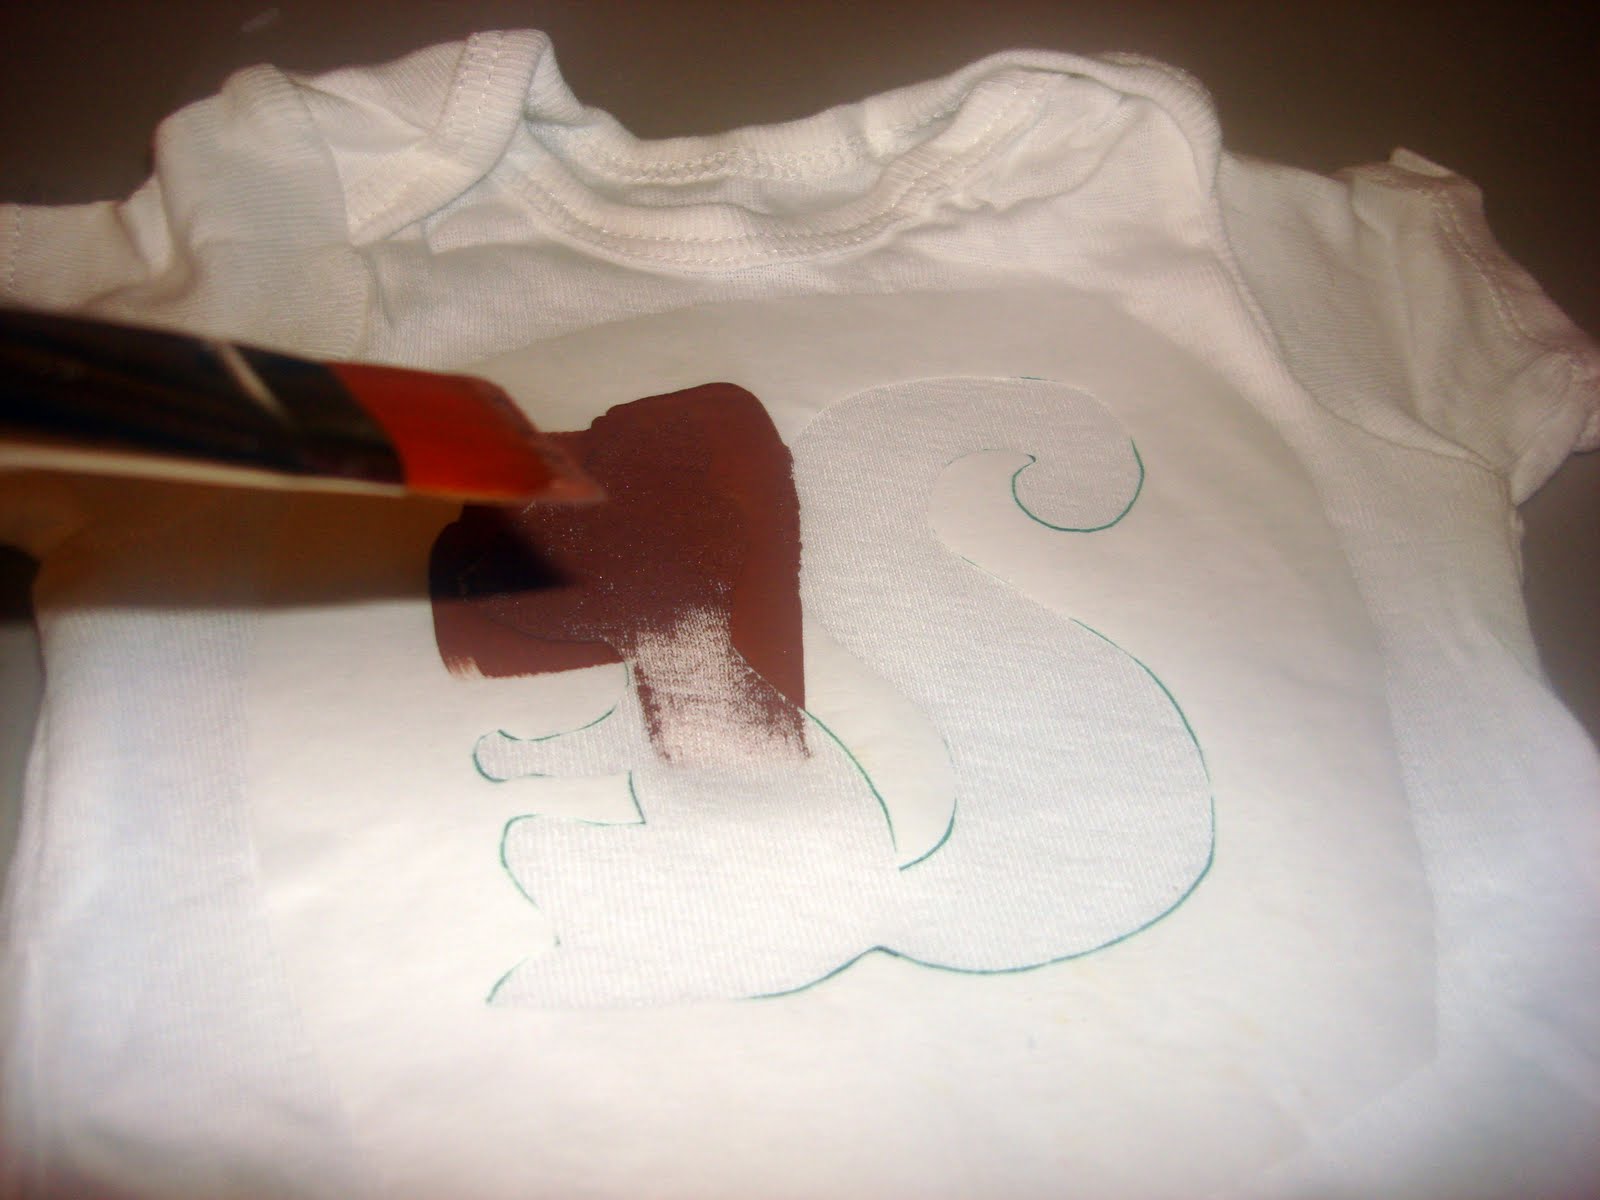
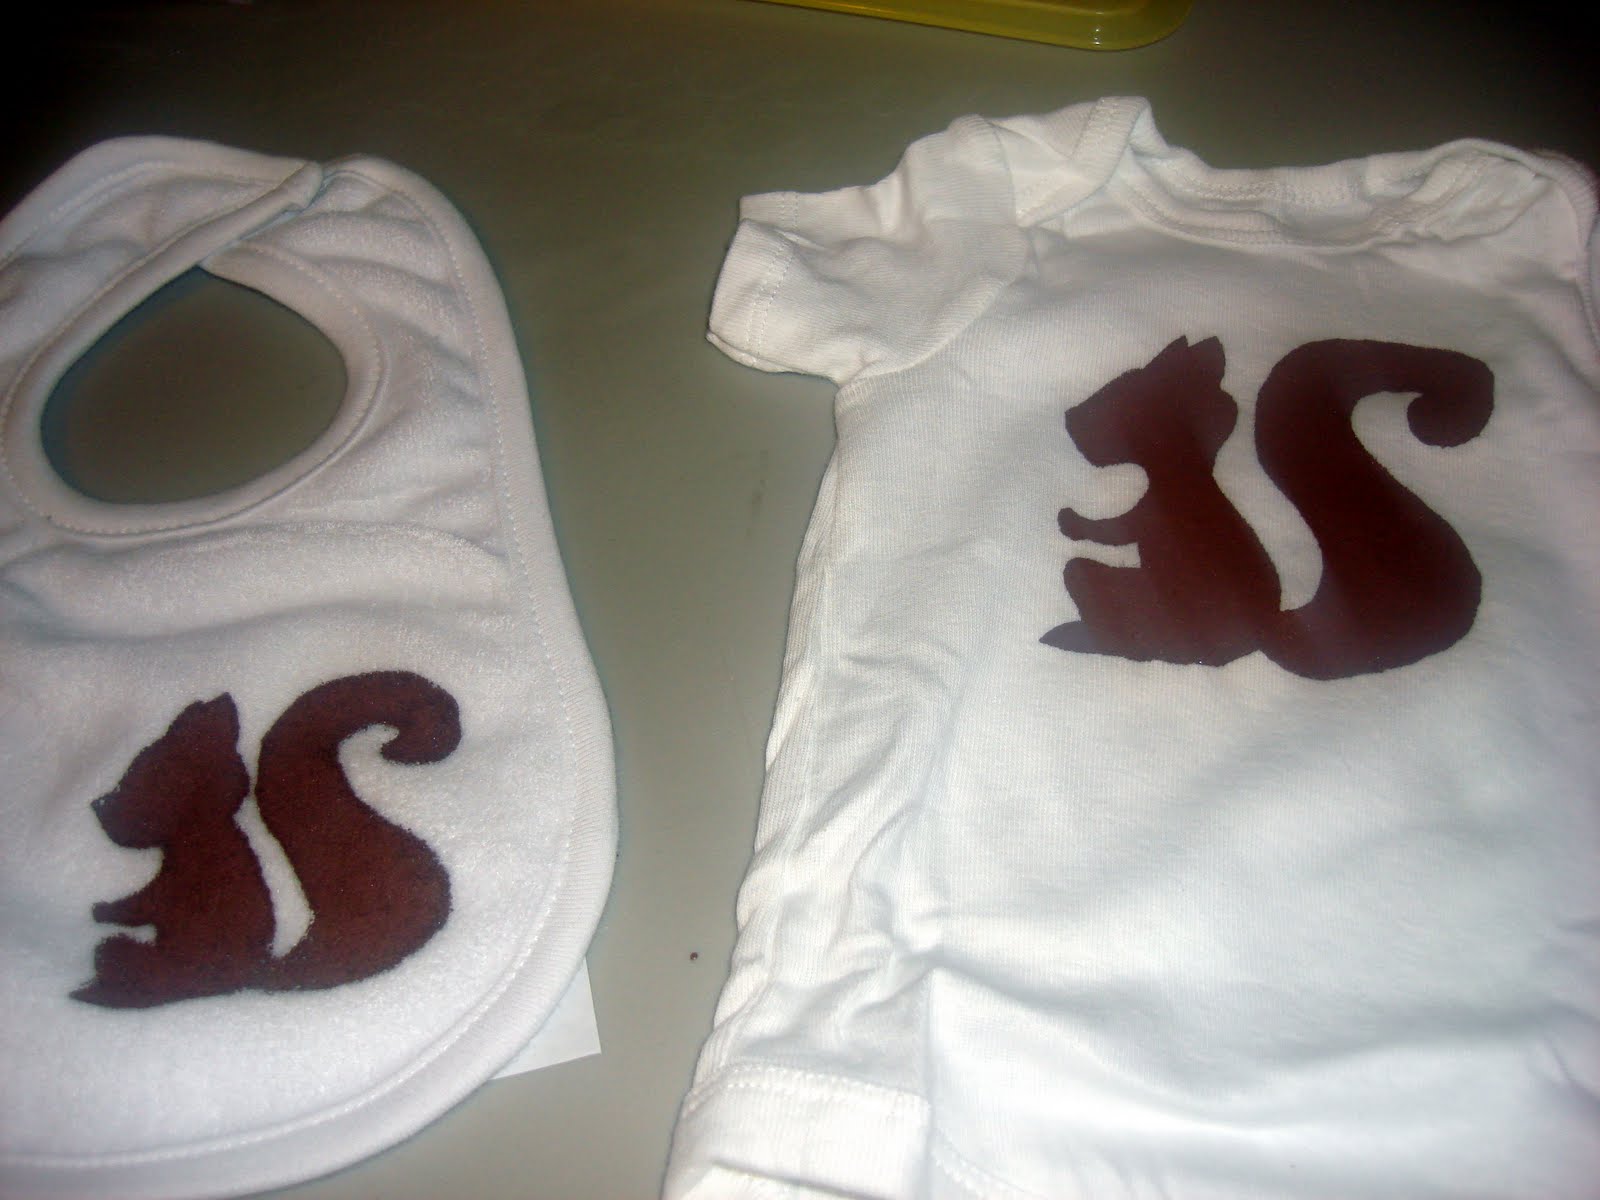
Next I painted the squirrel onto the fabric.
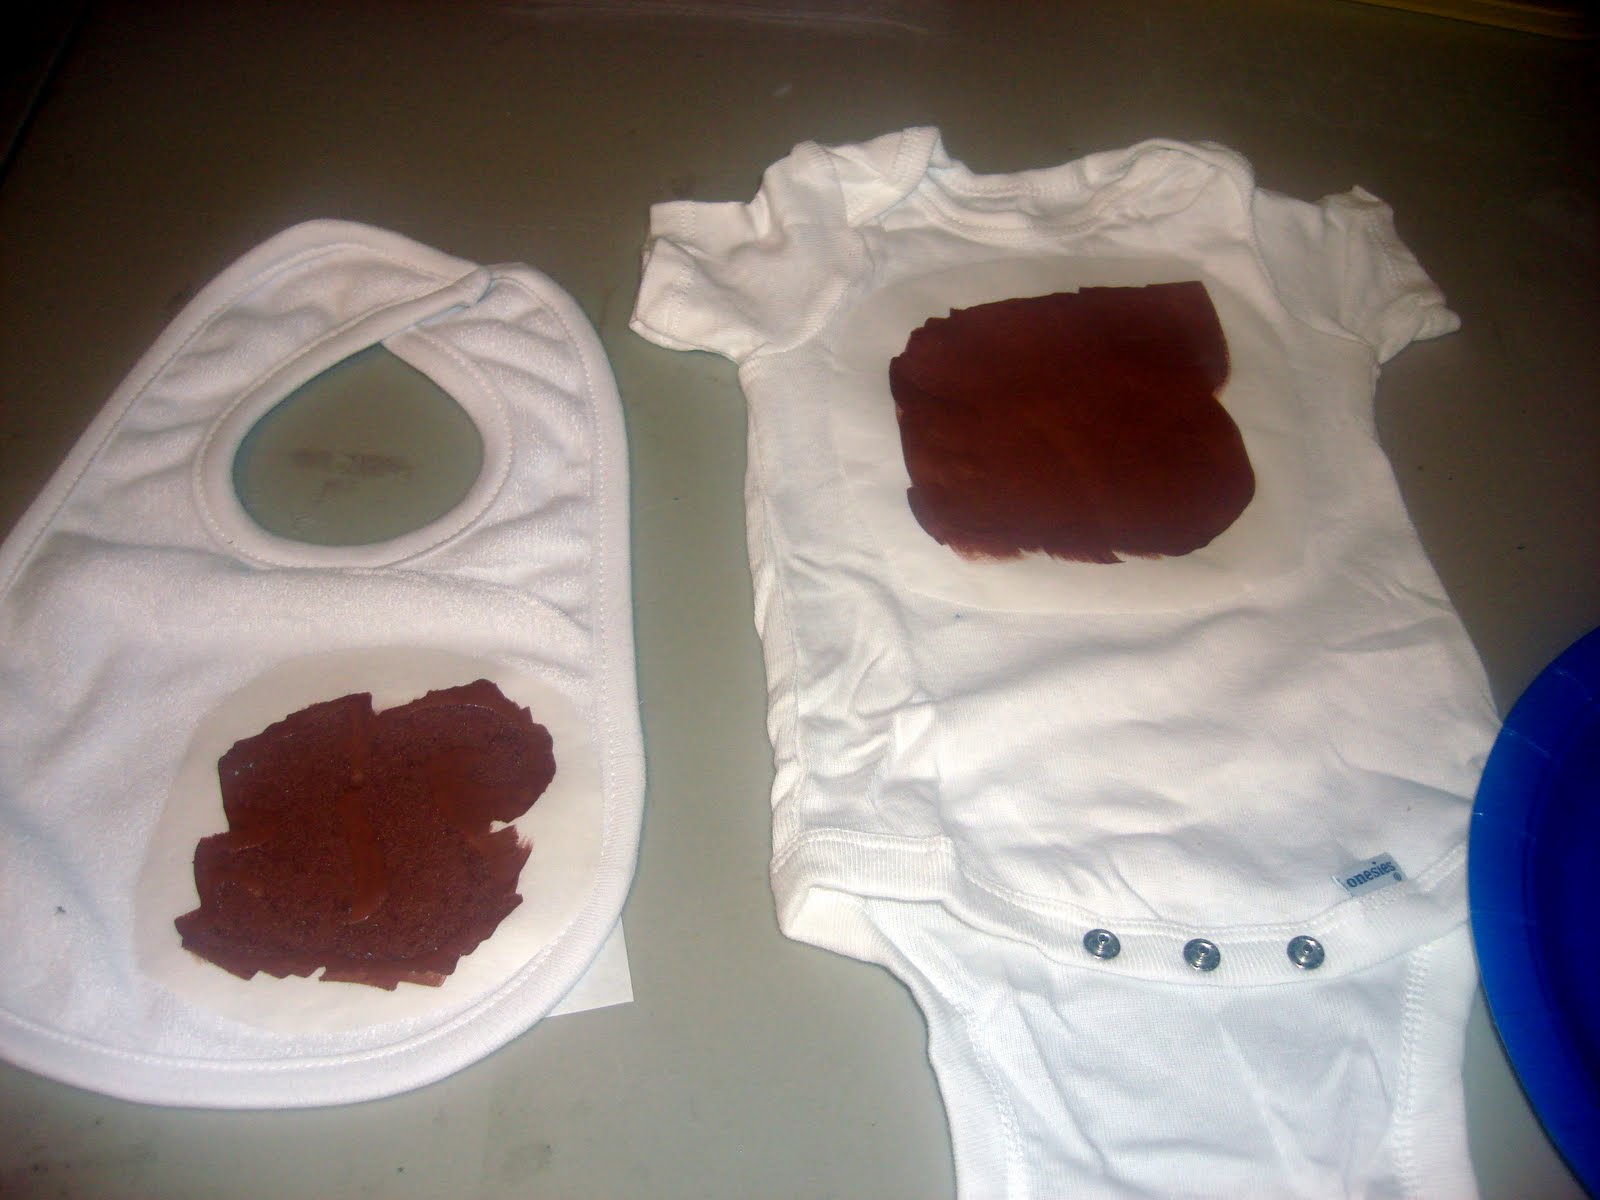
They looked like a couple of blobs...
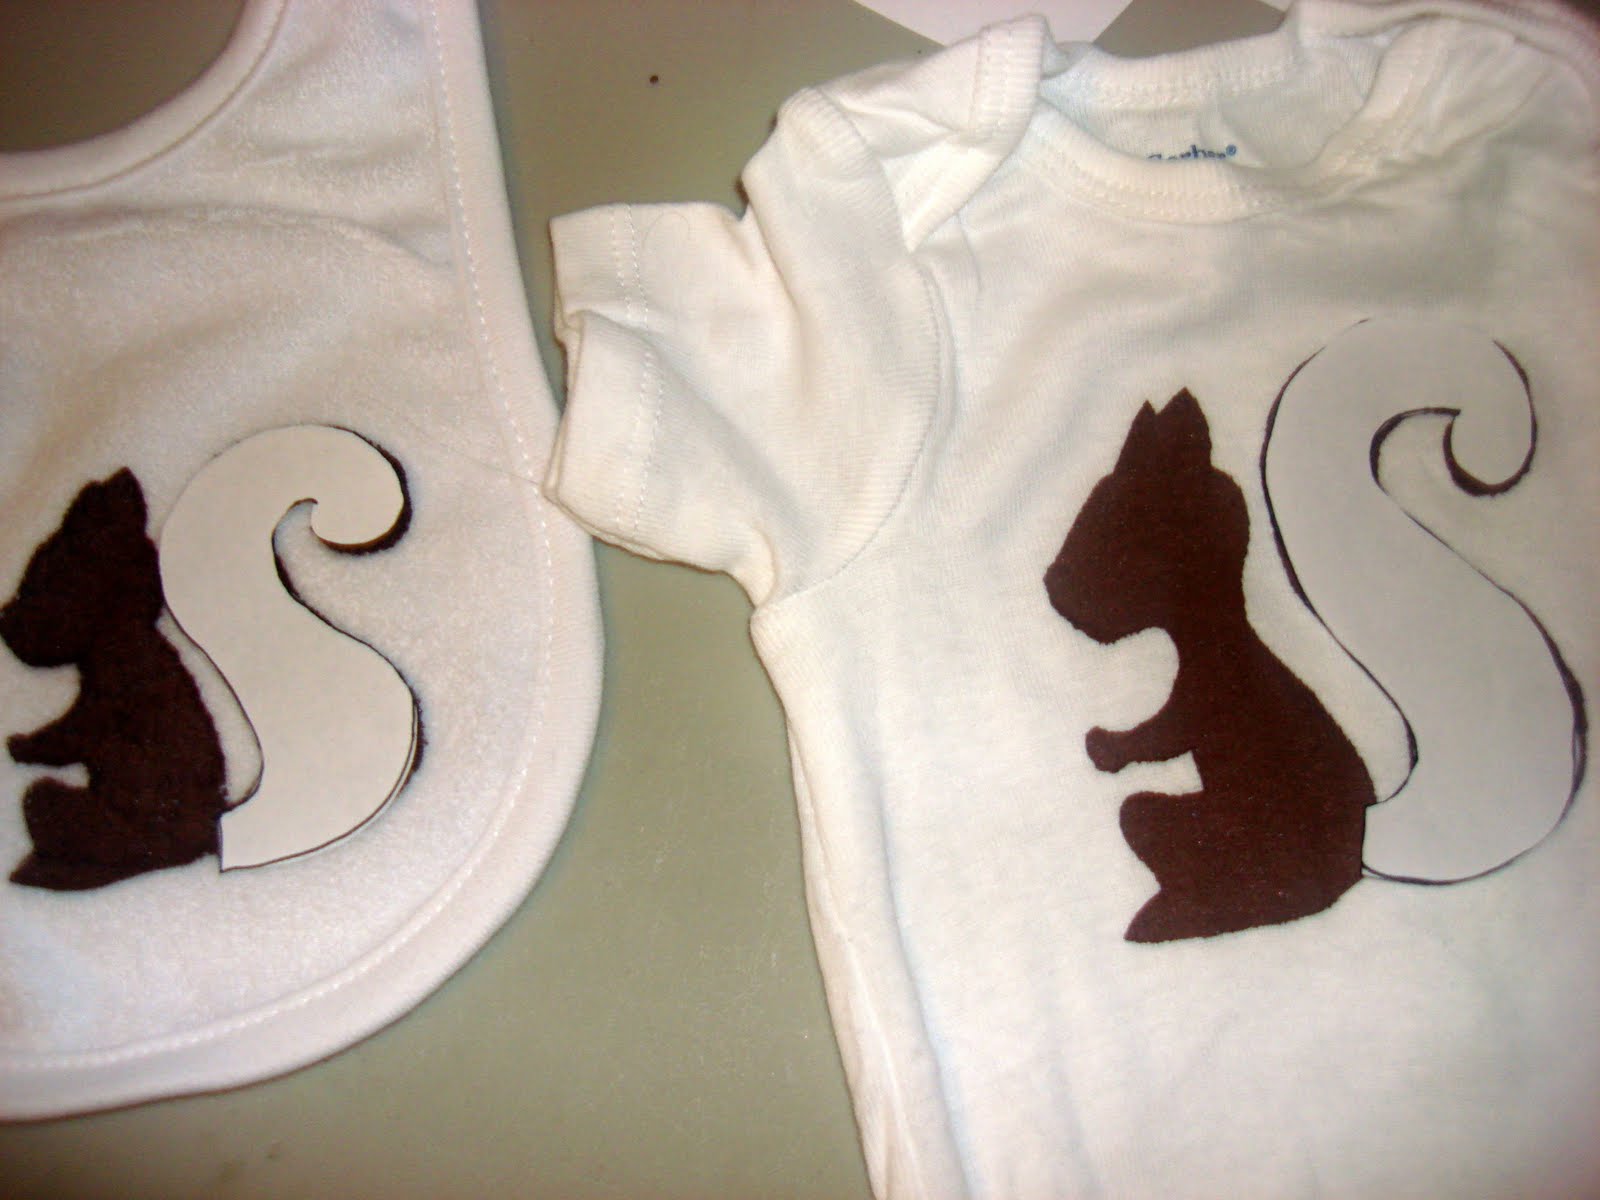
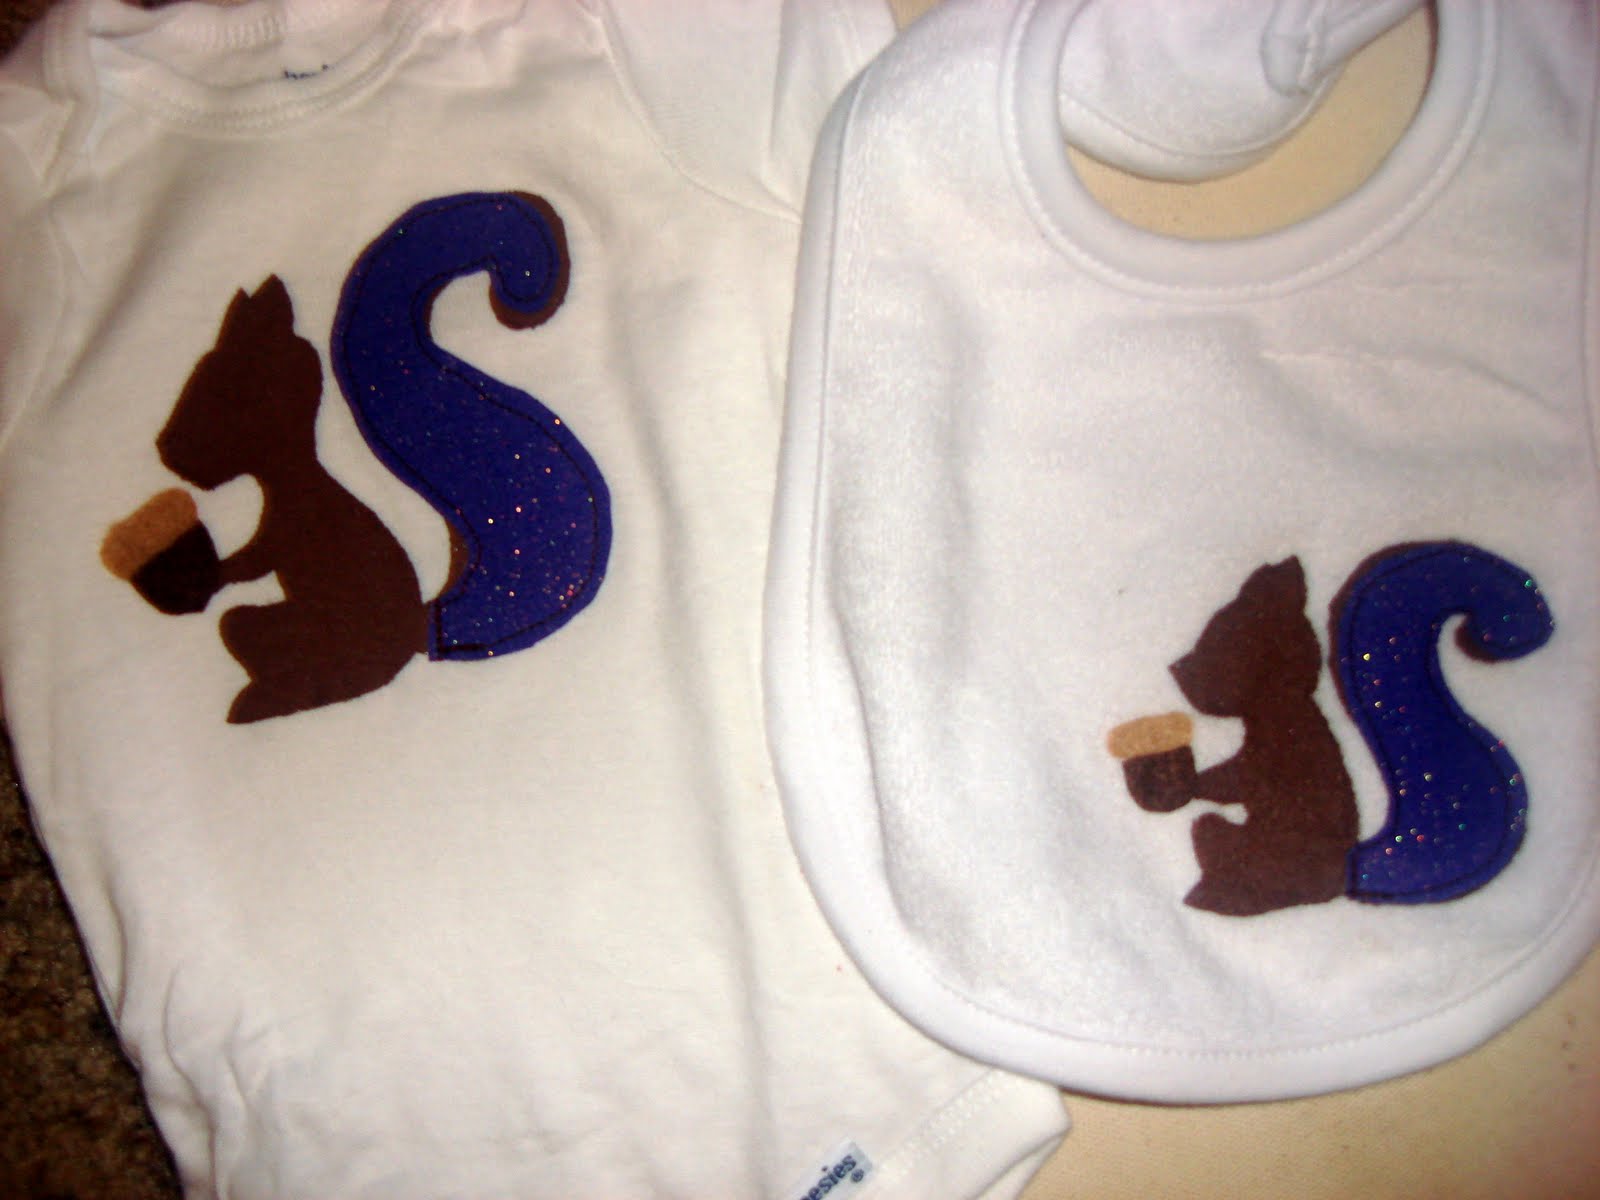
...until I let them dry and peeled off the freezer paper.
Then I traced the squirrel's tail to make a pattern for fabric.
I ironed my fabric onto steam a seam and then traced my tail pattern on the back.
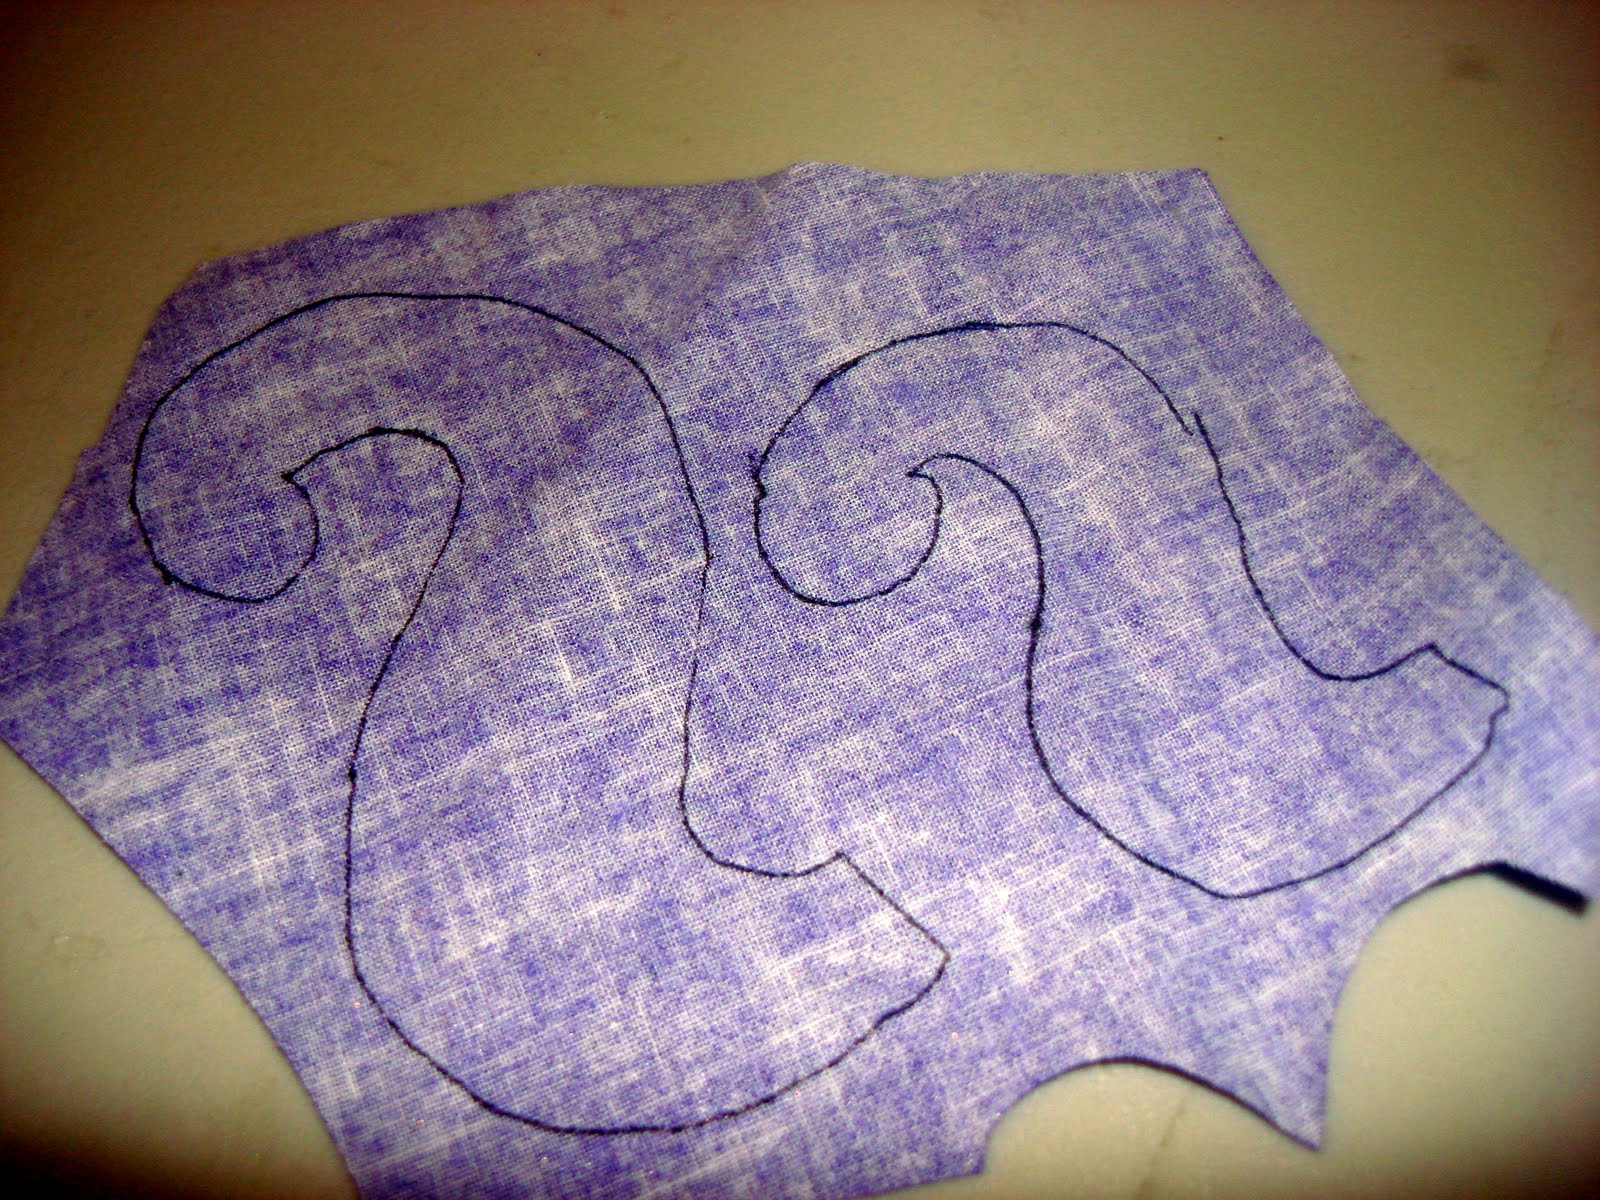
I cut out the tails and ironed them onto the painted squirrels.

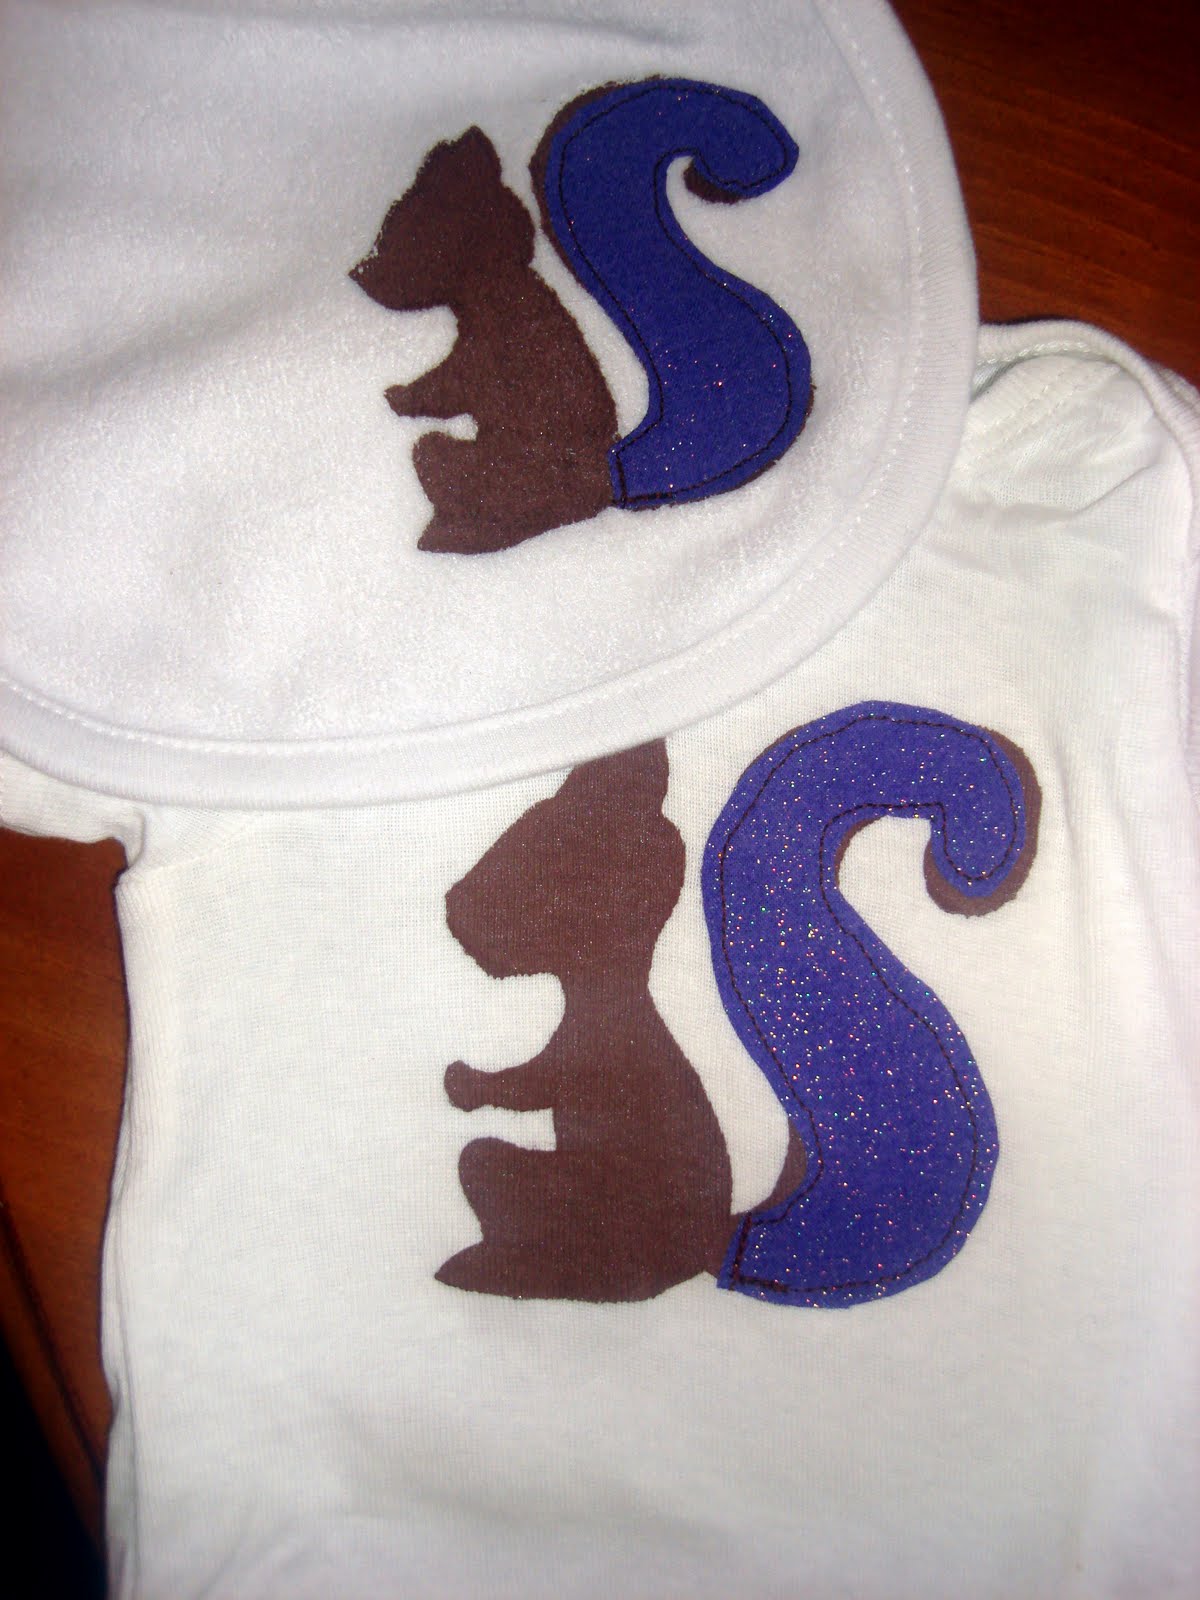
Next I stitched around the tails with my sewing machine. You can use a zig zag stitch but I didn't because I wanted the fabric to fray a little as it gets worn and washed for a vintage look.
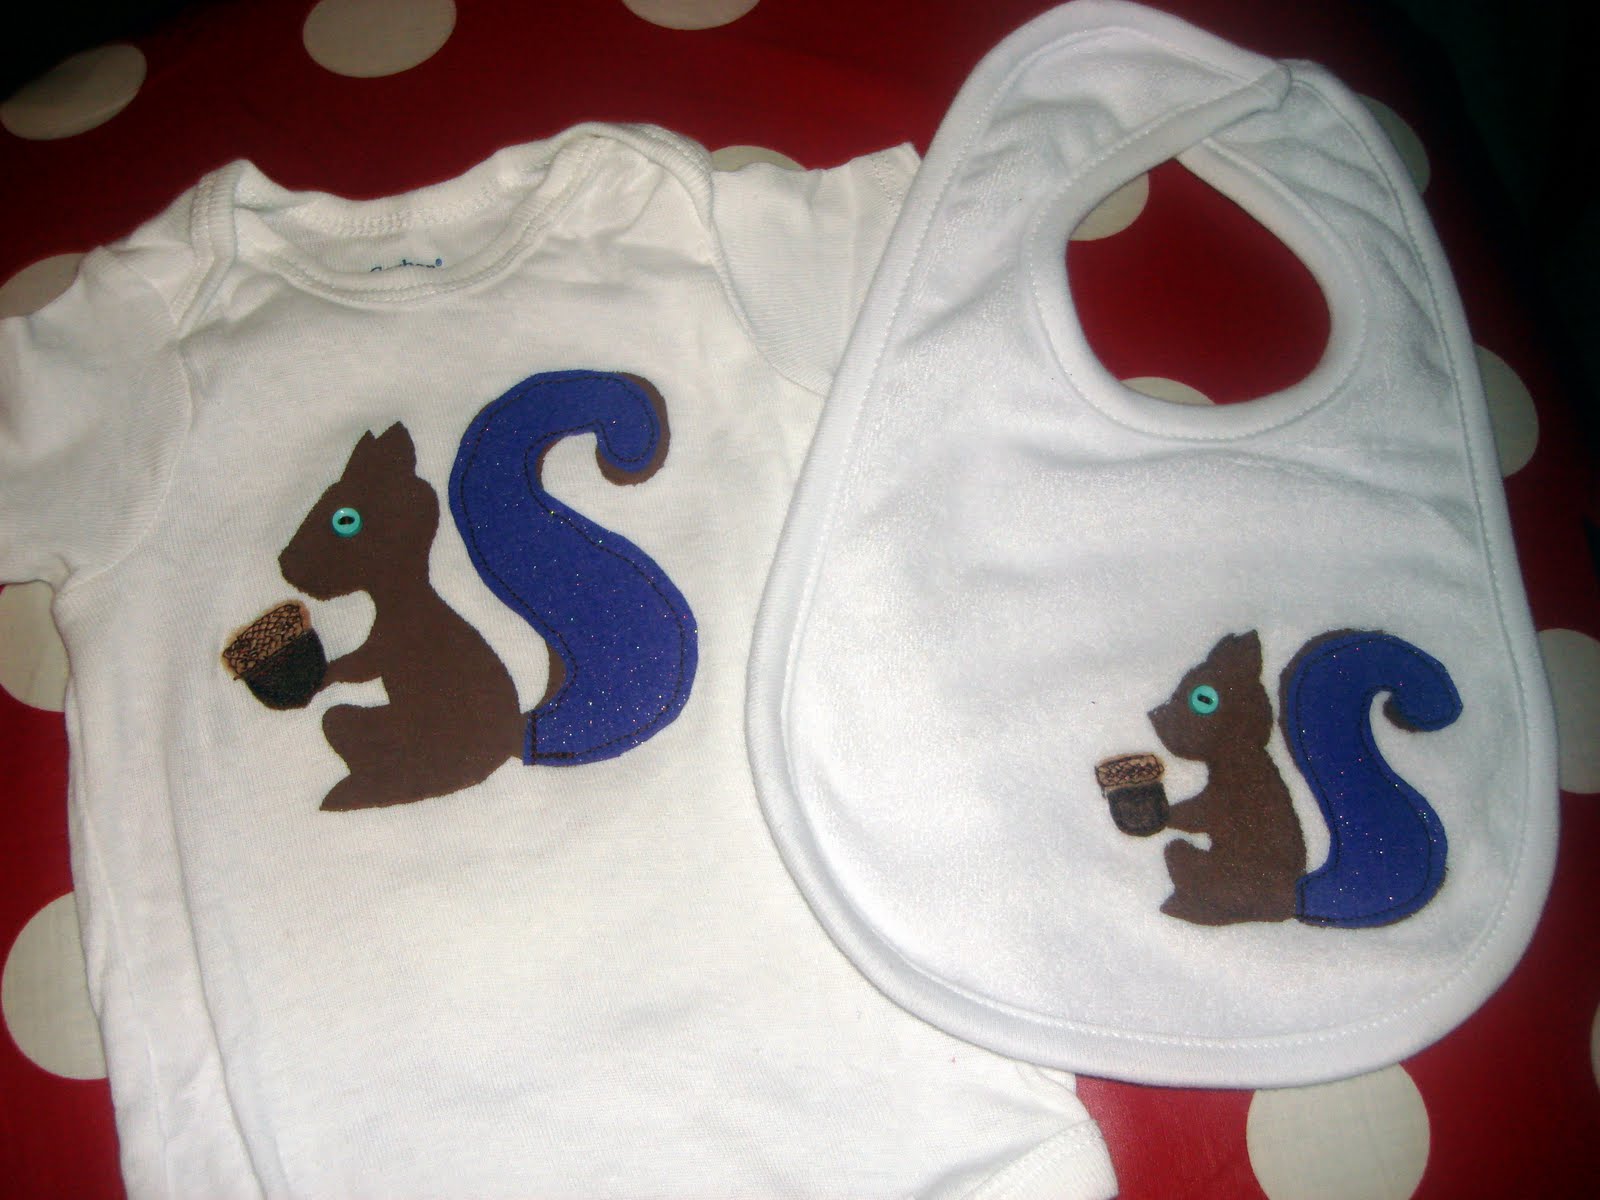
I ironed light and dark brown felt onto steam a seam and cut out acorns. Then I ironed them onto the onesie and bib.
I stitched around the acorn parts and then used a honeycomb stitch to give the top of the acorn some definition. I think the honeycomb stitch was my favorite part of the entire project! I stitched on some buttons for eyes and they were done!
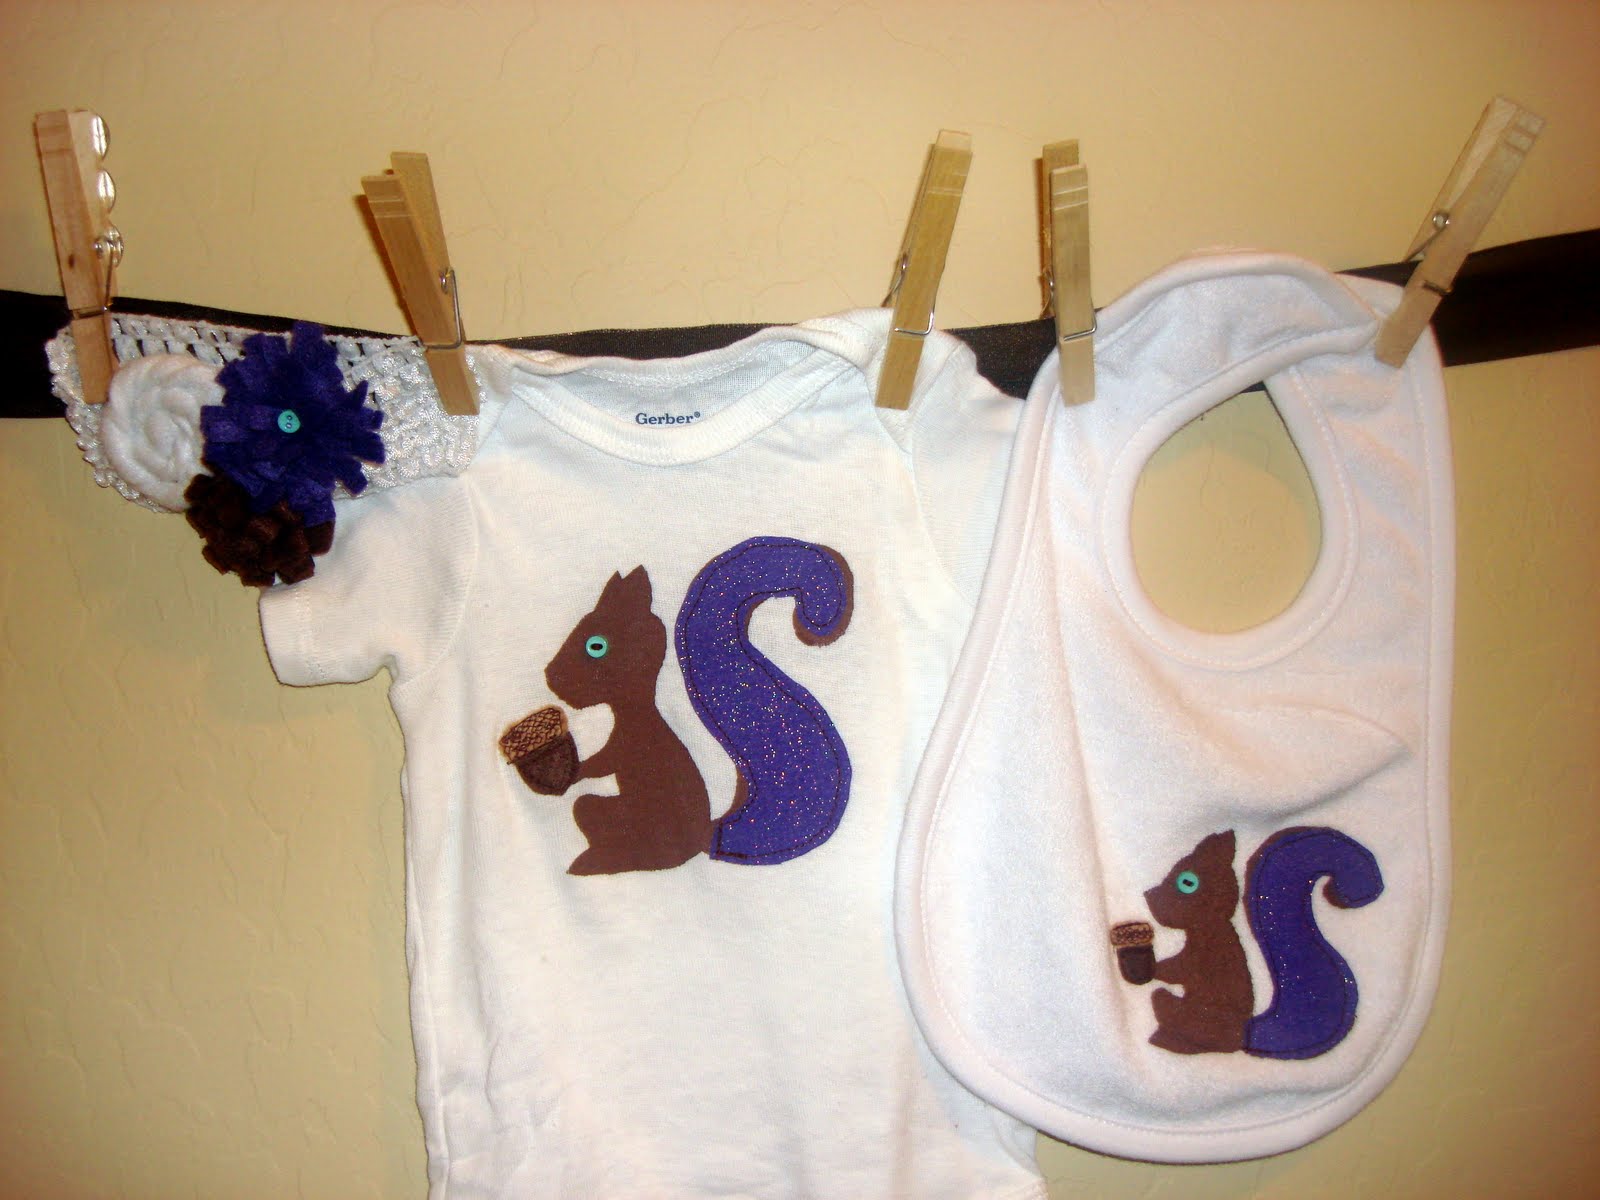
Just for fun, I made a matching headband.
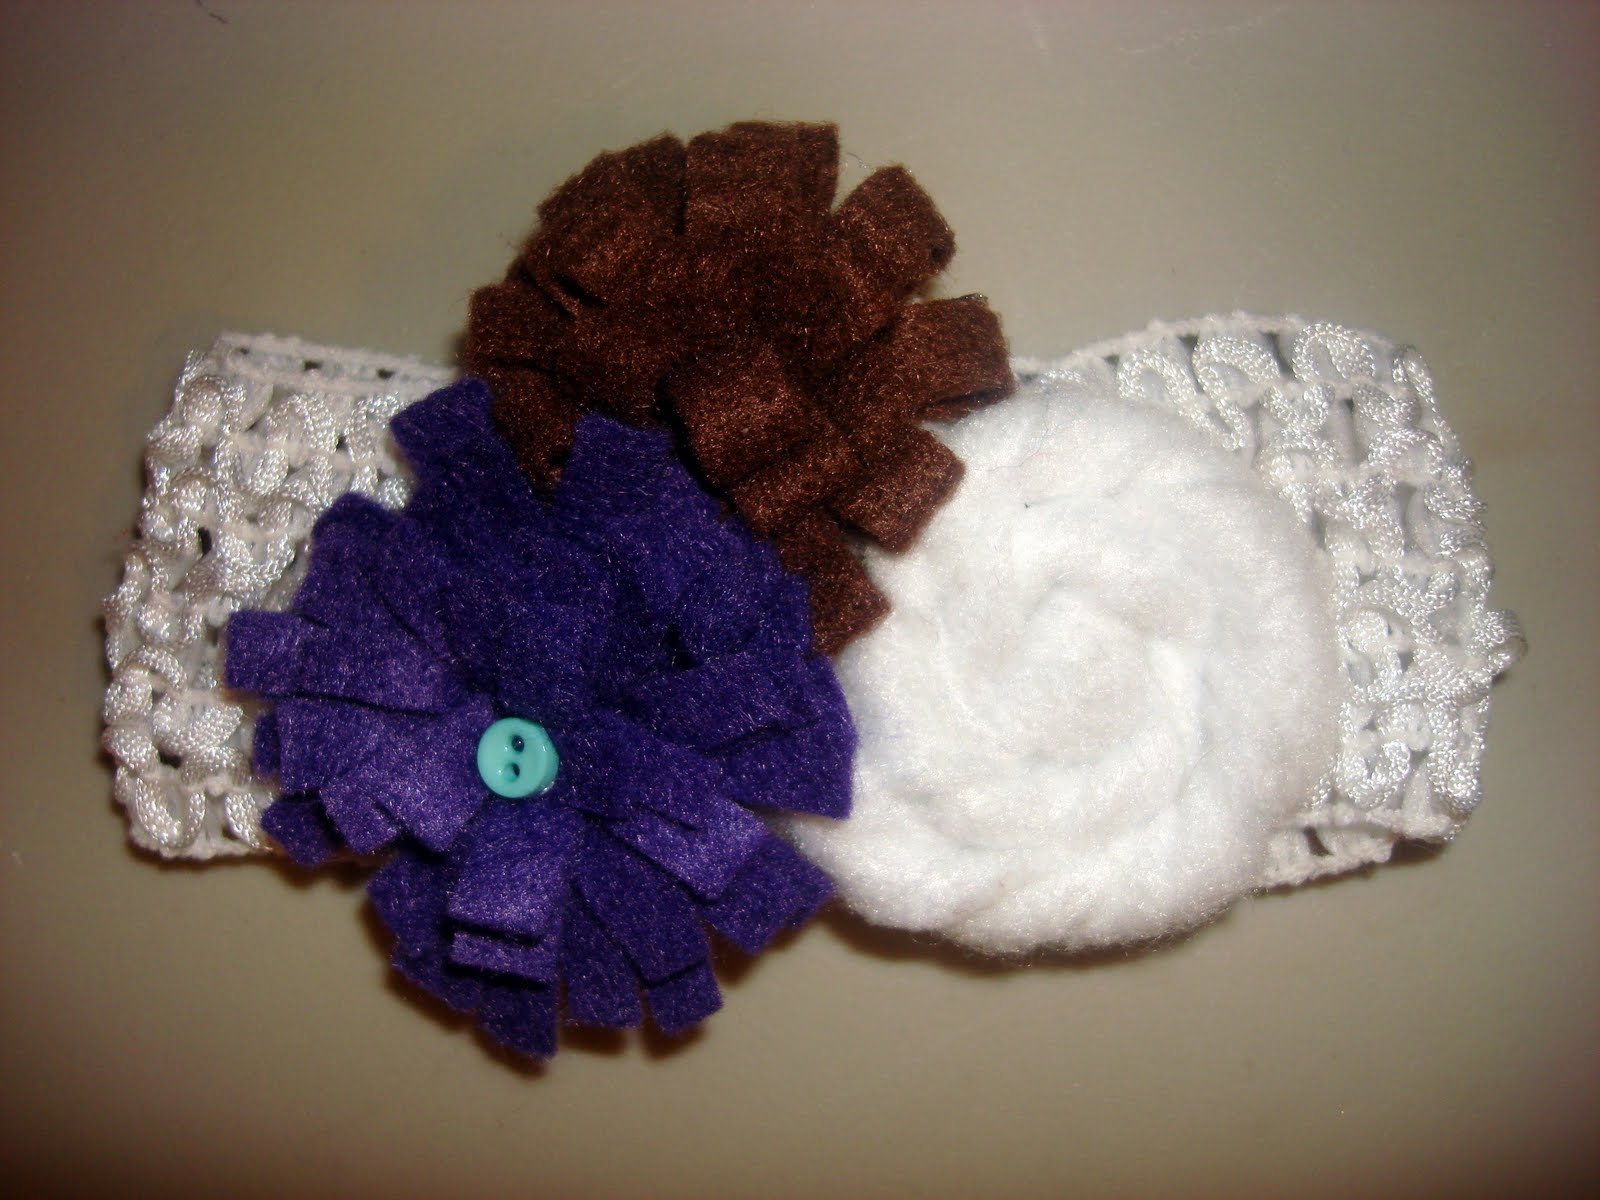
Can't say I would ever have a reason to make another Mrs. Squirrel set but I'm happy with how this turned out!


No comments:
Post a Comment