Summer is coming and with the temperature rising my daughter is in need of some easy skirts to stay cool. A basic elastic waist skirt is the perfect solution and so quick to make. You can make it for any girl 12 months to adult for just about 1 yard of fabric. I wanted to make a really fluffy skirt so mine is much fuller than needed.
Here are the instructions:
-1 yard fabric (44" wide)
-1 inch elastic
-matching thread
1. Cut two panels of fabric on the fold for a total measurement of 44" long each. Here is a quick width chart:
- 2T: 11"
- 3T: 12"
- 4T: 13"
- 5T: 14:
Then it tapers off. Measure your model for the exact length adding 1 inch for the hem. (For an adult I would cut the skirt 22" wide).
Cut your elastic to the width of the waist.
- 12 months: 17" long
- 2T: 18" long
- 3T: 20" long
- 4T: 22" long
- 5T: 24"long
and so on
Cut a third panel 4" wide x 44" long. (waist panel) Fold in half WST and press. Open panel and press one side of the waist band 1/4" towards the middle WST.
2. The two larger panels together at one of the side seams RST.
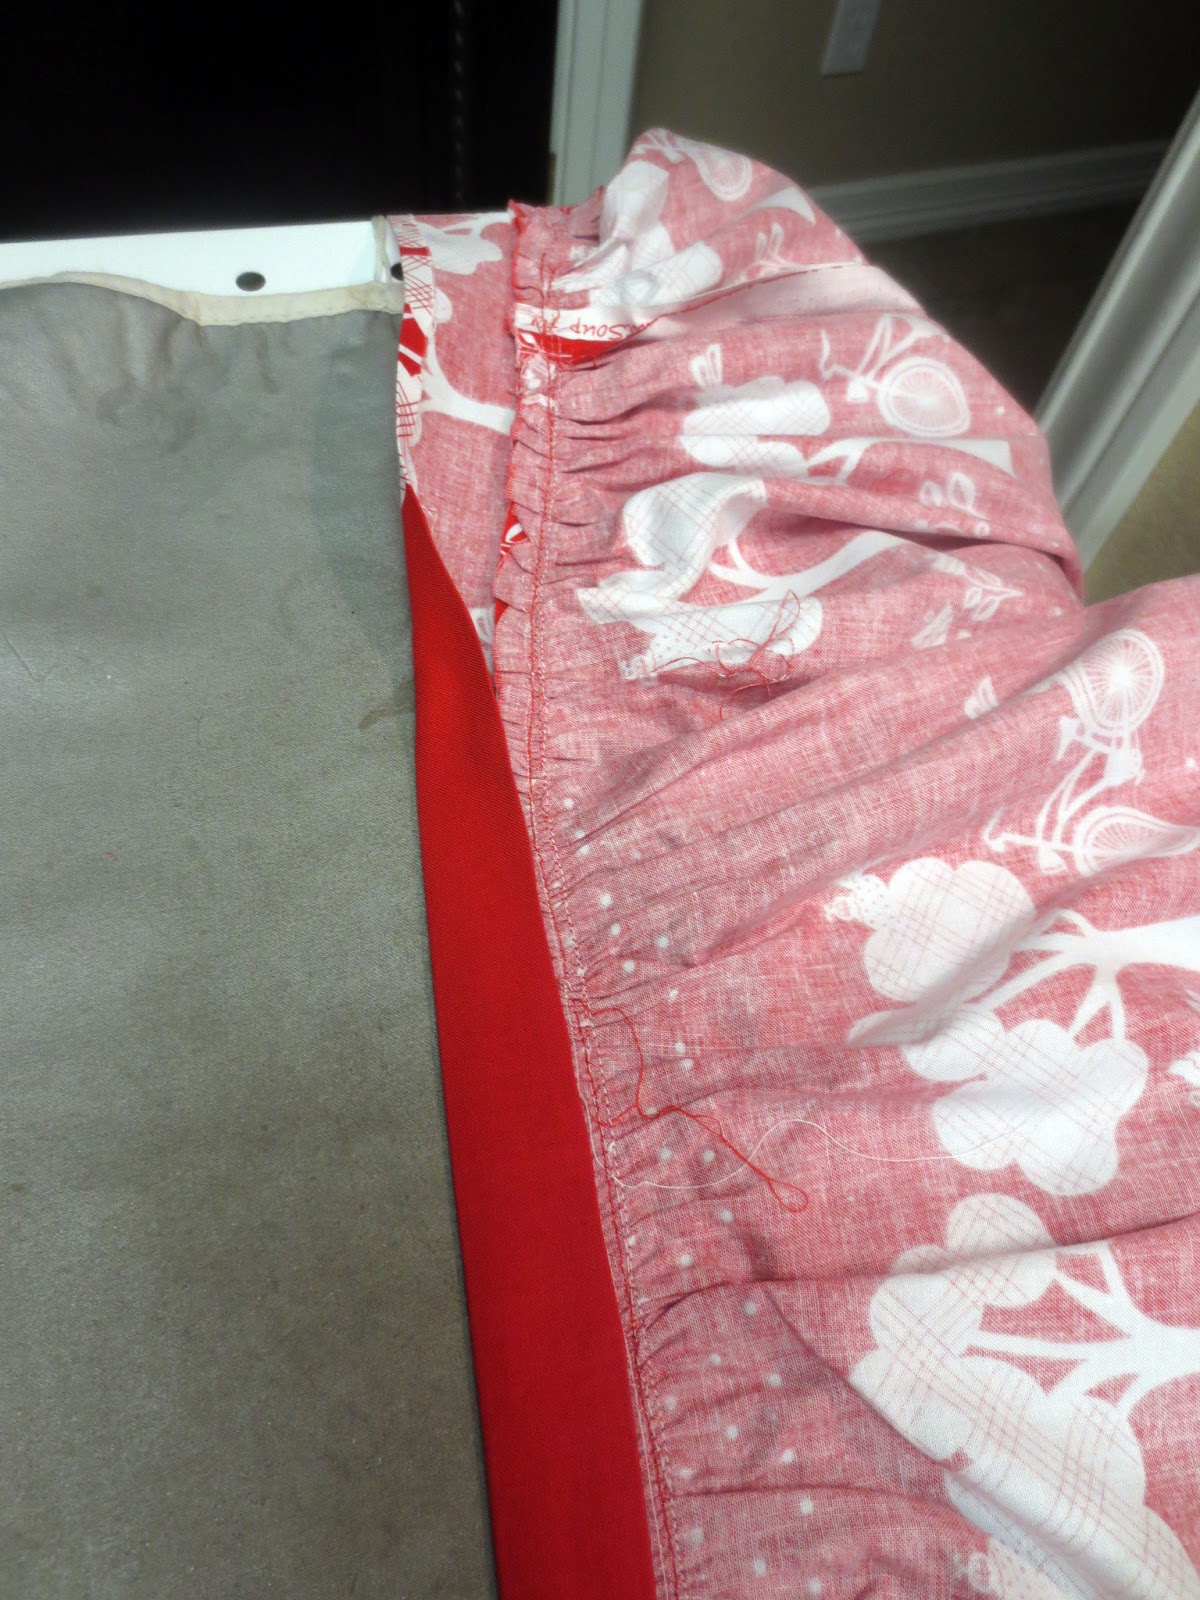
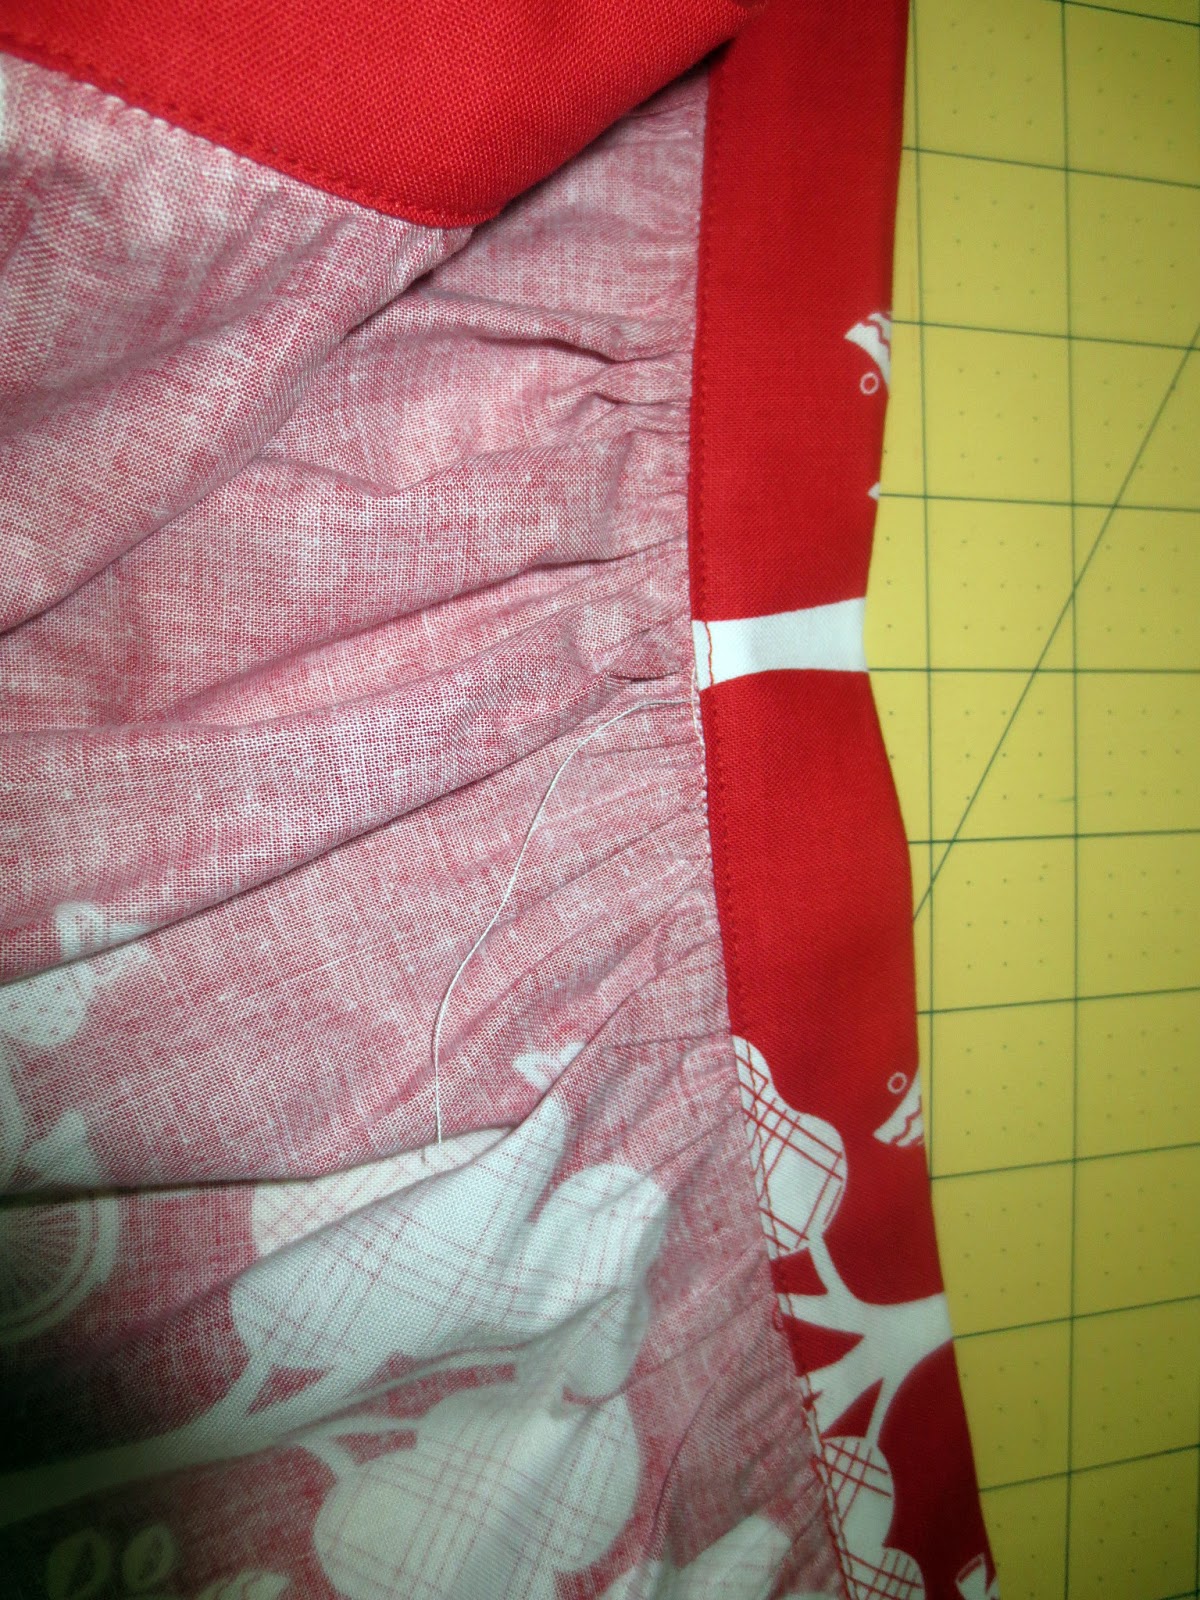
Press the seam open. Sew a gather stitch along the top of the panels leaving the threads long for gathering. Then sew a second gather stitch right next to the first stitch.
Pull the threads and gather the fabric to match the length of the smaller waist panel.
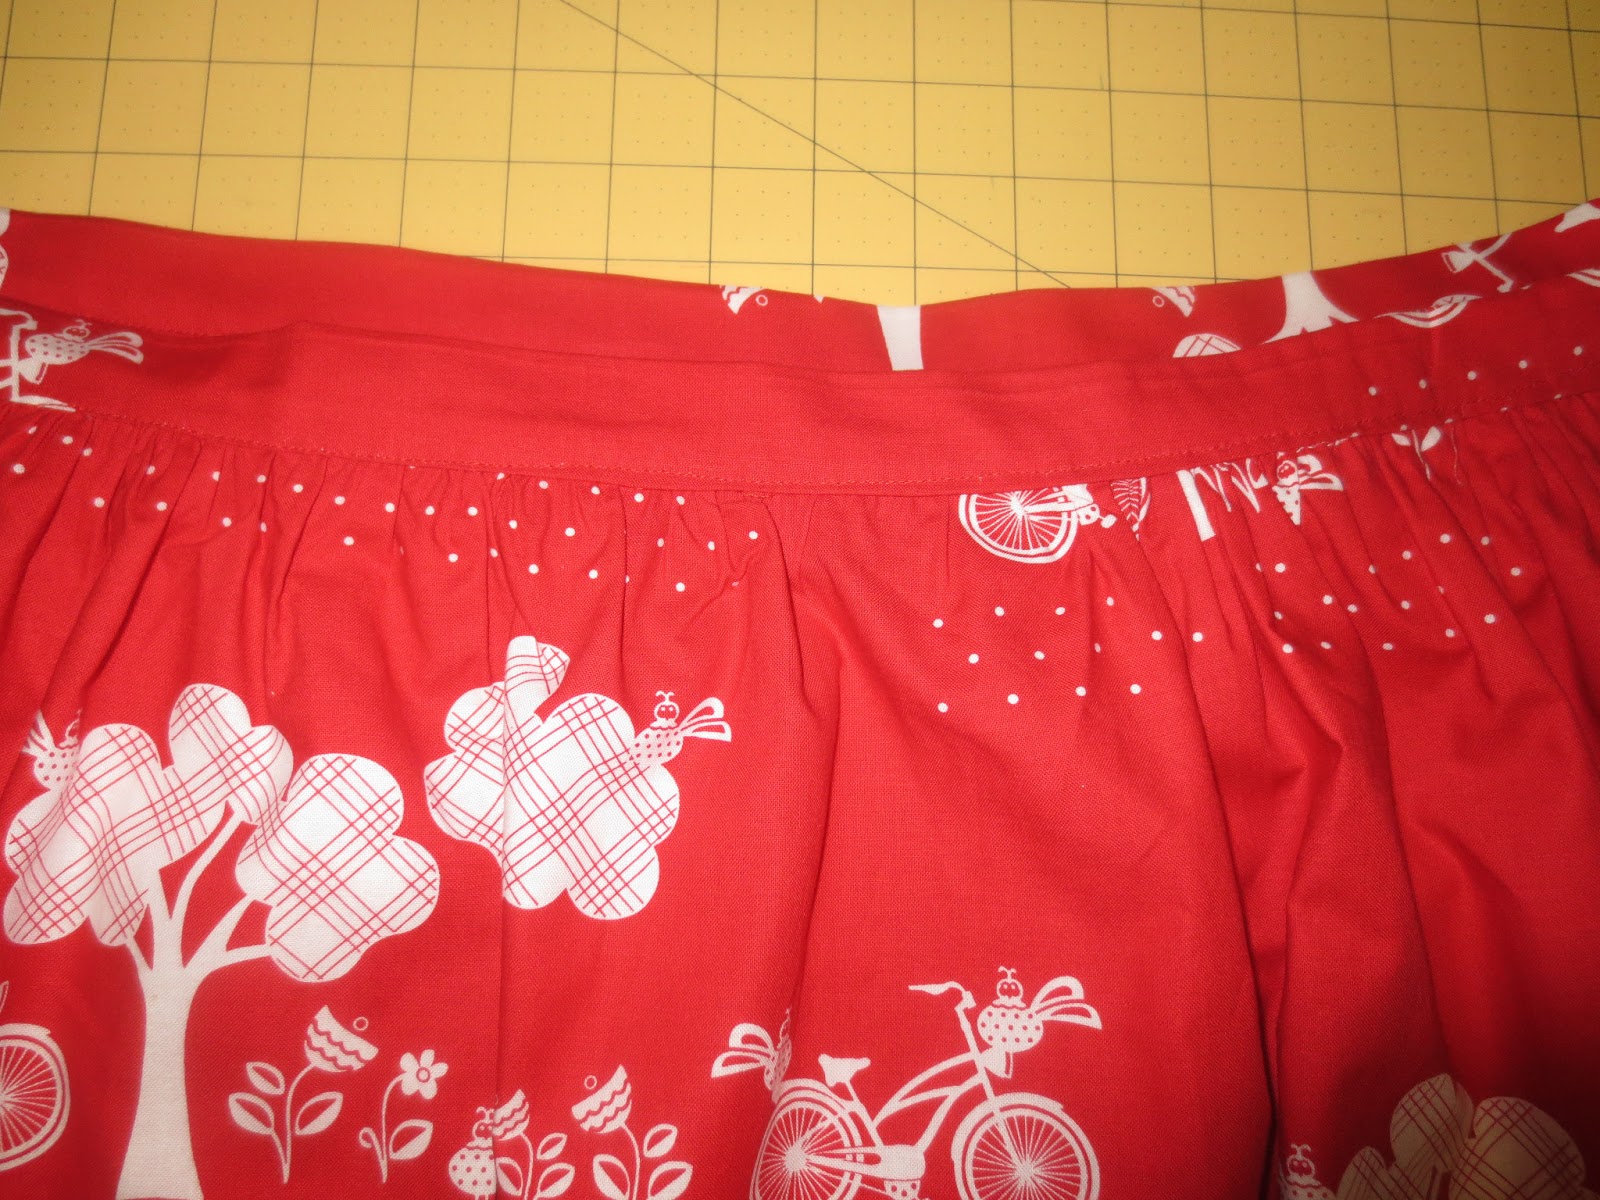
3. Open the waist band paenl and with RST pin the skirt panel to the waist band panel (make sure the pattern is the correct direction if that is an issue). Sew the gathered panel to the waist band using a 1/4" seam. Open and press.
4. Flip the waist band panel over the raw edge of the skirt panels on the fold. This will make a casing for your elastic. Make sure that your 1/4" fold is still folded. Pin in place and top stitch to your skirt.
5. Thread your elastic through the casing securing at each end, I use a safety pin for this part. With RST match the sides of the skirt and pin in place all the way through the waist band. Sew together starting at the bottom and back stitch at the waist band.
6. Turn the bottom of your skirt under 1/4" inch, press, then turn another 1/4", press. Top stitch in place.
Now you are done. You can add embellishments to the bottom or pockets to the front. I added small poms to the bottom of this skirt.
*if you don't want such a full look you can reduce the length of your panels.


No comments:
Post a Comment