
Self-binding blanket and machine embroidery!!!!

First, I want to thank Jess for the opportunity of coming over here to
her blog today!!! I'm very much a newbie to blogging but it's
given me a "job" since I began to stay home with my kids last year!
I love the outlet that blogging provides! And I love
sewing blogs!!! I find so many through guest posts - I found the
lovely ladies here during glitter week! I'm so glad they're hosting a
baby series! I can't believe my baby will be 1 in December!
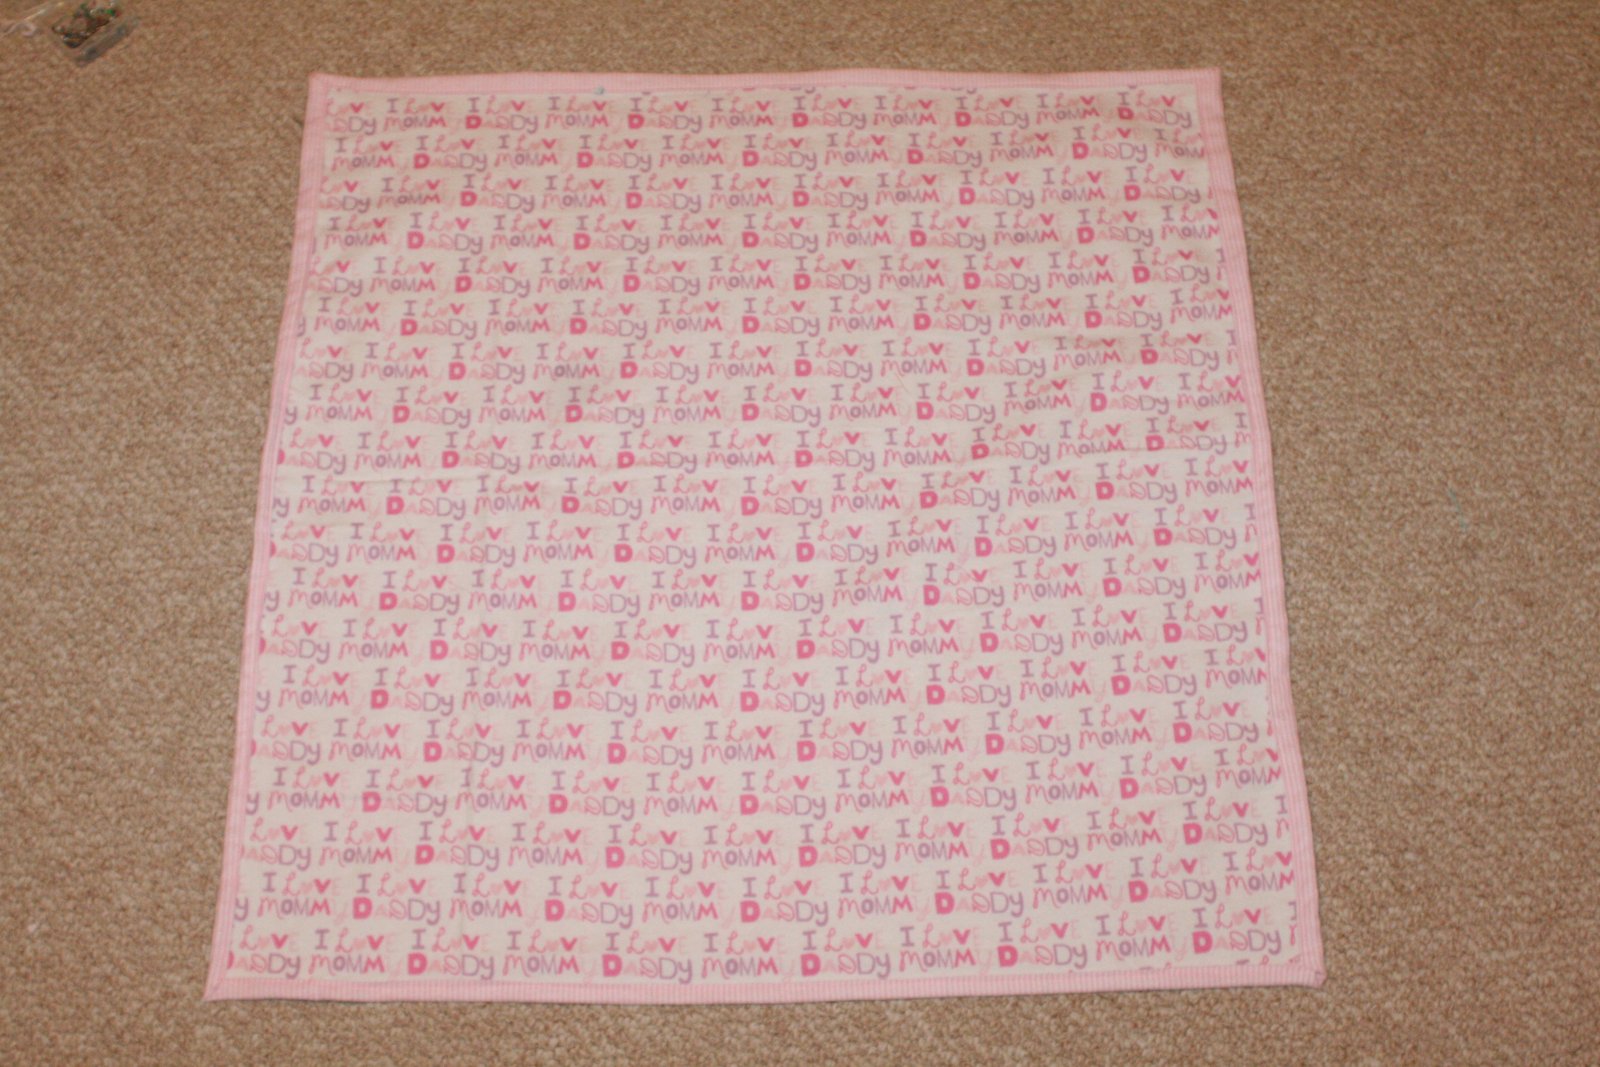
To start, here's my tutorial on a really easy and quick blanket! There are quite a few tutorials out there if you're interested in other variations - this is just how I prefer to put a blanket together!
First, you'll need 2 squares of fabric. One square will need to be 1"-2" bigger on all sides. So if you wanted a blanket to be 30"x30" you'll need one square approximately 30"x30" and the other square 32"x32"
Lay them WRONG sides together. My version doesn't have you turning the blanket right side out.

First, pin all the edges together

Then, iron down 1/4" on all sides


Take each corner and fold down a triangle

Fold down the remaining of the side another 1/4" or bigger depending on how much bigger the big square is.

Pin the corners and all around the edges as you're ironing.


Sew close to the folded edge all the way around the blanket!

Add any labels or embellishments!


There you have it! A quick and easy baby gift or a keepsake for your little wee one!
Now, if you're still interested in hearing about machine embroidery, here's the continuation......
When I got my new "toy" I really didn't know how machine embroidery really worked. There are a lot of different machines out there, but here's a pictoral glance through what I do on mine to create a cute applique and embroidered project! (And by the way - if you're looking into purchasing a starter machine, check out Prudent Baby's review! She is so fun!)
I have a Singer Futura 200CE - it's several years old and I'm the 3rd owner. The girl I bought it from sat down and showed me how to work everything before I took it home! She was such a great help!!! After researching I decided I really liked the Singer over any of the Brother/White/Janome because of the price and functions. This has 2 hoop sizes - approximately 4x4 and 5x7 and it came with the software "Hyperfont" which allows you to turn any font on your computer into embroidery!!! I LOVED the sound of that!!! This is also a machine that needs to be plugged into the computer at all times. You open the computer program to design everything and then send the design to the machine. More about that later!!!! :)
OK, so here's what I do first. Prepare the fabric. You'll need your project fabric, any complimentary fabric for applique, your embroidery hoop that comes with your machine, and stabilizer. There are several kinds of stabilizer - I've heard tear-away is good but I just bought whatever I could find at Hobby Lobby.

You're going to place the large part of the hoop on the bottom behind your fabric and sandwich the stabilizer inbetween the fabric and the bottom of the hoop.

To start, here's my tutorial on a really easy and quick blanket! There are quite a few tutorials out there if you're interested in other variations - this is just how I prefer to put a blanket together!
First, you'll need 2 squares of fabric. One square will need to be 1"-2" bigger on all sides. So if you wanted a blanket to be 30"x30" you'll need one square approximately 30"x30" and the other square 32"x32"
Lay them WRONG sides together. My version doesn't have you turning the blanket right side out.

First, pin all the edges together

Then, iron down 1/4" on all sides


Take each corner and fold down a triangle

Fold down the remaining of the side another 1/4" or bigger depending on how much bigger the big square is.

Pin the corners and all around the edges as you're ironing.


Sew close to the folded edge all the way around the blanket!
Add any labels or embellishments!


There you have it! A quick and easy baby gift or a keepsake for your little wee one!
Now, if you're still interested in hearing about machine embroidery, here's the continuation......
When I got my new "toy" I really didn't know how machine embroidery really worked. There are a lot of different machines out there, but here's a pictoral glance through what I do on mine to create a cute applique and embroidered project! (And by the way - if you're looking into purchasing a starter machine, check out Prudent Baby's review! She is so fun!)
I have a Singer Futura 200CE - it's several years old and I'm the 3rd owner. The girl I bought it from sat down and showed me how to work everything before I took it home! She was such a great help!!! After researching I decided I really liked the Singer over any of the Brother/White/Janome because of the price and functions. This has 2 hoop sizes - approximately 4x4 and 5x7 and it came with the software "Hyperfont" which allows you to turn any font on your computer into embroidery!!! I LOVED the sound of that!!! This is also a machine that needs to be plugged into the computer at all times. You open the computer program to design everything and then send the design to the machine. More about that later!!!! :)
OK, so here's what I do first. Prepare the fabric. You'll need your project fabric, any complimentary fabric for applique, your embroidery hoop that comes with your machine, and stabilizer. There are several kinds of stabilizer - I've heard tear-away is good but I just bought whatever I could find at Hobby Lobby.

You're going to place the large part of the hoop on the bottom behind your fabric and sandwich the stabilizer inbetween the fabric and the bottom of the hoop.

Then, you'll press the top part of the hoop into the bottom of the hoop, stretching the fabric taught.

You want it to be as tight as you can make it so while you're tightening the screw on the hoop, make sure there are no puckers in the fabric and stabilizer.

The next thing you'll need is all the thread you plan to use. One thing I learned AFTER I had already started using my machine is that when you have an embroidery machine you use BOBBIN thread - not just regular thread in your bobbin!!! And when you're doing projects, you never switch out the bobbin - only the top thread!!! Once I learned that I was able to finish projects a lot quicker! I thought the bobbin thread had to match the top thread! Not so! :)

OK, so you'll hook the hoop onto the arm of the machine and tighten with the screw driver that came with your machine. Make sure it's on nice and tight! The machine will recognize if you've put the small hoop on or the large hoop.

Now, here's a screenshot of what I'm looking at on the computer. The design is ready to go and you'll see at the top there's a button that says "transmit to FUTURA machine" - that sends the first "block" to your machine. Each "block" is just a step in finishing the design.

The little green button on the machine is what you press when you're ready to go! All you have to do is sit back and babysit to make sure nothing goes wrong! (And you'll probably always have to play around with troubleshooting when you first start - "Birdsnesting" in the bobbin is very common!!!)

The first block is an outline for the blue section of the applique. This stitches out where I'll need to put my blue fabric.


I put my blue fabric over the outline and the next block stitches the blue fabric to my main fabric.

I trim around as close to the edge using embroidery scissors. You can also take the hoop off to get a better angle.

The next block stitched out where to put my pink fabric, and then here's the picture of stitching the fabric to the project.


And here you have your complimentary fabrics ready to finish - use a lint roller to pick up any threads after trimming the edges.

Now, the machine does the bold stitches all around the edges, encasing the raw edge.

When you need a new color, just change the top thread!


This is another computer shot of the last block on the duck. You can also see at the very bottom of the computer all the "blocks" involved in the design. I think this design had 12 blocks.

After the duck, the machine works on the embroidered letters!

And now you're done! (It does take a while to finish - from start to finish for a normal project of applique and embroidery on a 5x7 hoop is 60-90minutes) Here's the front and back view.


Trim or tear away the stabilizer, use the lint roller, and iron!


Ta-da! Just like magic! :)
No comments:
Post a Comment