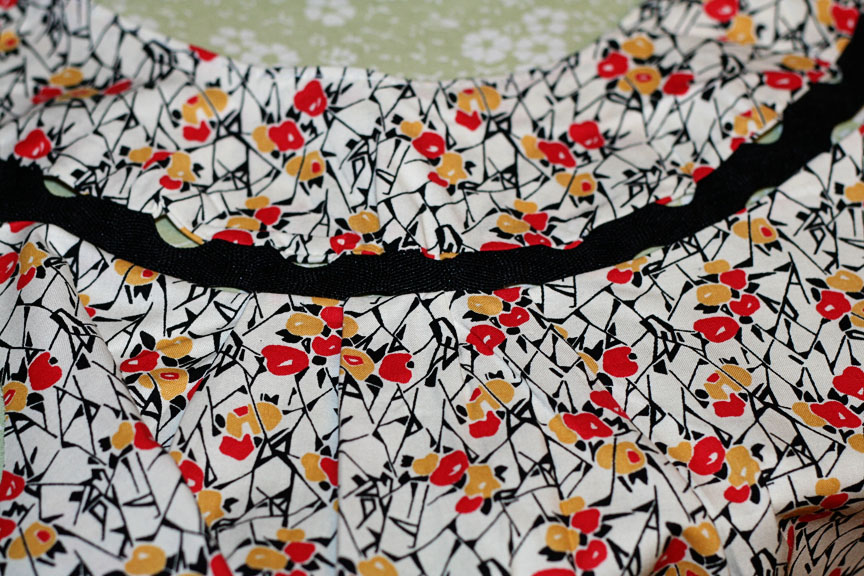
There are a few items on my To Make list that have been on there forever. Just never get around to them. One is a peek-a-boo ric rac dress. I originally wanted to make one for myself but in my 8 months preggers condition I don't really feel like sewing for myself. So I used some sweet yellow and red flower fabric I found on sale that has a country vintage feel. In order to make it modern I used large black ric rac.
For the pattern of this dress I started with the
Black Bird tunic from Shwin&Shwin. This is just for the outline. I actually only used the back neckline piece for both the back and the front neck, and the tunic portion with an addition of sleeves and a lengthening piece. Here are my adjustments to create the peek-a-boo ric rac.
Start with your neck pieces cutting 1 in half which will be the back piece. Cut 2 of each piece (outside & lining). Then attach the front and back pieces at the shoulders.
Now we are going to attach the lining to the outside. With both pieces RST place the ric rac in between the two pieces. Pin at each ric rac curve and sew along the outside and inside edges leaving the ends open for flipping. Flip neck piece right side out and tuck under the ends. Sew the ends closed.
Now take your bodice top and fold over the neckline 1/4 inch and another 1/4 inch. Press and topstitch in place. Repeat with back tunic piece.
Create pleats in the front of the bodice. I made a center box pleat 1 inch wide and 2, 1/2 inch side pleats. On the back piece I measured the middle and pressed to create a line. Then I created two box pleats, 1 on each side of the line, 1 inch each. Top stitch the pleats in place.
Next I attached the neck piece to the tunic pieces at the ric rac. Pin in place at each ric rac curve.
Now I sewed my zipper to the back. I used a fashion zipper. I just sewed it in place and then cut down the back bodice under the zipper. I pressed the pieces flat and zigzag stitched them down to prevent fraying. I am sure there is a better way to do this but that is how I did it.
I made simple sleeves and finished the edges with bias tape that I made. You could also hem the edges but I like the look of the bias tape. Starting at the underarm begin pinning your sleeve in place, moving along the edge of the bodice and along neck piece down to the other underarm. This step can be tricky.
Next I cut 2 pieces of fabric 5 inches wide and the same length as the bottom of the tunic. I hemmed the bottom of each piece by turning 1/2 inch and another 1/2 inch. Then with RST attach the hemmed piece to the bottom of the tunic with ric rac inbetween. Using a 1/4 inch seam sew the pieces together.
Before opening up the bottom cut the hemmed piece to the a-line of the tunic. This will make the inverted a-line.
Finally with RST sew up the sides of the dress starting at the bottom and up through the sleeve. I find it easier to match up if you pin at the bottom and then at the underarm and finally at the end of the sleeve.
Turn the dress right side out and you are done. This was a "learning as I go" project so the directions and pictures might not be as descriptive as you need. If you have questions please let me know.
I love the shape and the open weave of the ric rac on the neckline. It is a fun and comfy dress that will transition well to fall with a pair of black leggings.


5 comments:
This is so cute. I love the large black ric rac.
Darling! I love the fabric you used.
This is just sooo adorable as always! I just adore the neckline!
Thanks so much for sharing with the Pink Hippo Party!
xoxo
Amie @ Pinkapotamus
Very cute adaption of the black bird tunic! The ric rac addition is darling :)
I like the exposed zipper. They are all over the spring runway but I haven't seen them on kids clothes. Good job!
Post a Comment