
Earlier this week I told you I would put together a tutorial for my dry erase collage that got me through the frame theme week at 1 Month 2 Win It. This morning I received a very nice comment from one of our readers. She loved this project when she saw it on 1 Month 2 Win It and mentioned she is really looking forward to the tutorial. I took a few minutes to post this tonight for our new friend.
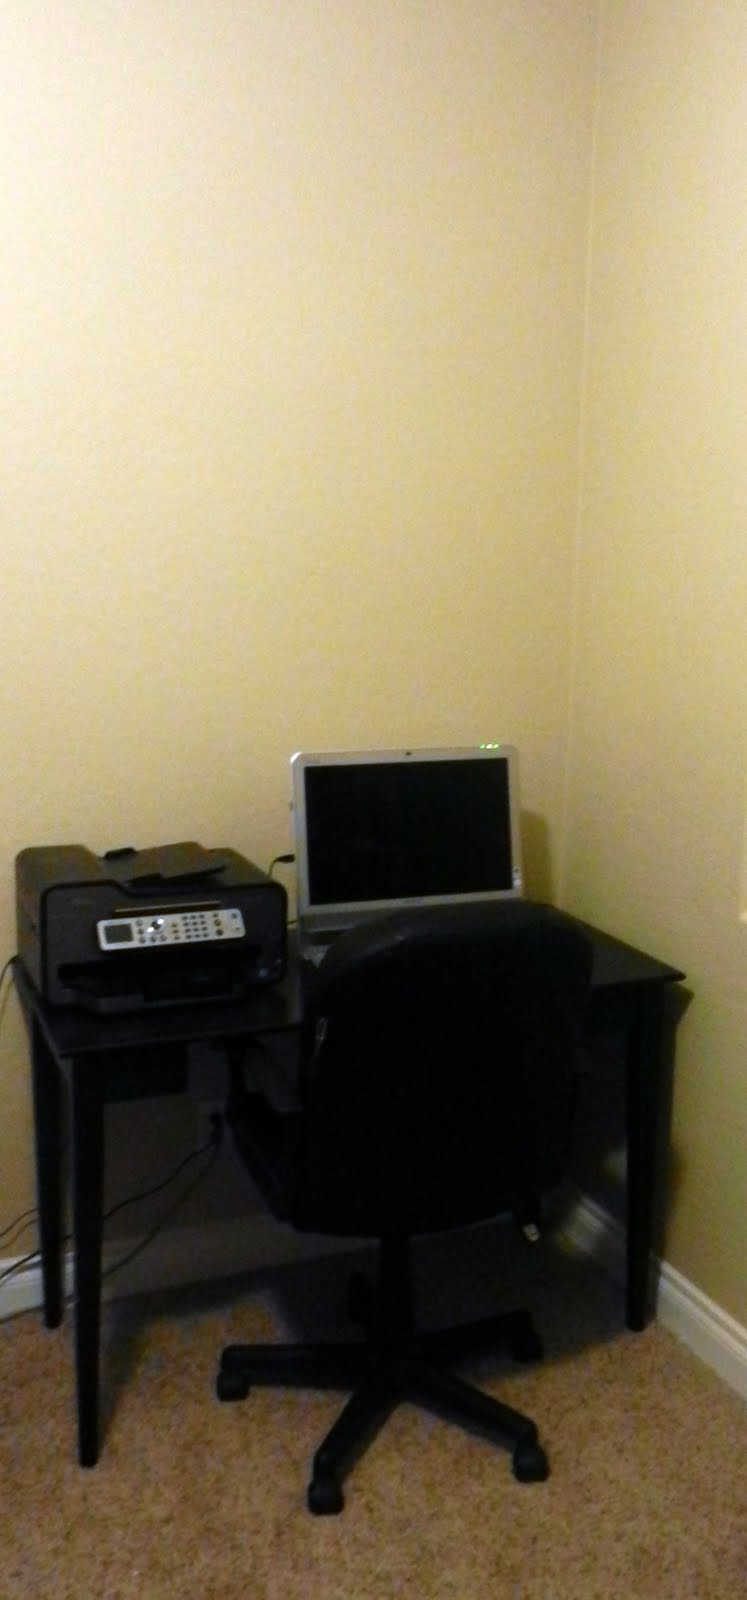
I had been thinking of making myself a big dry erase calendar in my office for months. In addition to a big calendar I really wanted a place for my to do list and somewhere nearby for a shopping list. I thought about using several different frames or painting an entire chalkboard wall to keep track of everything in my mind. Then I dreamt about having everything in the same place on an organizational collage. Really, I had a dream about this. I woke up excited to get started. I couldn't be happier with this project!
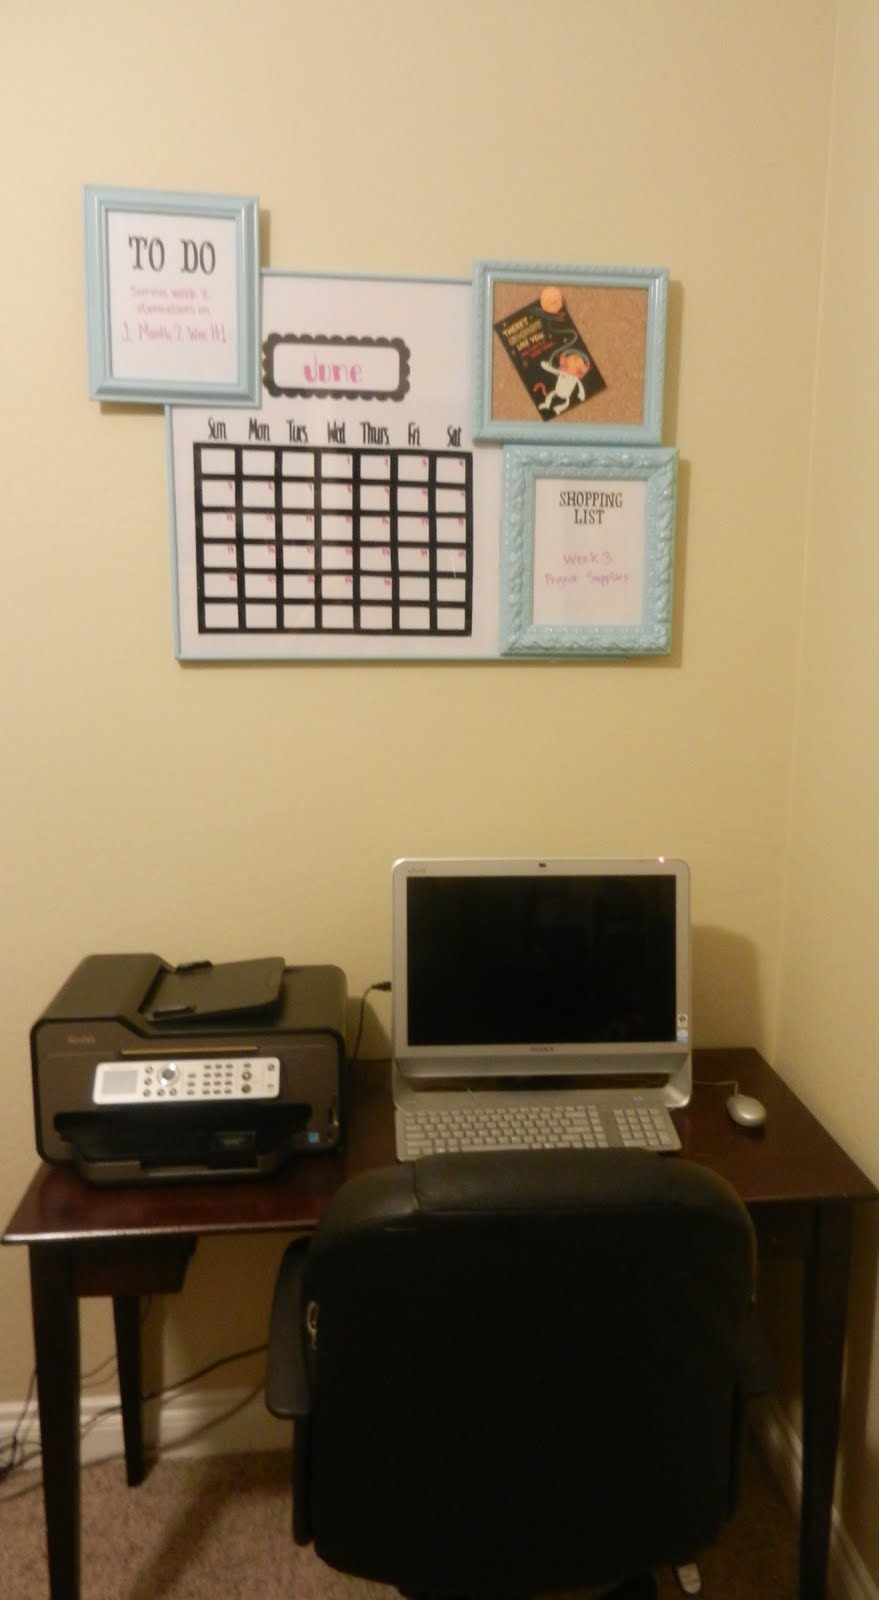
 |
| the collage looks small here but is actually pretty big (28" x 38") |
I started with four frames I had in a closet. The largest frame came from an old hotel estate sale in the small mining town where I grew up. My dad called me a couple of months ago and asked if I wanted anything from a closed hotel. I would have LOVED to have been there!! I figured it wasn't very nice to ask my dad to load up a truck full of awesome stuff, pay cash for everything, and then drive a couple of hours to deliver it all to me. Instead I was happy to settle for a few awesome mirrors and this frame.

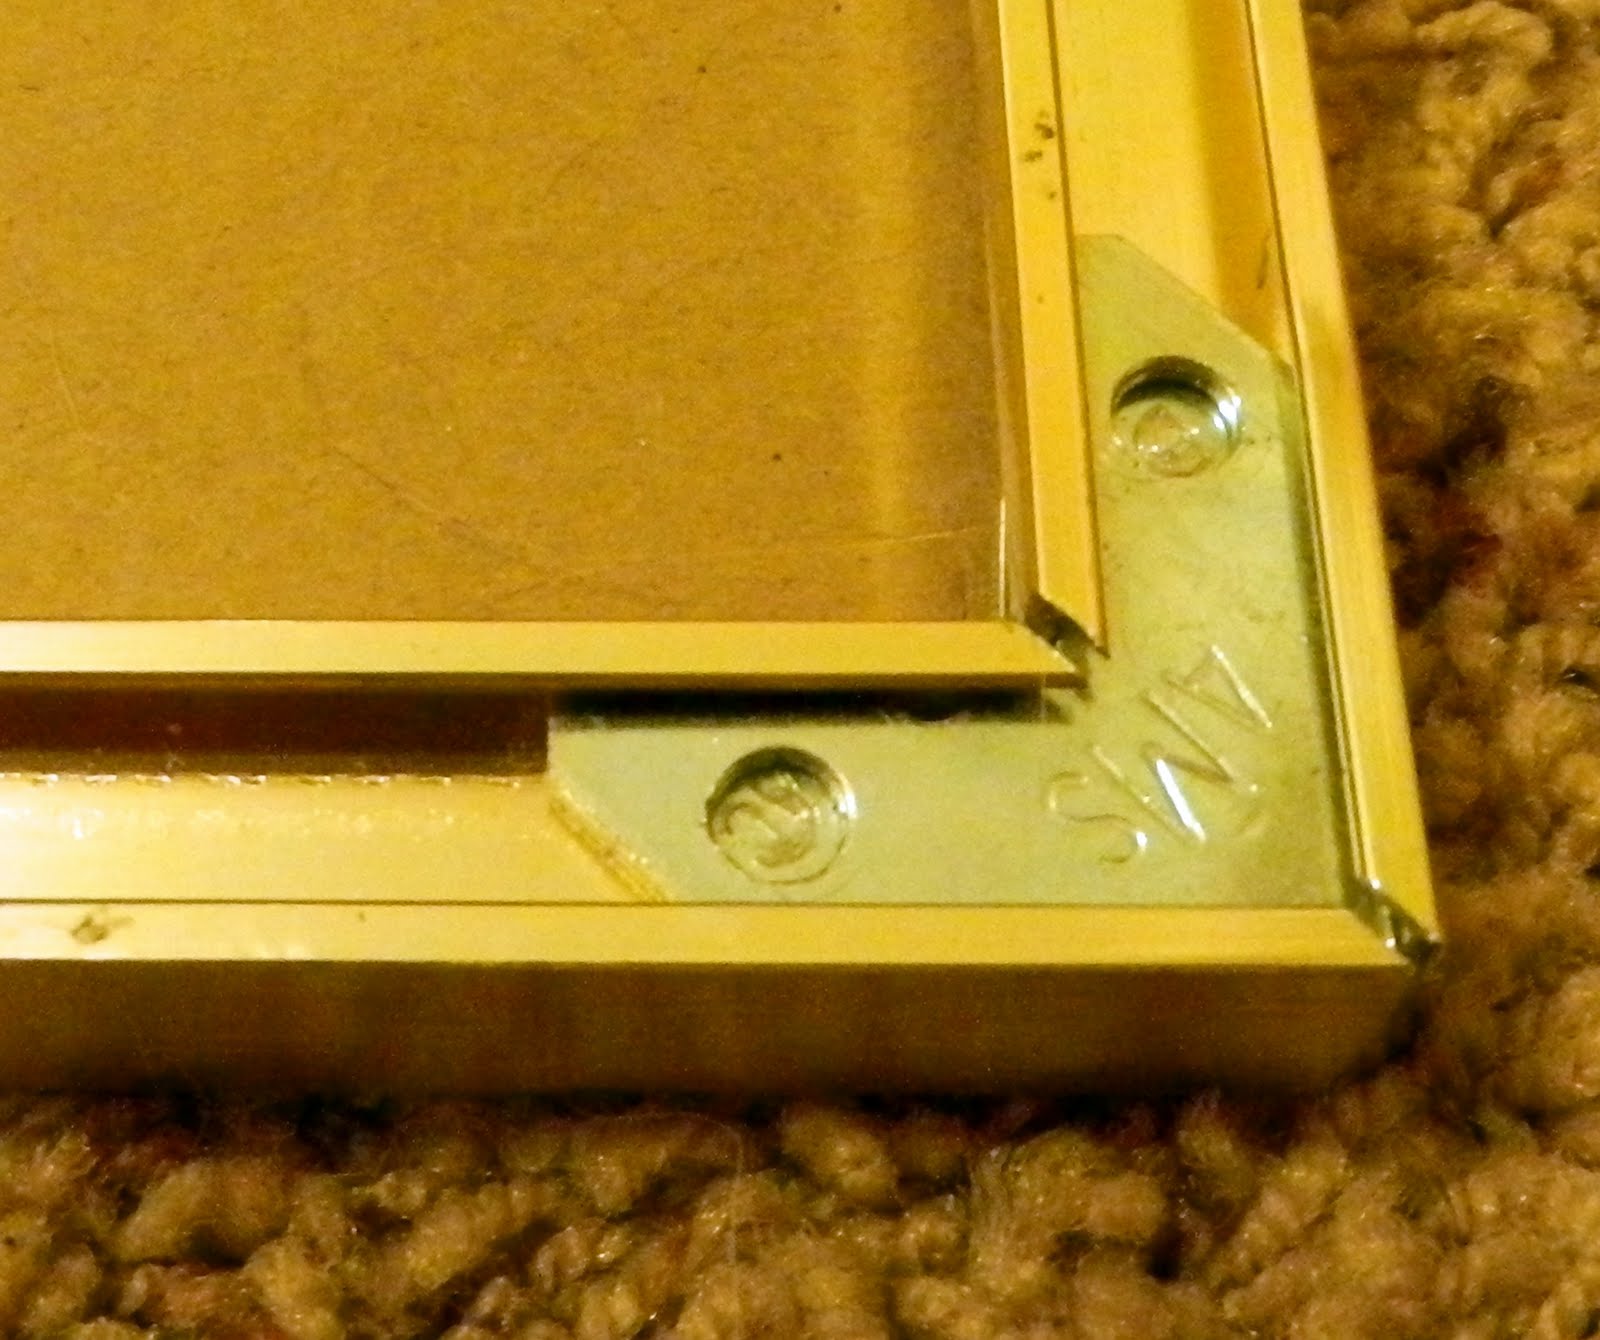
I took the glass and backing off of the three smaller frames. Then I figured out how to dismantle the big frame. This was not an easy task and I was terrified I would break the glass. Luckily I managed to unscrew all the corner brackets and carefully remove the glass with out any problems.
I applied a couple of coats of Krylon Blue Ocean Breeze spray paint to make the frames pretty.
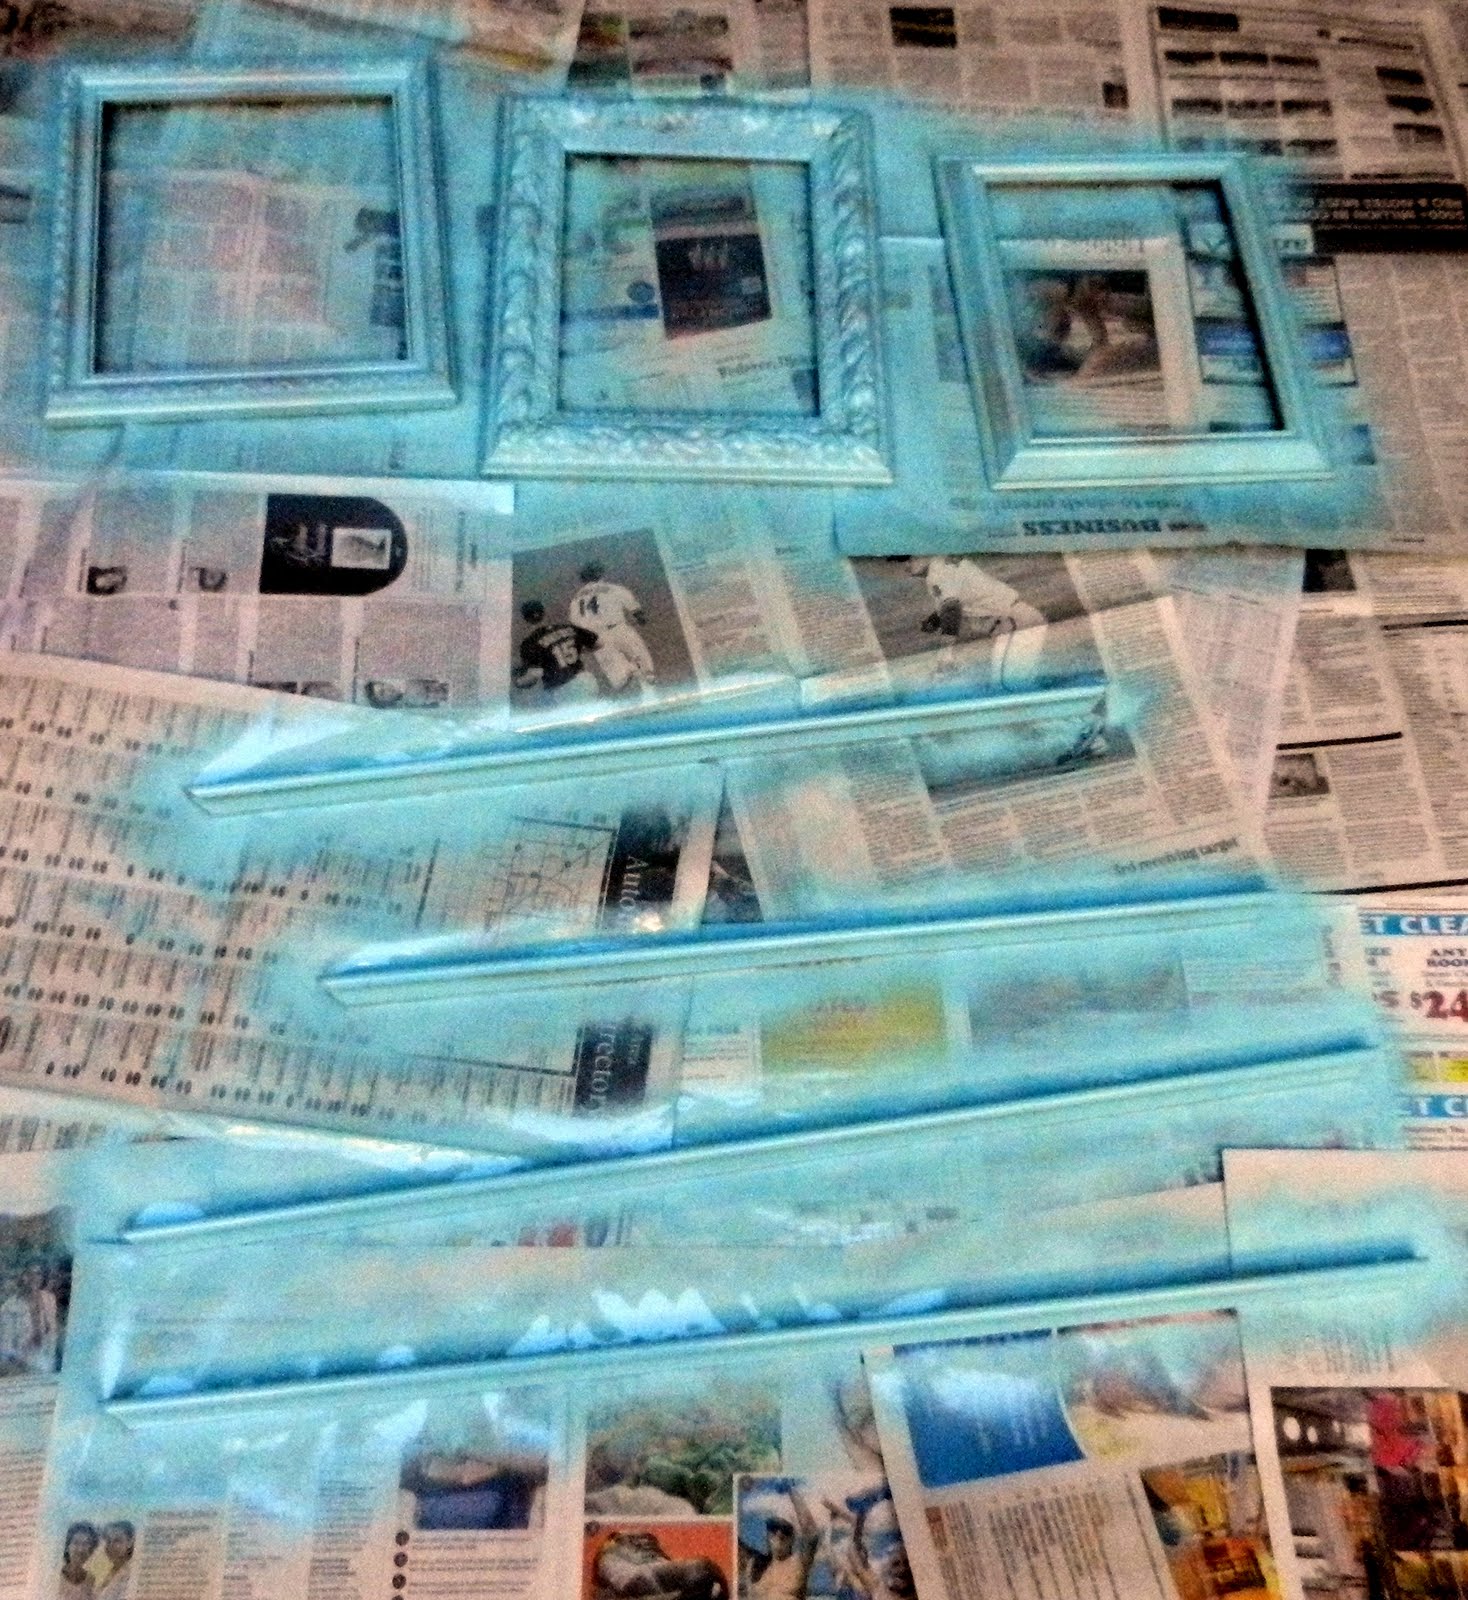 |
| picture taken after first coat of paint |

I lined the glass from the frame up to the cork board and cut it with an exacto knife.

I put the cork board into the frame just as you would insert a picture (with out the glass).

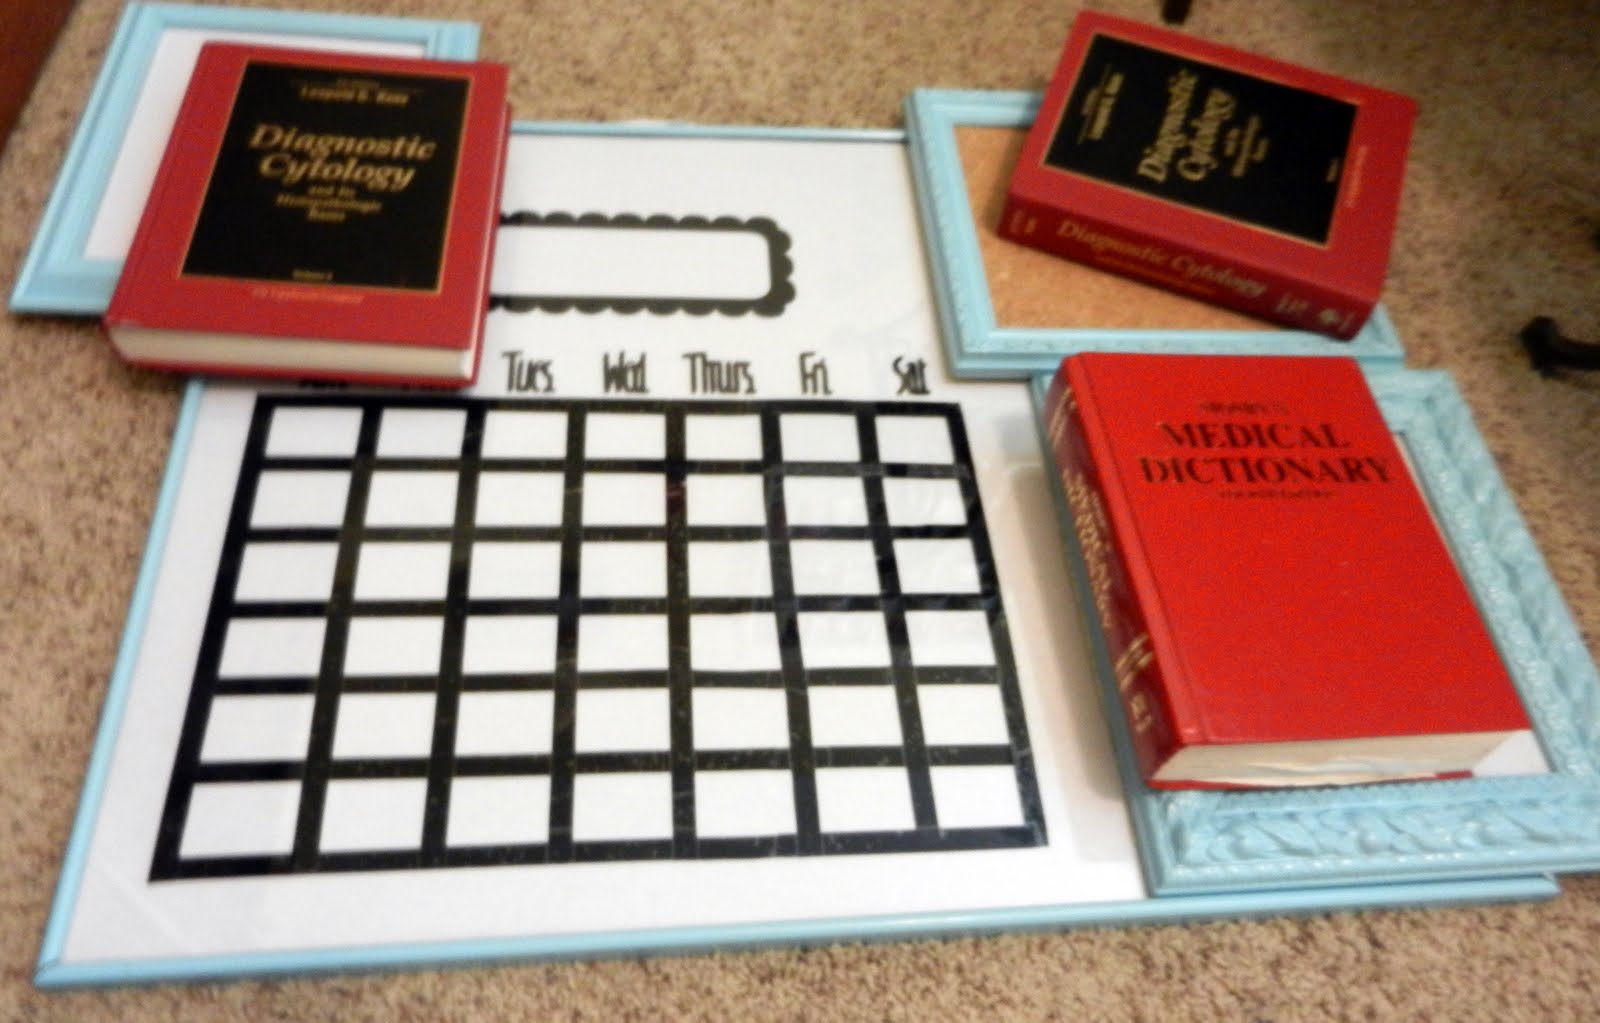
Next I started working on the calendar portion of the collage. I cut thin strips of black vinyl and laid them down (sticky side up) onto contact paper to form a calendar grid. The grid has seven rows across (for days of the week) and six rows down (for weeks of the month). Each square is 2" x 2" (inside vinyl borders).

I had a difficult time applying the vinyl calendar to the glass. I would suggest doing this with out contact paper and placing the vinyl directly onto the glass. A cutting mat made it so much easier to be sure my calendar was not crooked on the glass. I finally had the calendar on straight and I was very excited to look at the other side of the glass. Major disappointment. There were so many air bubbles! I spent about half an hour rubbing out all the bubbles. Unfortunately I didn't take any pictures of me applying the calendar grid to the glass. It was not a pretty site and I can't imagine ever getting it done if my daughter wasn't napping. Fortunately the end result was a perfect calendar grid! I used my Cricut to cut out the days of the week and a scalloped border for the month. I ended up using adhesive cardstock instead of vinyl. It was so much easier to apply the cardstock to the glass! If you don't have a cutting machine, you could use a permanent marker to trace the words and frame onto the backside of the glass.

I used the same adhesive cardstock to cut out the letters for the other two dry erase boards ("to do" and "shopping list"). I used the cutting mat as a guide to apply the letters to the back side of the glass.


I also added flower embellishments to the large frame.

I love how this turned out!!

Thanks again if you voted for this project at 1 Month 2 Win It!
I would love to see your frame collage if you make one too!
I'm linking this post here.


7 comments:
Fab! Thank you! *runs off to find frames!* xx
This is so fun, looks amazing!
What a fantastic idea. I just did up my own version but I have to say that I like yours better :)
Great tutorial. This would help keep anyone organized. I'm featuring your idea over at Blogland's Fabulous Friday Finds.
www.astepinthejourney.blogspot.com
I loved this project!! Good luck next week! :)
Love this, thanks for sharing!!! Glad I read the entire post to see it was a frame, not just a dry erase board. Really inventive. Just piined to my Pinterest!
Thanks for the entire information you have given here to impart knowledge amongst us?ReMARKable
Post a Comment