Hi!! My name is Bev and I blog over at Flamingo Toes!

I'm so excited to be here as a part of Jessica and Heather's great Flip-Flop Refashion series!!!
I am loving all the ideas!
I am loving all the ideas!
Over at Flamingo Toes I love to do sewing projects, home decor, and knockoffs!
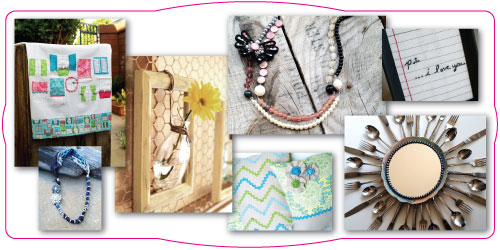
Here's just a few of my projects . . .
I had a blast doing the flip flop refashion for this week!
I didn't make it over to Old Navy for the big sale - but I did find some flip-flops at Walmart for $2.50. Not bad at all.
The only problem with them was the plastic part on top. Kind of hard and not so comfy.
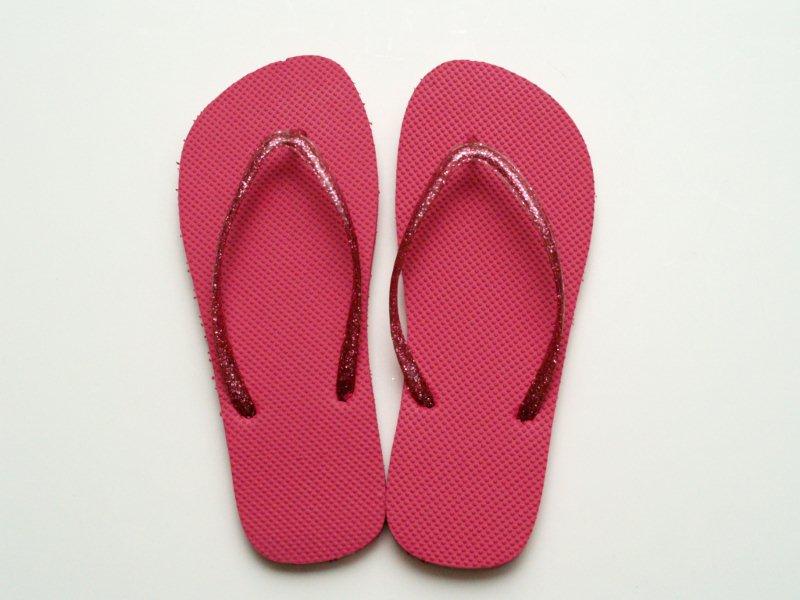
So I cut it off!!
Here is what I came up with instead. . .
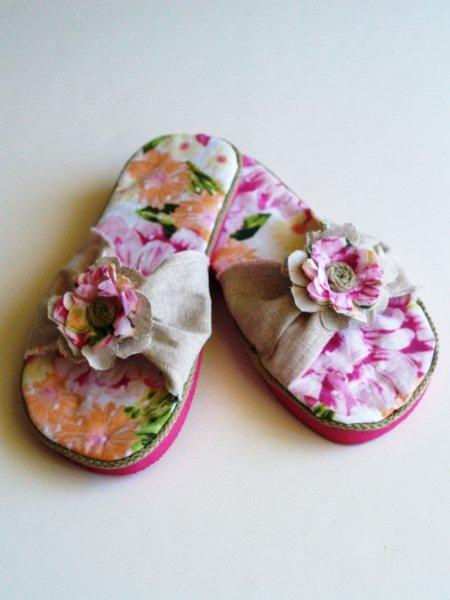
Pretty cute huh? And suuuuuper comfy!! I'm kind of all about the comfyness. ;)
So here's what you'll need to make your very own pair -
• Flip Flops
• Fusible batting (enough for one layer on shoes)
• Heavyweight interfacing (same as above)
•Floral fabric (probably about a 1/4 yard)
• Linen or something for top of strap (small amount)
• Cotton Cording
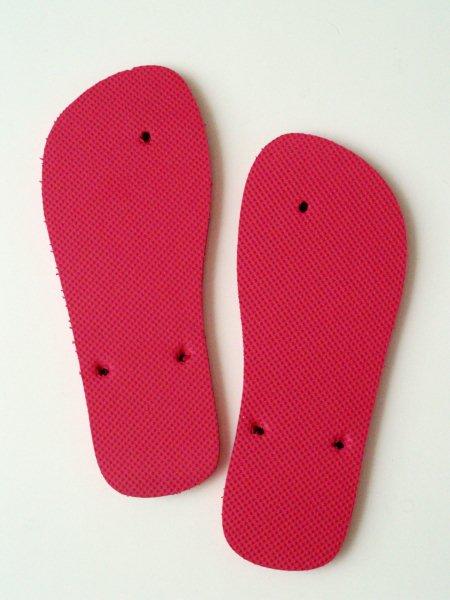
Start by cutting the plastic tops off of your flip-flops.
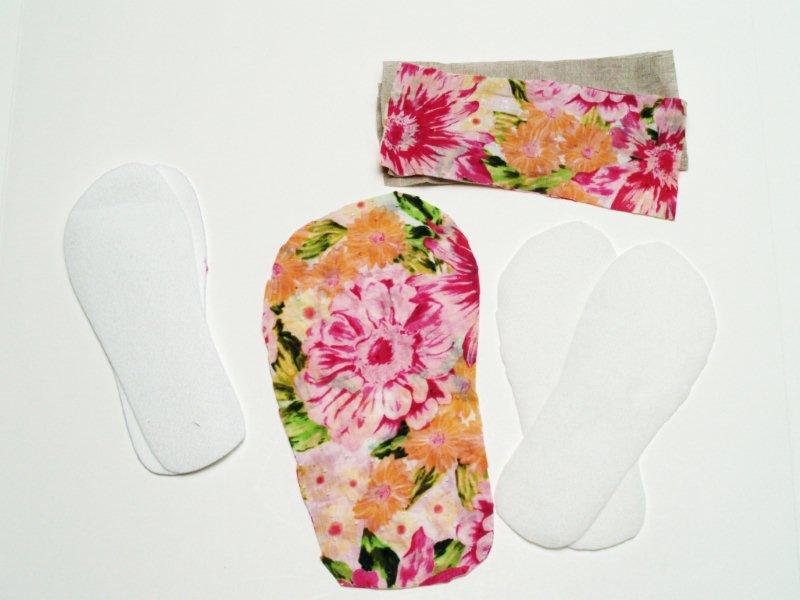
Cut out your fabrics.
Cut out a piece of fusible batting and heavy weight interfacing, the size of each flip-flop.
Cut out your fabric about 1 1/2" - 2" larger than your flip flop.
Cut out two rectangles of print and 2 of linen - about 4" x 8". You need enough to go over the top of your foot and wrap under for gluing.
Cut out a piece of fusible batting and heavy weight interfacing, the size of each flip-flop.
Cut out your fabric about 1 1/2" - 2" larger than your flip flop.
Cut out two rectangles of print and 2 of linen - about 4" x 8". You need enough to go over the top of your foot and wrap under for gluing.
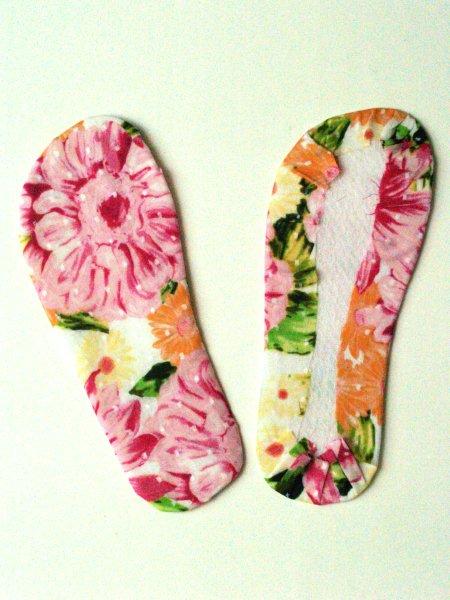
Iron your fusible interfacing onto the back of your printed fabric pieces.
Place the heavy-weight interfacing on the wrong side and press your fabrics tightly around the interfacing, so it is pulled snug but not so tight that the interfacing isn't flat anymore.
Place the heavy-weight interfacing on the wrong side and press your fabrics tightly around the interfacing, so it is pulled snug but not so tight that the interfacing isn't flat anymore.
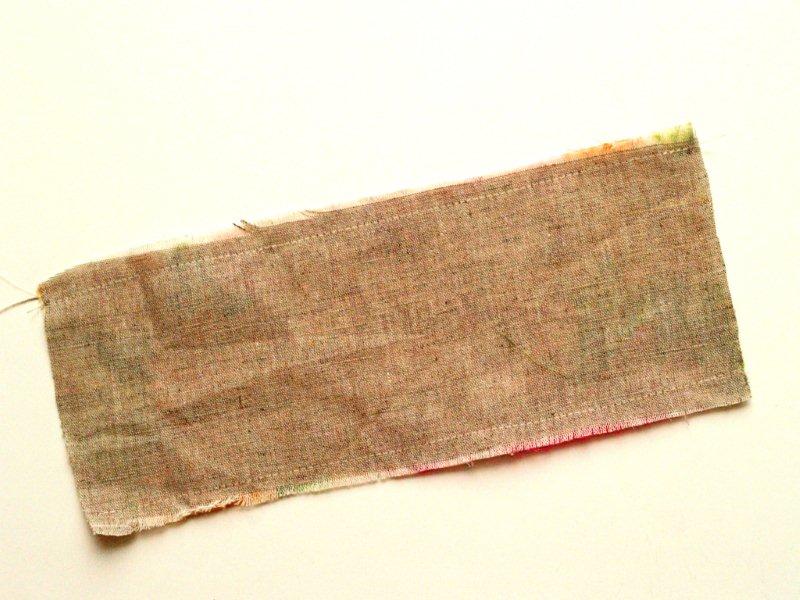
Sew one linen rectangle to a printed rectangle - wrong sides together.
(If you don't like raw edges, sew them right sides together and turn inside out).
(If you don't like raw edges, sew them right sides together and turn inside out).
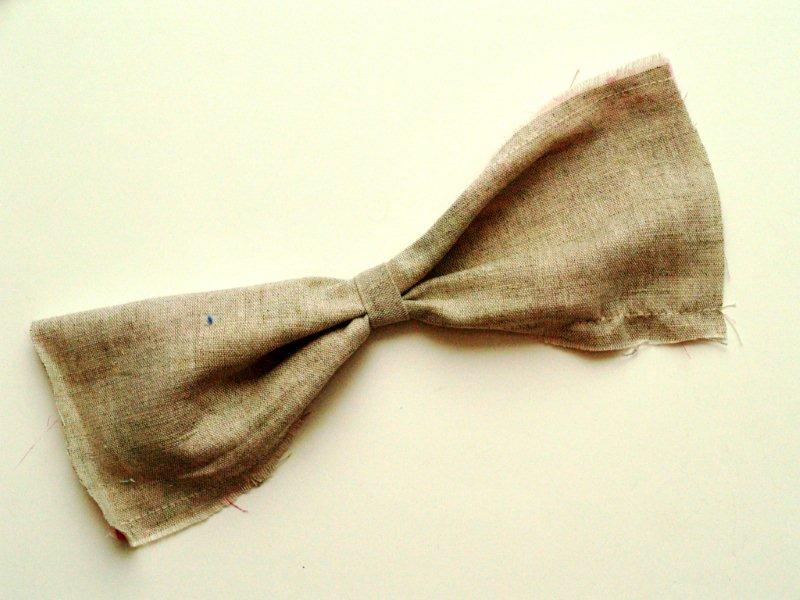
Cut a strip of linen about 2" wide and 3" long.. Fold over each side and wrap around the center of the rectangle to make a bow.
Sew the center of the bow down on the underside.
Sew the center of the bow down on the underside.
Put the padded base on your flip flop and put your foot on it. Place the top section where you'd like it over your foot and tuck the ends between the padded base and the flip-flop base.
Pin the rectangle in place. You want it snug over your foot but not super tight. You don't want blue toes after an hour or two.
Pin the rectangle in place. You want it snug over your foot but not super tight. You don't want blue toes after an hour or two.
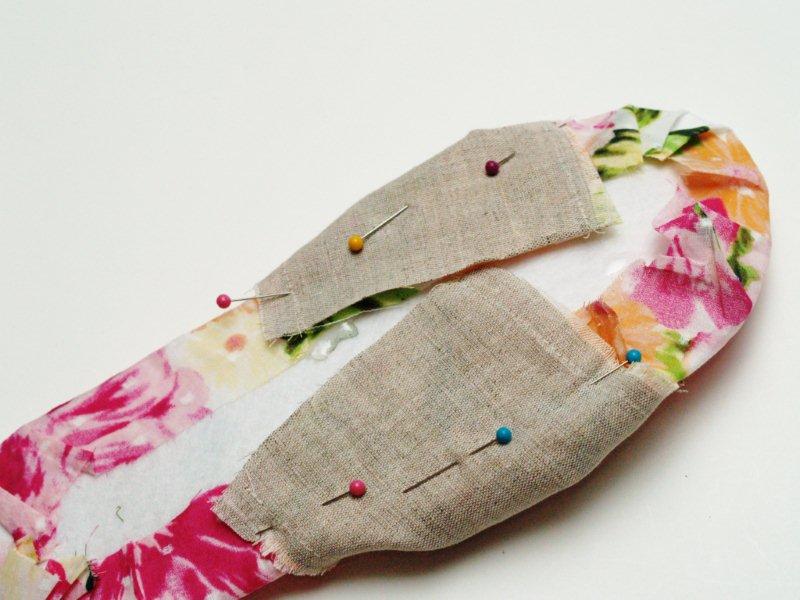
Glue down the ends of the rectangle.
Add glue all over the flip-flop base. Make sure you get the edges well.
Place the padded base over the flip-flop base - clamp or set a heavy book on it so that the pieces stay together while drying.
I let mine dry overnight.
Place the padded base over the flip-flop base - clamp or set a heavy book on it so that the pieces stay together while drying.
I let mine dry overnight.
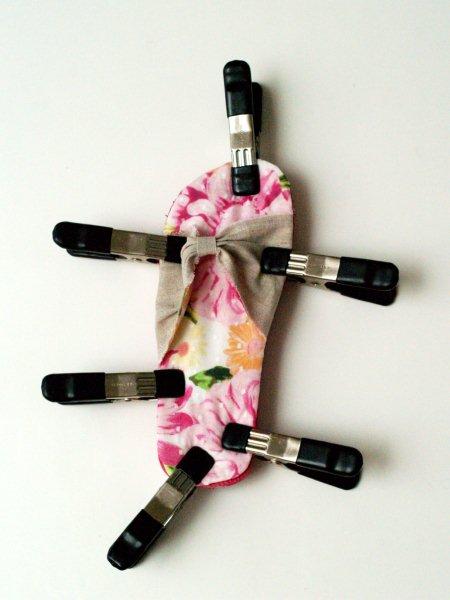
In the morning you'll have cute new shoes - but they need something more.
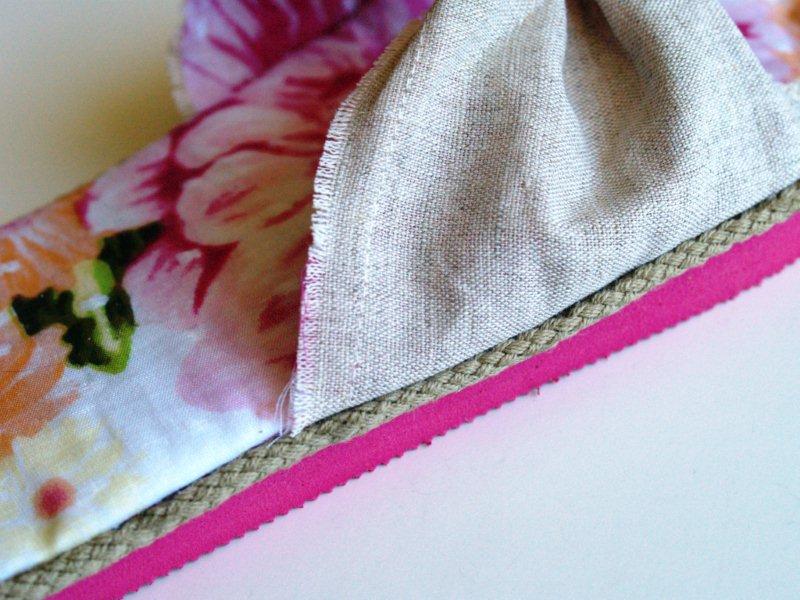
There is a small space between the padded base and the foam.
Run some glue along the edge and add cotton cording into the space, all the way around the flip-flop.
Tuck the ends between the padding and the foam so they don't show.
There is a small space between the padded base and the foam.
Run some glue along the edge and add cotton cording into the space, all the way around the flip-flop.
Tuck the ends between the padding and the foam so they don't show.
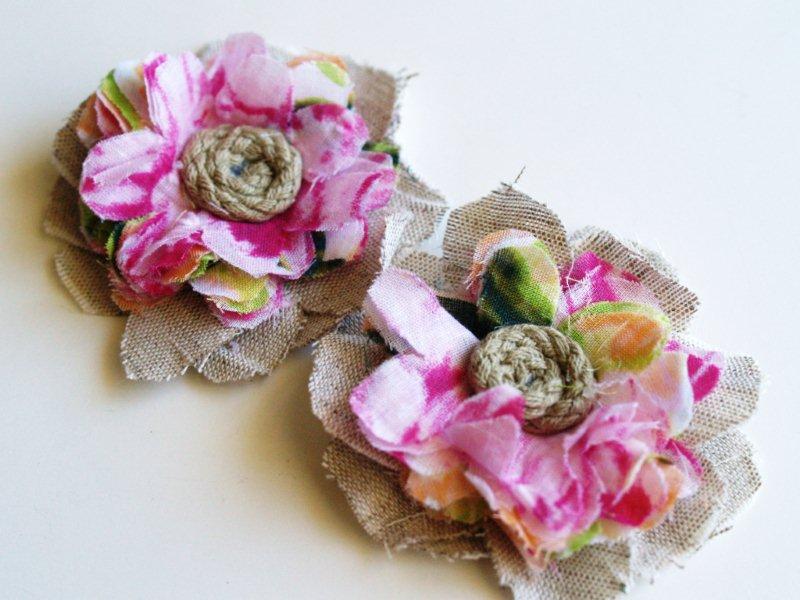
Make some little fabric flowers to add to the top. I layered the linen and print and topped it with a little circle of cording.
Glue those to the center of the top section and you're all done!!
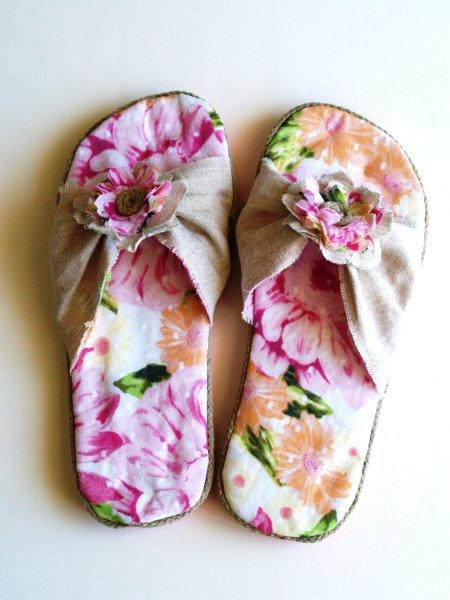
Painting your toenails to match your new shoes is optional.
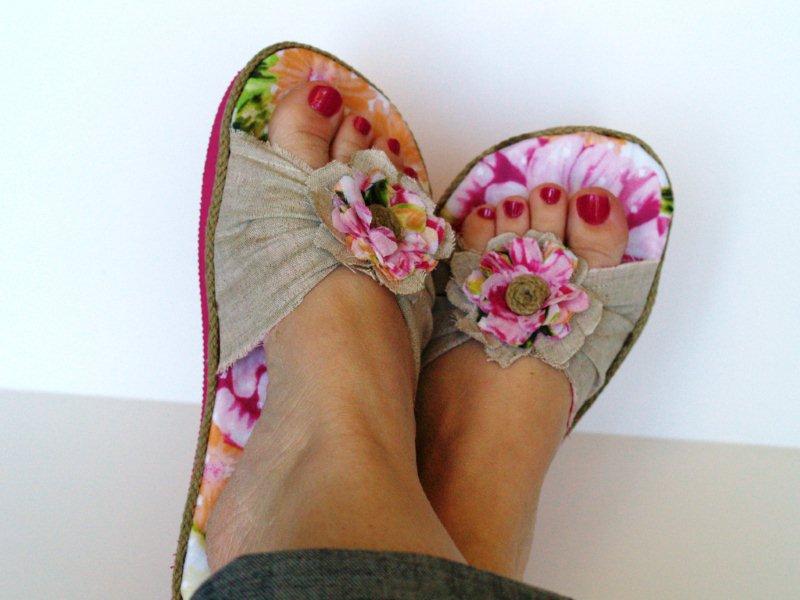
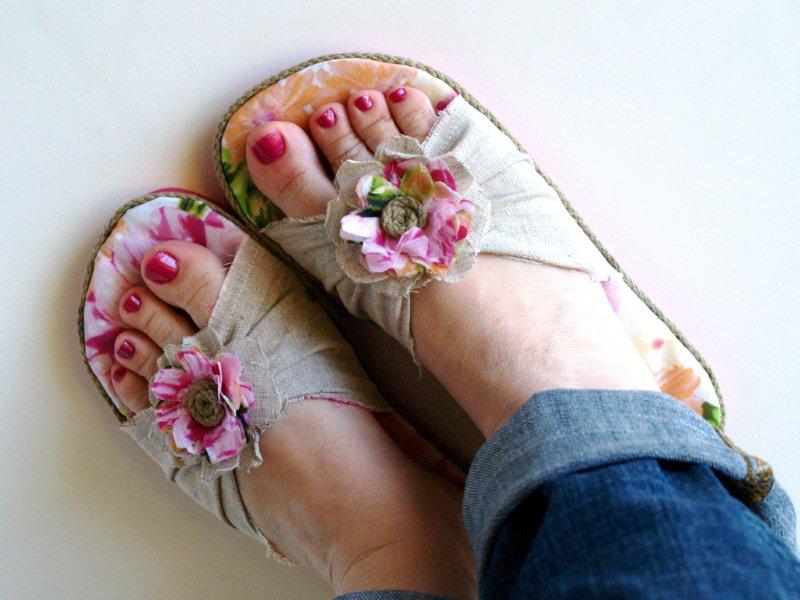

I hope you like them!!

13 comments:
Thanks so much for letting me join the flip flop fun Heather and Jessica!! I had a great time and I love all the other ideas you've come up with!!
I love this! Now I know what to do with the flip flops I broke over the weekend. Yay!
Bev, what type of glue do you use for a project like this? Will they stand up to rain or humidity? This is a great idea but I don't want to have my shoes falling apart on me!
I was wondering the same thing about the glue that you used. Great tutorial. I love the way they look and can't wait to give it a try.
Thanks ladies!! The glue I used was E-6000. It's pretty much my favorite. ;)
I wouldn't wear them in the rain - but I'm hoping they last just fine in humidity since I live in San Diego. ;)
If you wanted to weather proof them a bit more - you could spray them down with scotchgard or something like that.
What a great idea...This series is so much fun!
they look beautiful and comfy, Great tutorial thanks!
Amazing tutorial Bev! These are the cutest flip flops, I just love them! I am nervous to follow you with my tutorial tomorrow, LOL!
Rebecca
Freckles Crafts
Haha - everything you make is awesome Rebecca!! Can't wait to see yours too!
These are very cute. Thanks for the tutorial
These are super cute! I don't usually wear flip-flops because I can't stand anything between my toes. I will definitely try these. Thanks!!
Love, love, love!!
Great idea!! Thank you for sharing.
Post a Comment