Are you ready for a giveaway?? I am! Details are at the bottom of this post.
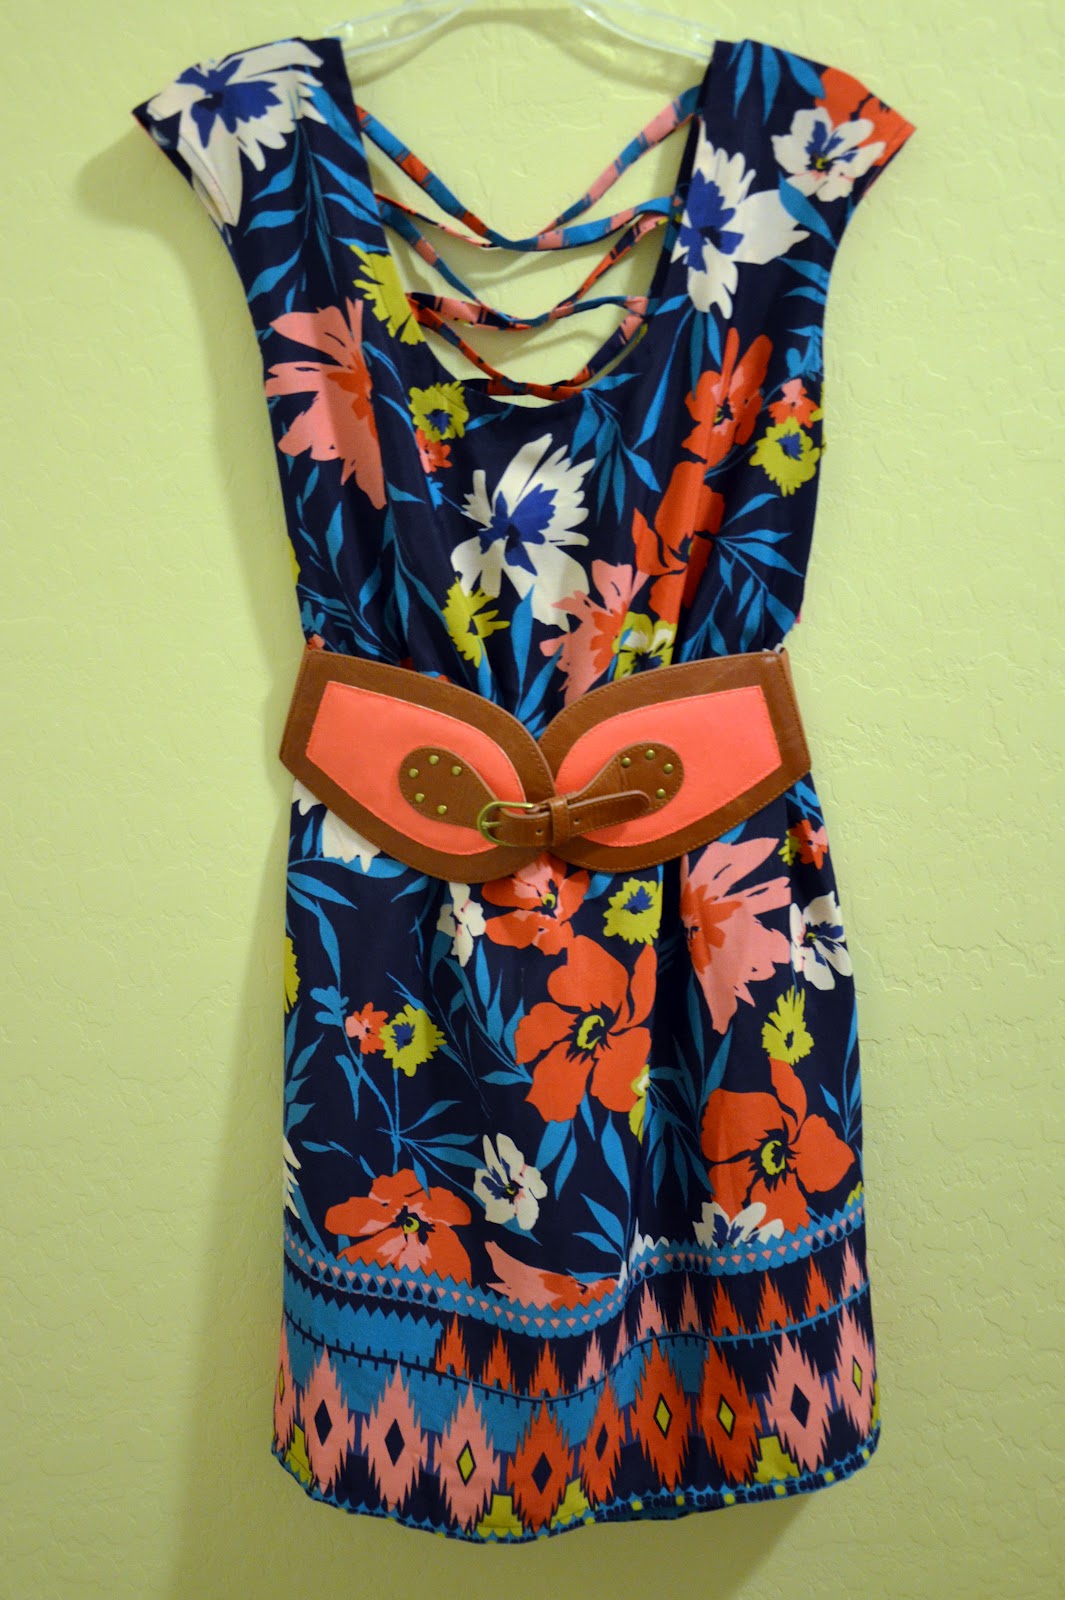
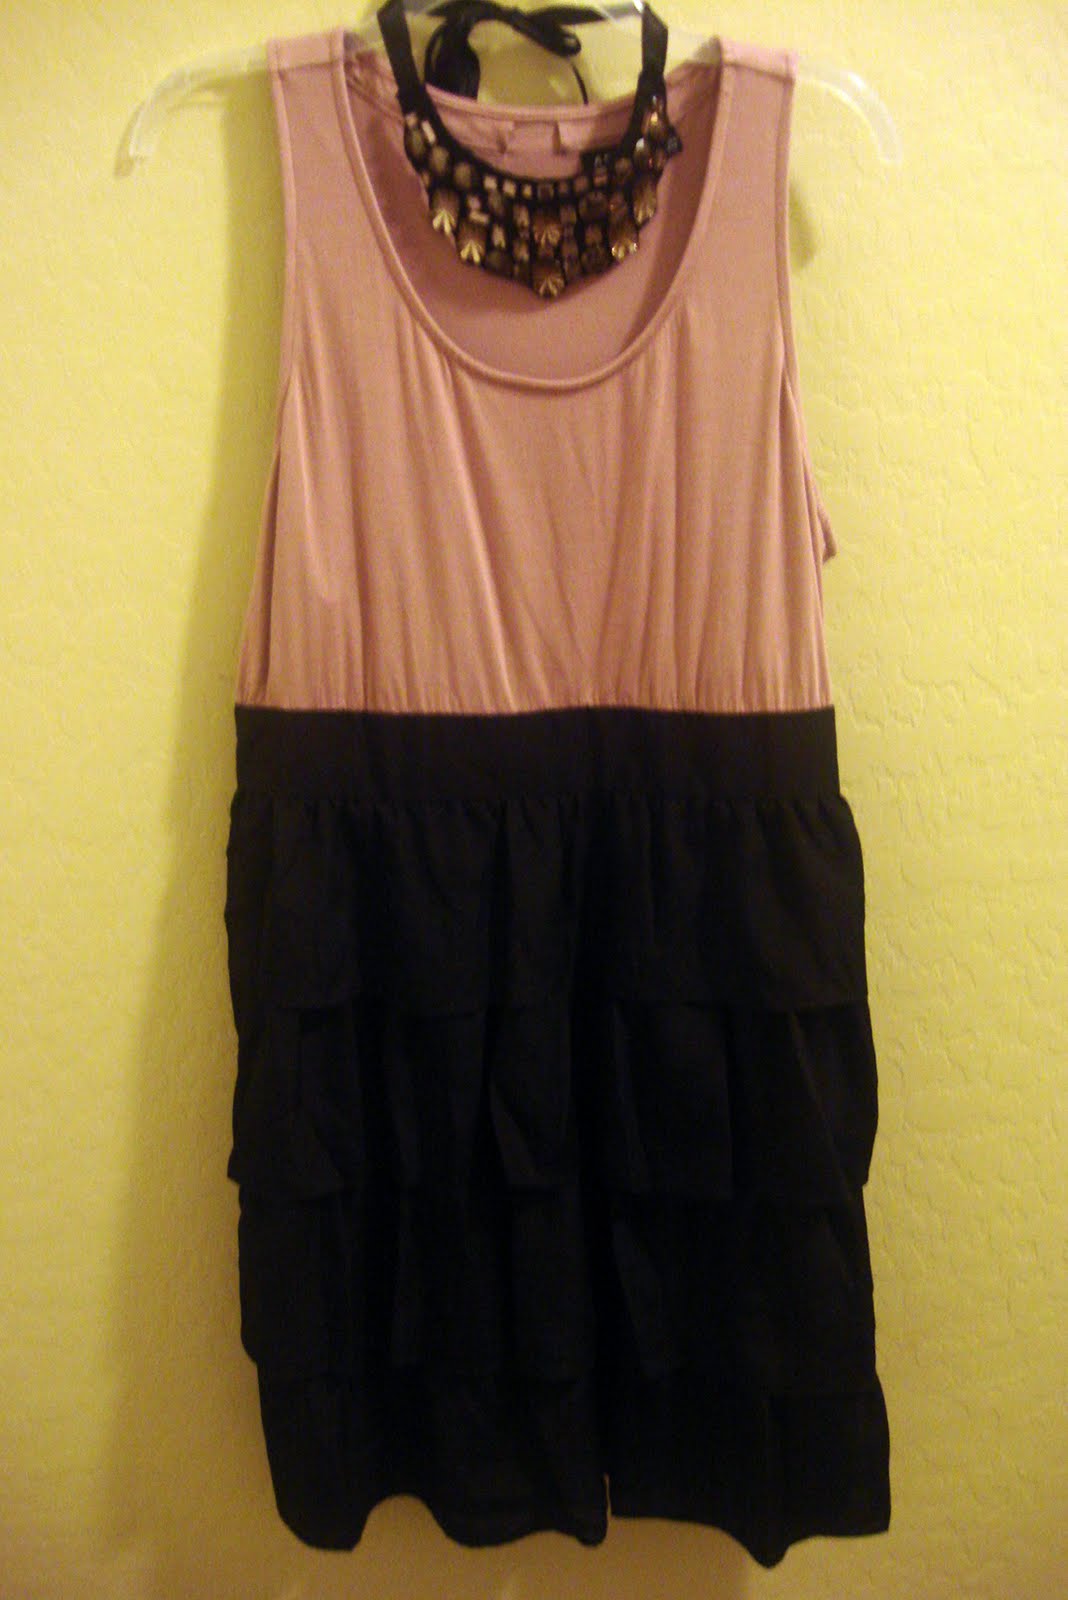
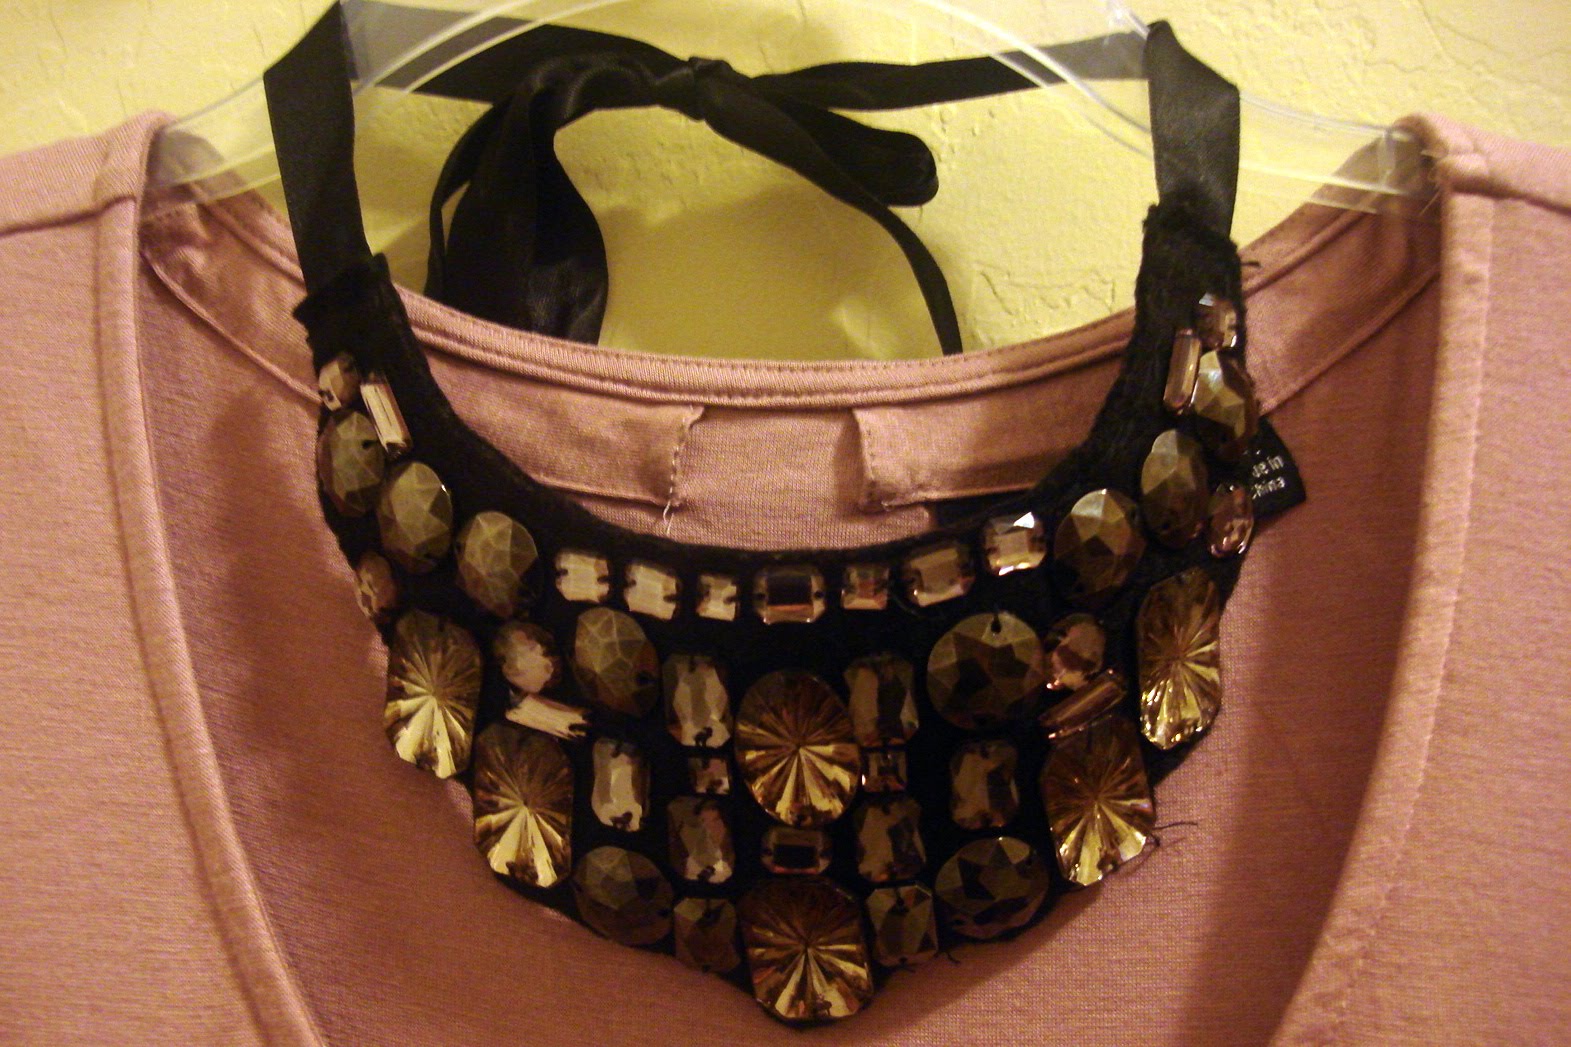
I recently purchased a dress from the Kohl's clearance rack. It's actually pretty cute but what really caught my eye was the detachable sparkly necklace that came with the dress. I ended up getting the dress and pretty necklace for less than $10!

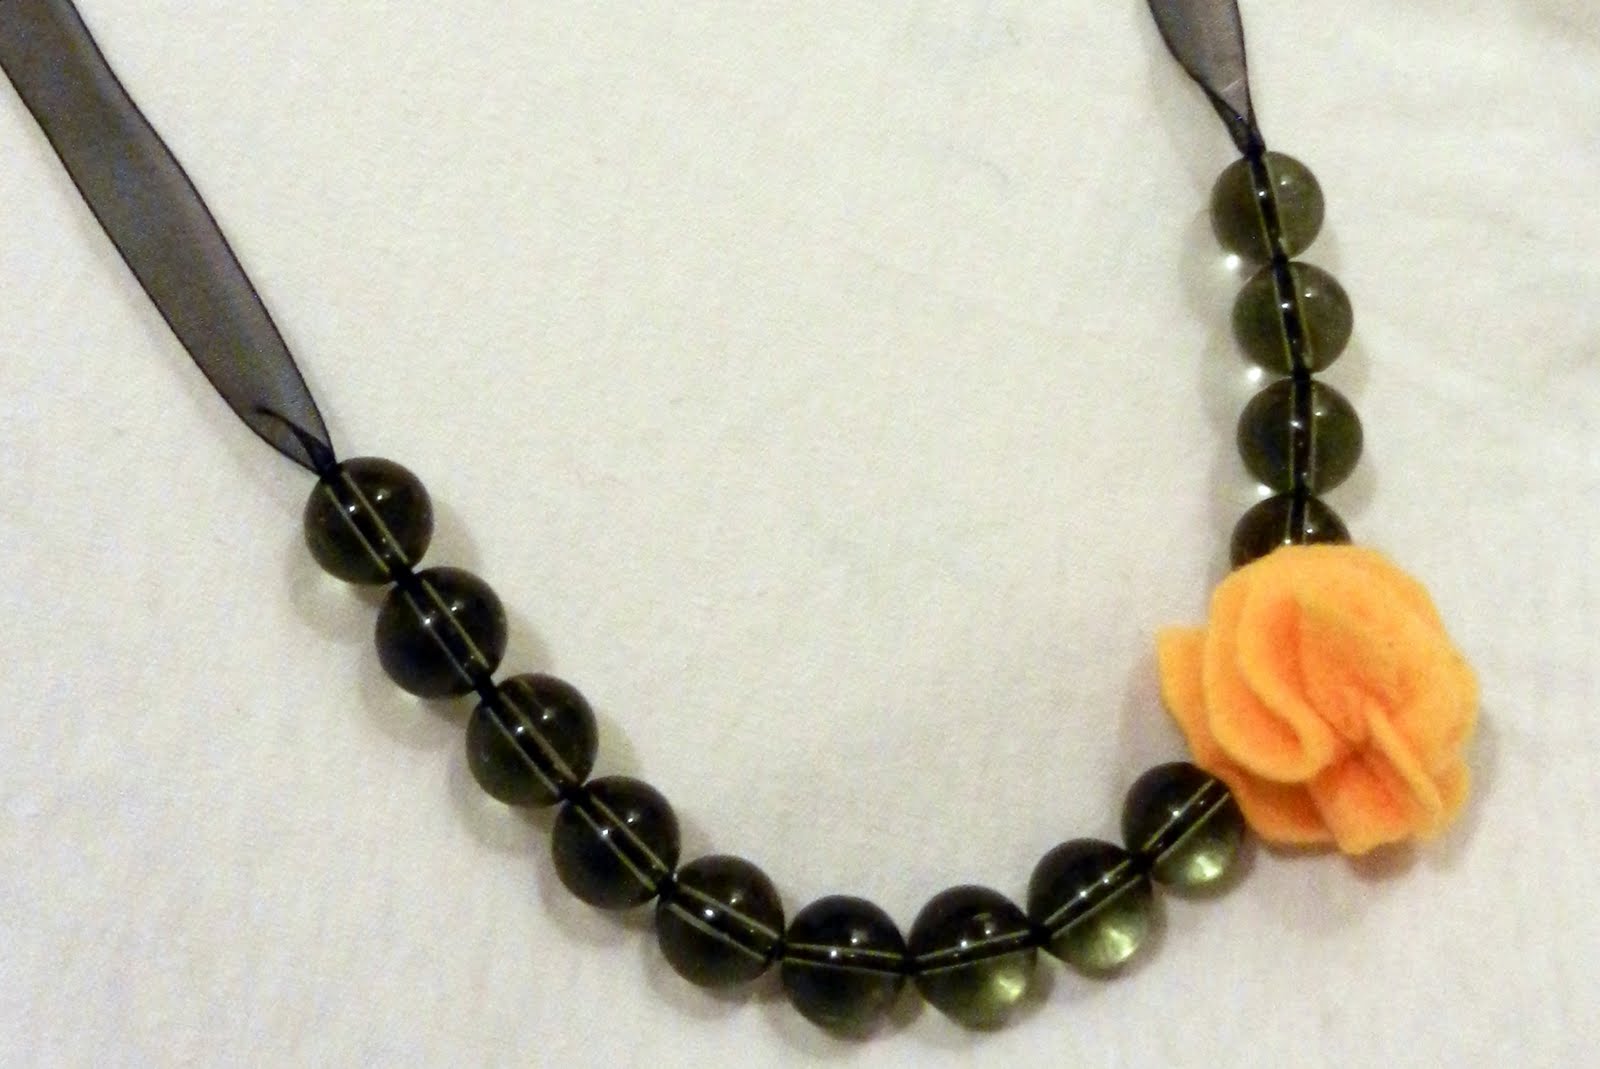
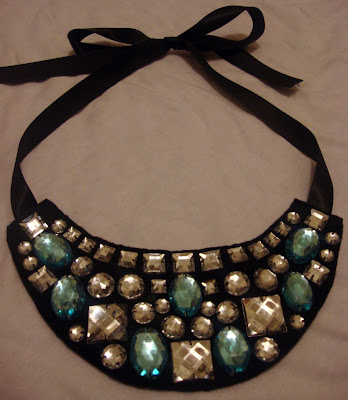
I have been thinking of replicating the necklace since the day I brought it home. I finally made one today! I love how it turned out!
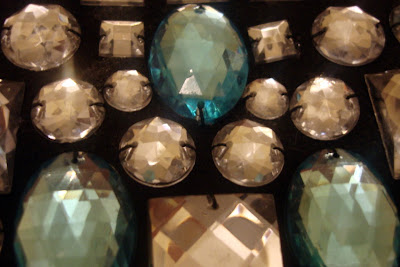
I cut my felt backing before adhering the gems. I started by laying out the larger gems to get a design idea. Then I used gem-tack to glue the gems in place on the felt before permanently stitching them. Each gem is glued and stitched.
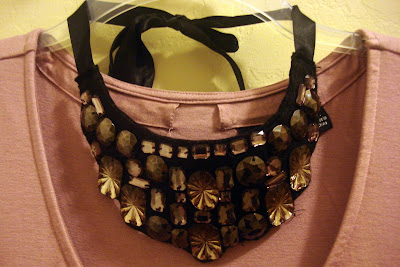
I stitched the ribbon to the back before adding a felt backing. The backing is stitched around the edges of the entire necklace.
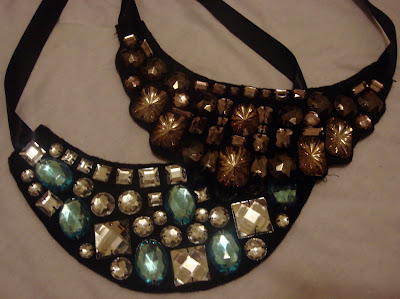
My necklace is almost identical in size to the original.
I had my husband take a few (approximately 20) different pictures of me wearing the necklace. The necklace looked pretty but I looked ridiculous in every single picture. I ended up with one picture that shows how the necklace dresses up a simple shirt and sweater.

The necklace would work for a more dressed up look too!
Ready for the giveaway news?? I am giving this exact necklace away to one of our lucky friends! All you have to do to enter is 1) follow this blog, and 2) leave a comment on this post. A winner will be drawn Friday, February 25. Good luck!
This post is linked to
Sumo's Sweet Stuff
My Back Yard Eden
Sew Much Ado
Tip Junkie
Fireflies and Jellybeans
Kojo Designs